Adding an add-in to the Outlook Web App (2019)
Valid for Microsoft Exchange 2019.
You can use add-ins to extend the functionality of your IONOS Microsoft Exchange mailbox, and customise it to your needs. In this article, you will learn how to install an add-in in the new Outlook Web App.
Note
A Microsoft account is required to install add-ins from the Microsoft Store. If you do not already have one, you will be guided through the process of creating a new account.
- Open the login page of the Outlook Web App. The URL is: https://exchange2019.ionos.co.uk/
- Log in to your account.
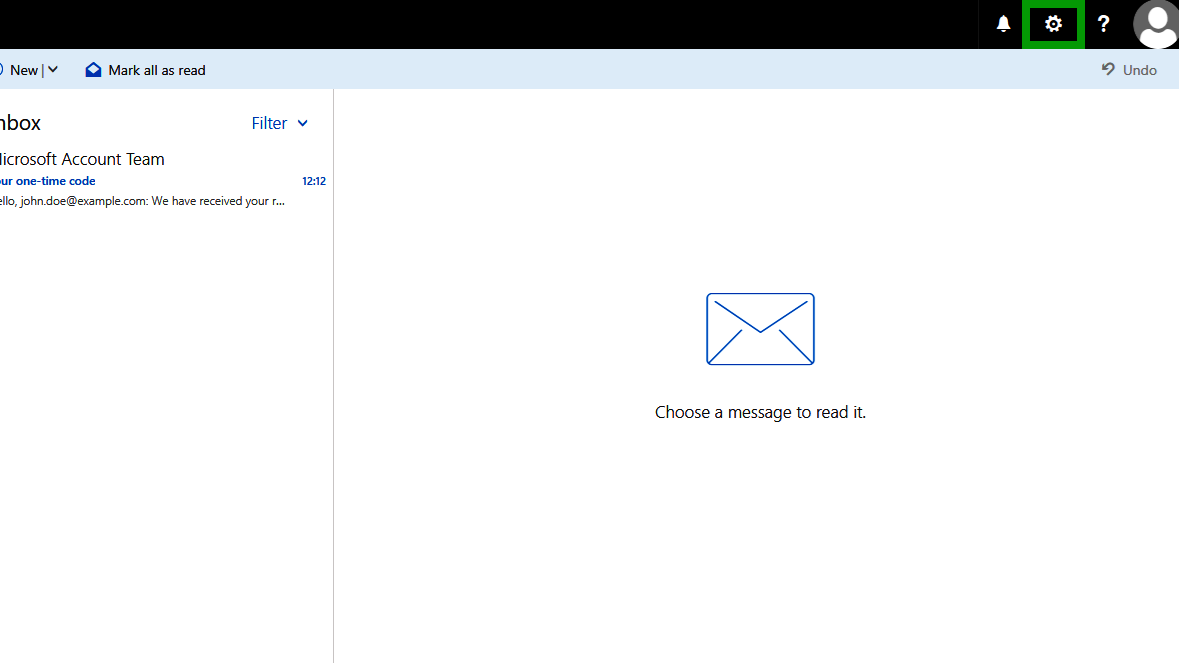
- Click on the cogwheel icon in the menu bar (use the tooltip to open the "Settings" menu to access personal and app settings). A list will then open.
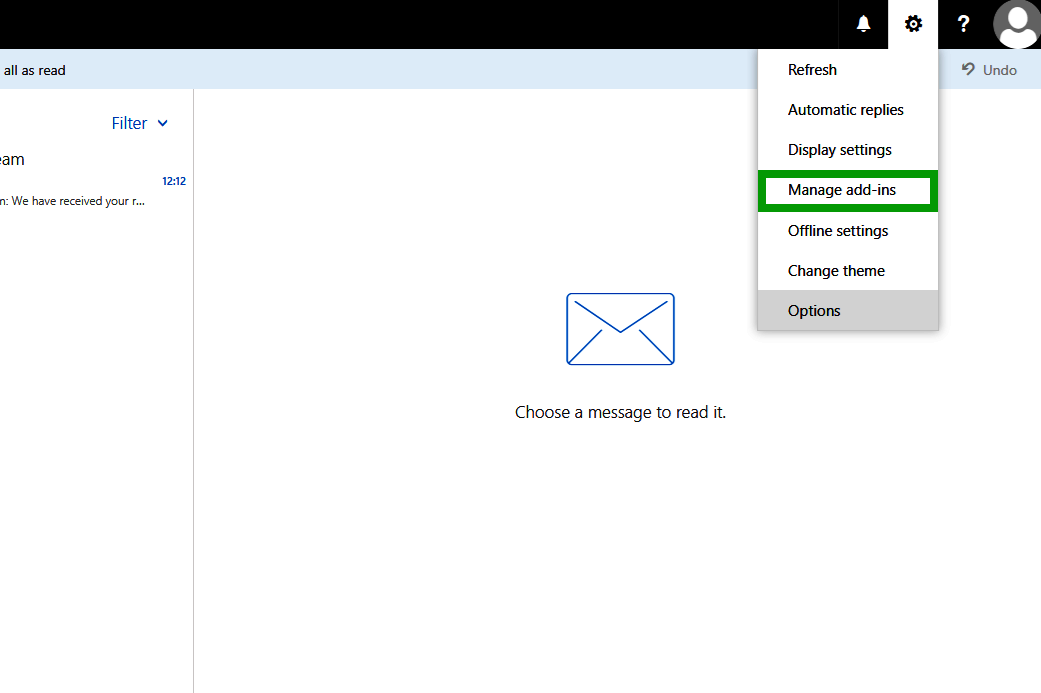
- To access the overview of your add-ins, select the Manage add-ins menu item in the list.
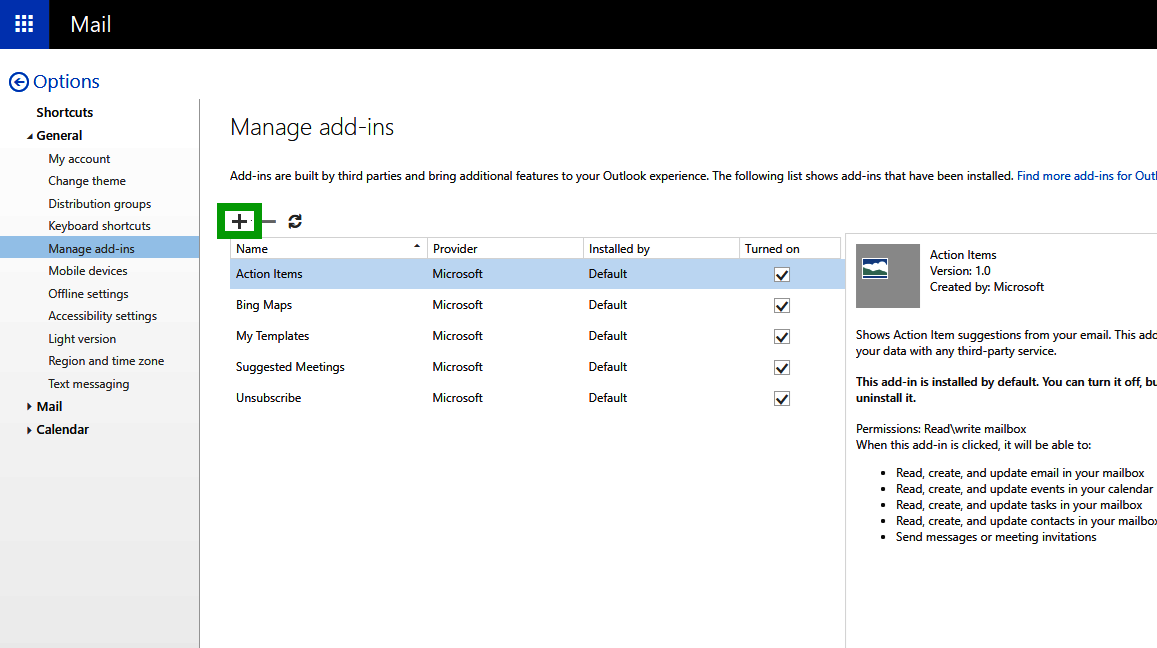
- Click on the Plus symbol (with the tooltip Add). A list opens.
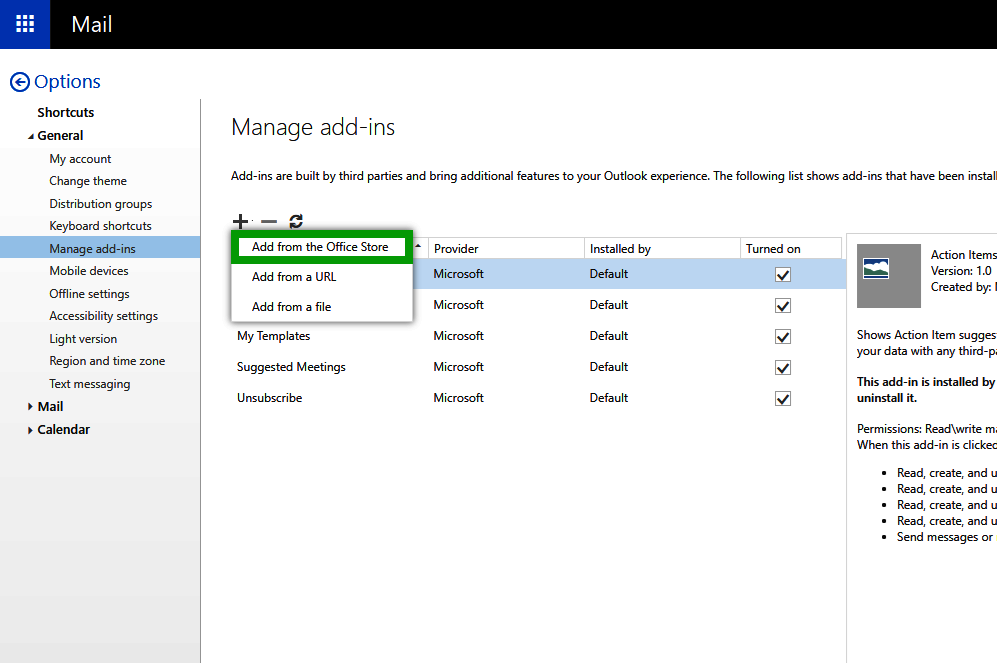
- To open the Office Store, select the option Add from the Office Store.
- Click on Get it now for the desired add-in. The Sign in to Microsoft AppSource window opens.
- If you already have a Microsoft account: Enter the email address of your Microsoft account and click Sign in. Then enter your password in the Enter password window and click Sign in. Then select whether you want to stay signed in.
If you do not yet have a Microsoft account: Click on the Sign up for a free account link. You will then be guided through the creation process. - Once you have signed in or created a new account, you will be back in the store and a window with the following heading will appear: Confirm your details to continue. To add the add-in, click Get it now.
- Depending on the add-in, you may be asked to enter the details required for installation. The We just need to check something window will then be displayed in the Outlook Web App.
- Click Yes to confirm your organisation's details.

- To complete the process, click on Install in the Add an add-in from the Office Store window.
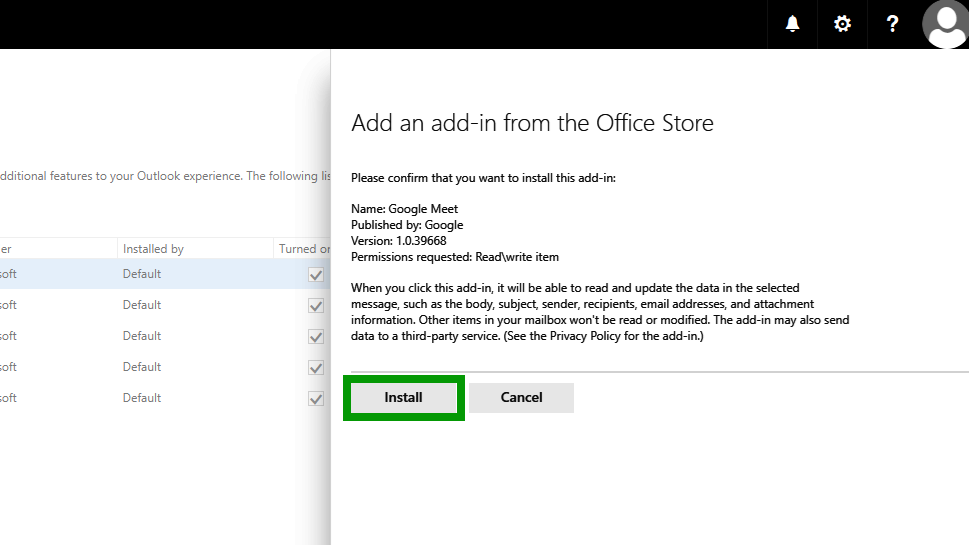
The add-in has now been successfully installed in your IONOS Microsoft Exchange account and is ready for use. You can now use it in your email application.