Migrated Cloud Servers: Creating load balancer
For migrated Cloud Servers, which are managed in the Cloud Panel
This article explains how to create a load balancer in the Cloud Panel.
With a load balancer, you can maximise the data throughput and minimise the server load at the same time. Load balancers that you create for a migrated Cloud Server can also utilize IP addresses of other Cloud Servers, Dedicated Servers, and networks, provided they are located in the same data centre. This allows you to assess both the utilisation and the response times, and distribute the load across several servers and/or networks. The use of load balancers makes sense if your web applications have to be provided by several servers, and high availability must be guaranteed. This applies, for example, to websites with high traffic.
- Log in to your IONOS account.
Click on Menu > Servers & Cloud in the title bar.
Optional: If you have multiple server contracts, select the desired contract.
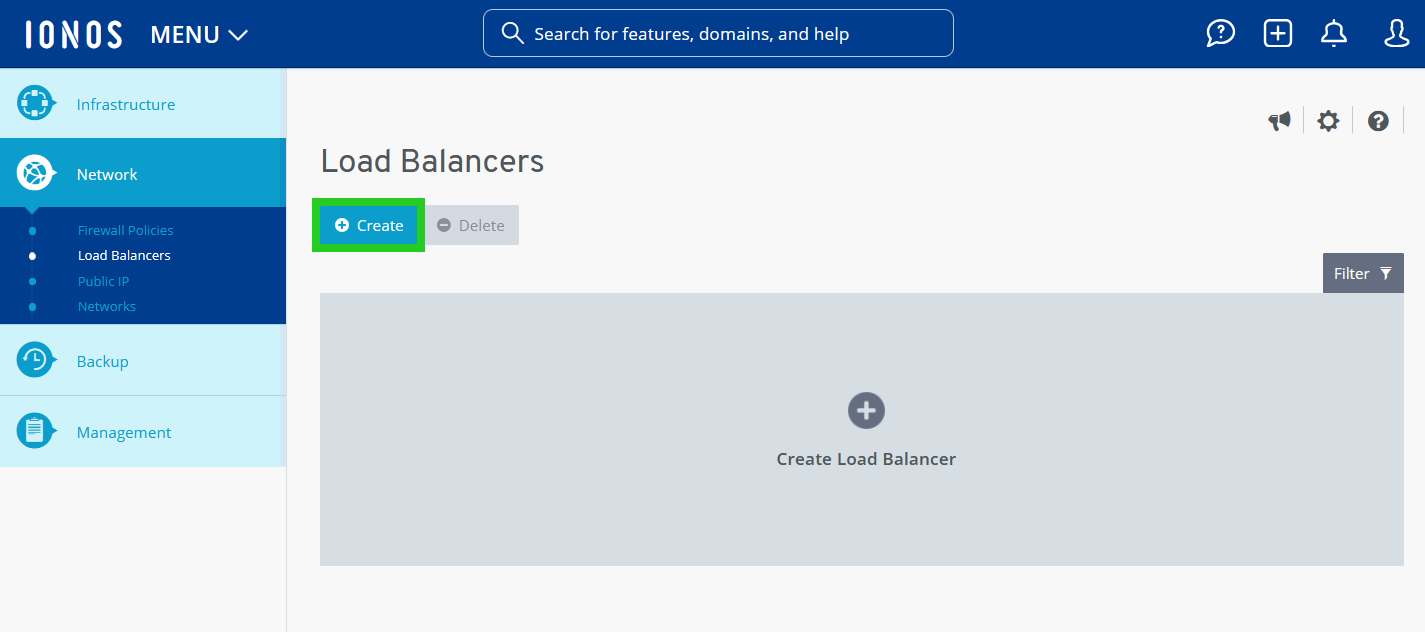
- Click Network > Load Balancer in the navigation bar on the left. The Load Balancer page opens.
- Click on Create.
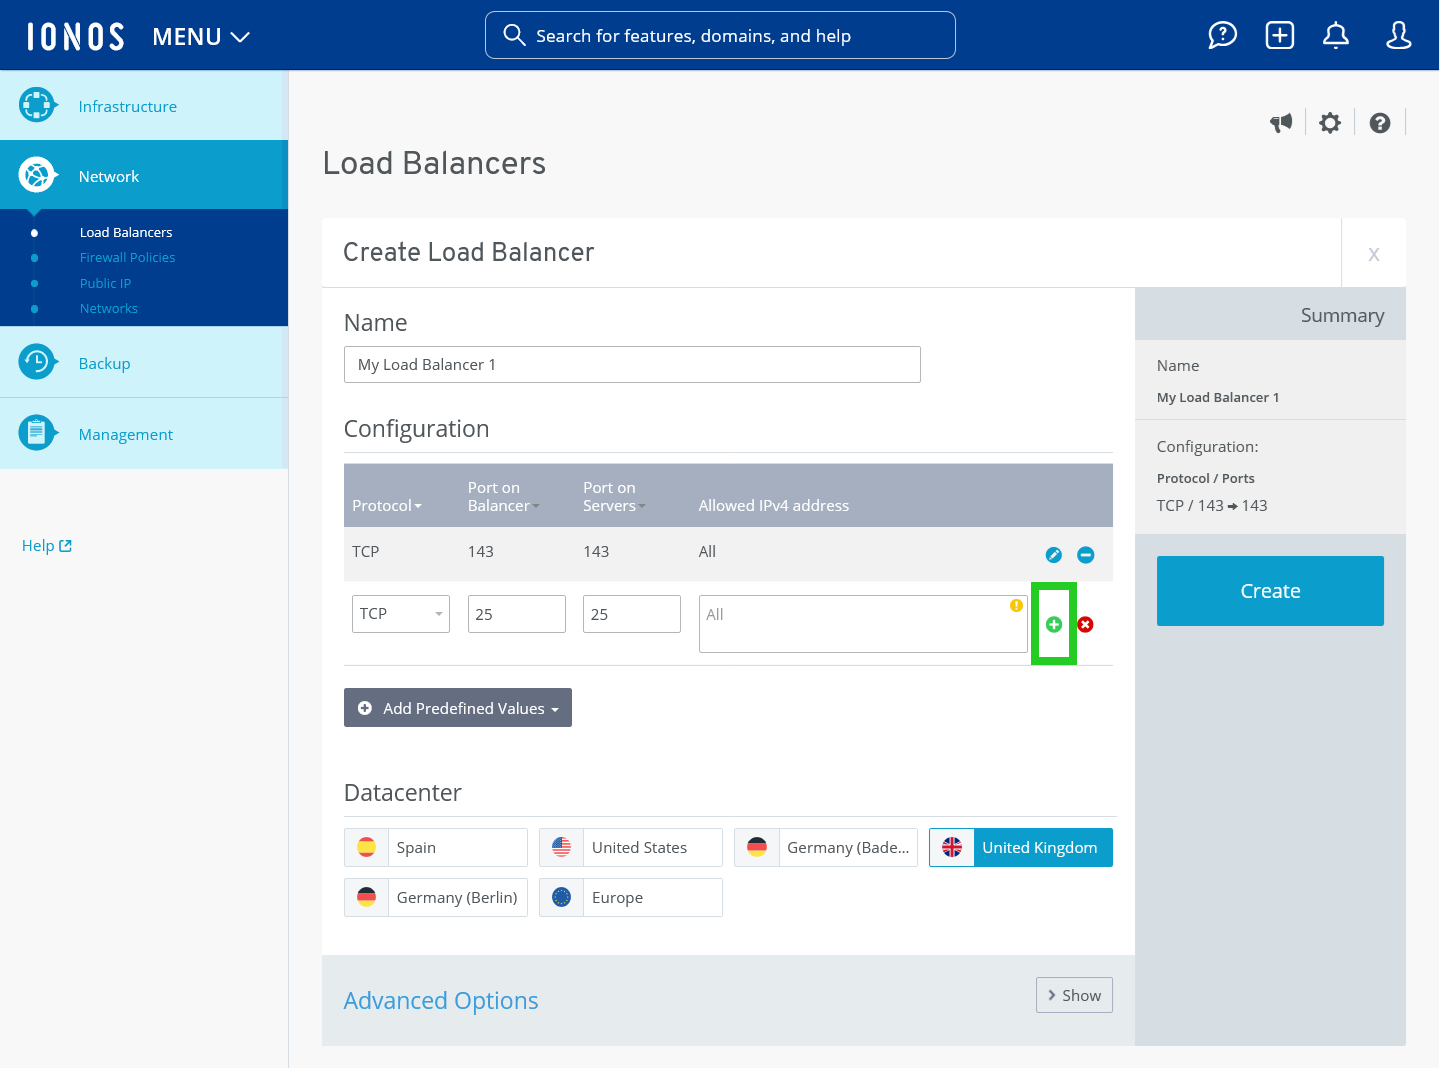
Enter the desired name.
Specify the individual configuration of the load balancer:
Select the desired protocol in the Protocol list.
In the Port on Balancer field, enter the port of the load balancer that is to be used for checking the traffic.
In the Port on Servers field, enter the port of the server to which the traffic coming from the load balancer is to be forwarded.
Alternatively, you can insert an already defined default configuration in the Add Predefined Values menu.
In the Allowed IPv4 address field, enter the IP address(es) for which API access is to be allowed. Multiple IP addresses can be separated by a comma.
All: Access to the load balancer port is possible with any IP address.
Single IP address: Access to the load balancer port is only possible with the IP address you have entered.
IP addresses of a network or subnet: The load balancer port can be accessed with any IP address in the network or subnet.
To create the configuration rule, click on the plus sign (Add rule).
- Create additional configuration rules if necessary.
- Select the desired data centre.
Note
Load balancers must be set up separately for each data centre. Example: If you have set up a load balancer in the USA data centre, you can only assign it to Cloud Servers, Dedicated Servers, and networks that are hosted in the same data centre. If you cannot find your server's data centre in the selection, select EU to use the load balancer for this server.
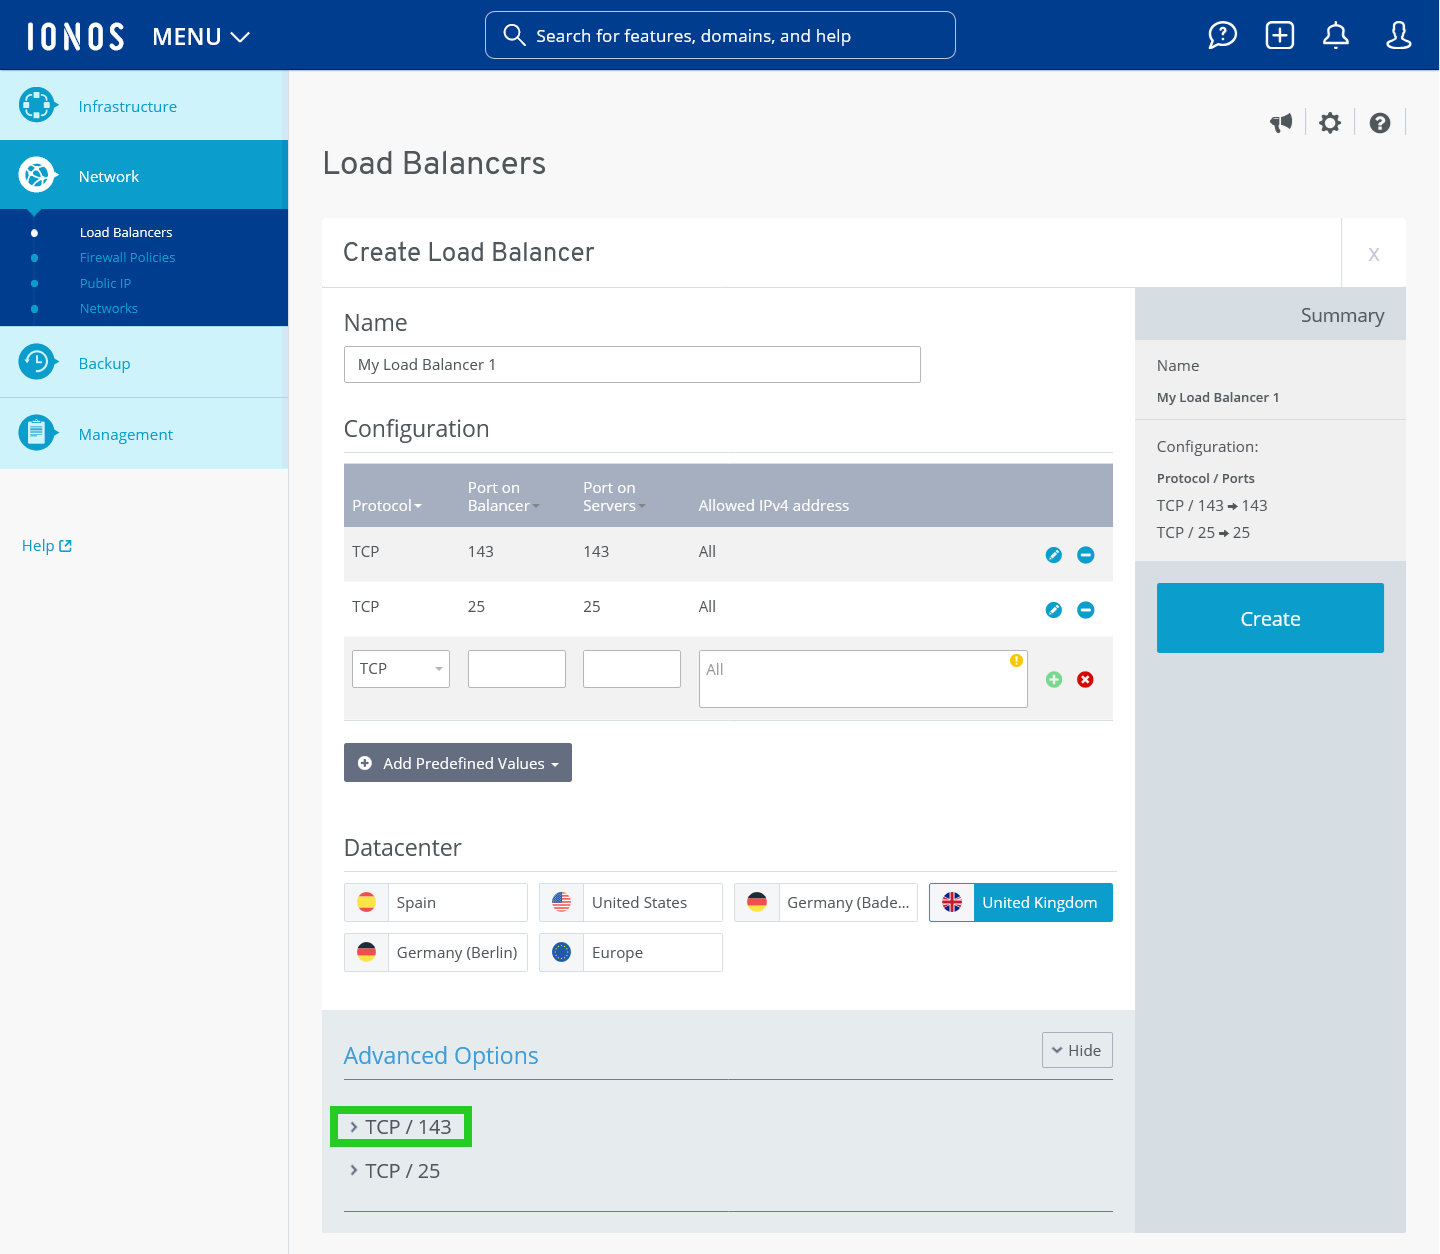
- Click on Show in the Advanced Options area.
- Click on the greater than symbol (>) next to the desired entry.
Activate or deactivate the health check.
Check TCP port: The load balancer checks whether the ports to be balanced are open. The interval can be defined to the second.
ICMP test: The load balancer checks whether communication via ICMP is possible.
HTTP: The load balancer checks whether communication via HTTP is possible.
HTTPS: The load balancer checks whether communication via HTTPS is possible.
Deactivated: The health check is deactivated.
Enter the desired interval.
Activate or deactivate the Persistence option.
Optional: If you have selected the HTTP or HTTPS health check, enter the URL to be monitored in the URL: field and the expected result in the Expected result field.
If you activate the Persistence option, all requests from a computer are forwarded to the same server within the time period you specify. To do this, enter the desired time period in the Time (seconds) field.
Select the desired balancing method:
Round Robin: Even distribution of traffic to all server that are assigned to the load balancer.
Least Connections: Redirection of traffic to the servern that have less traffic to process at this moment.
Click on Create.
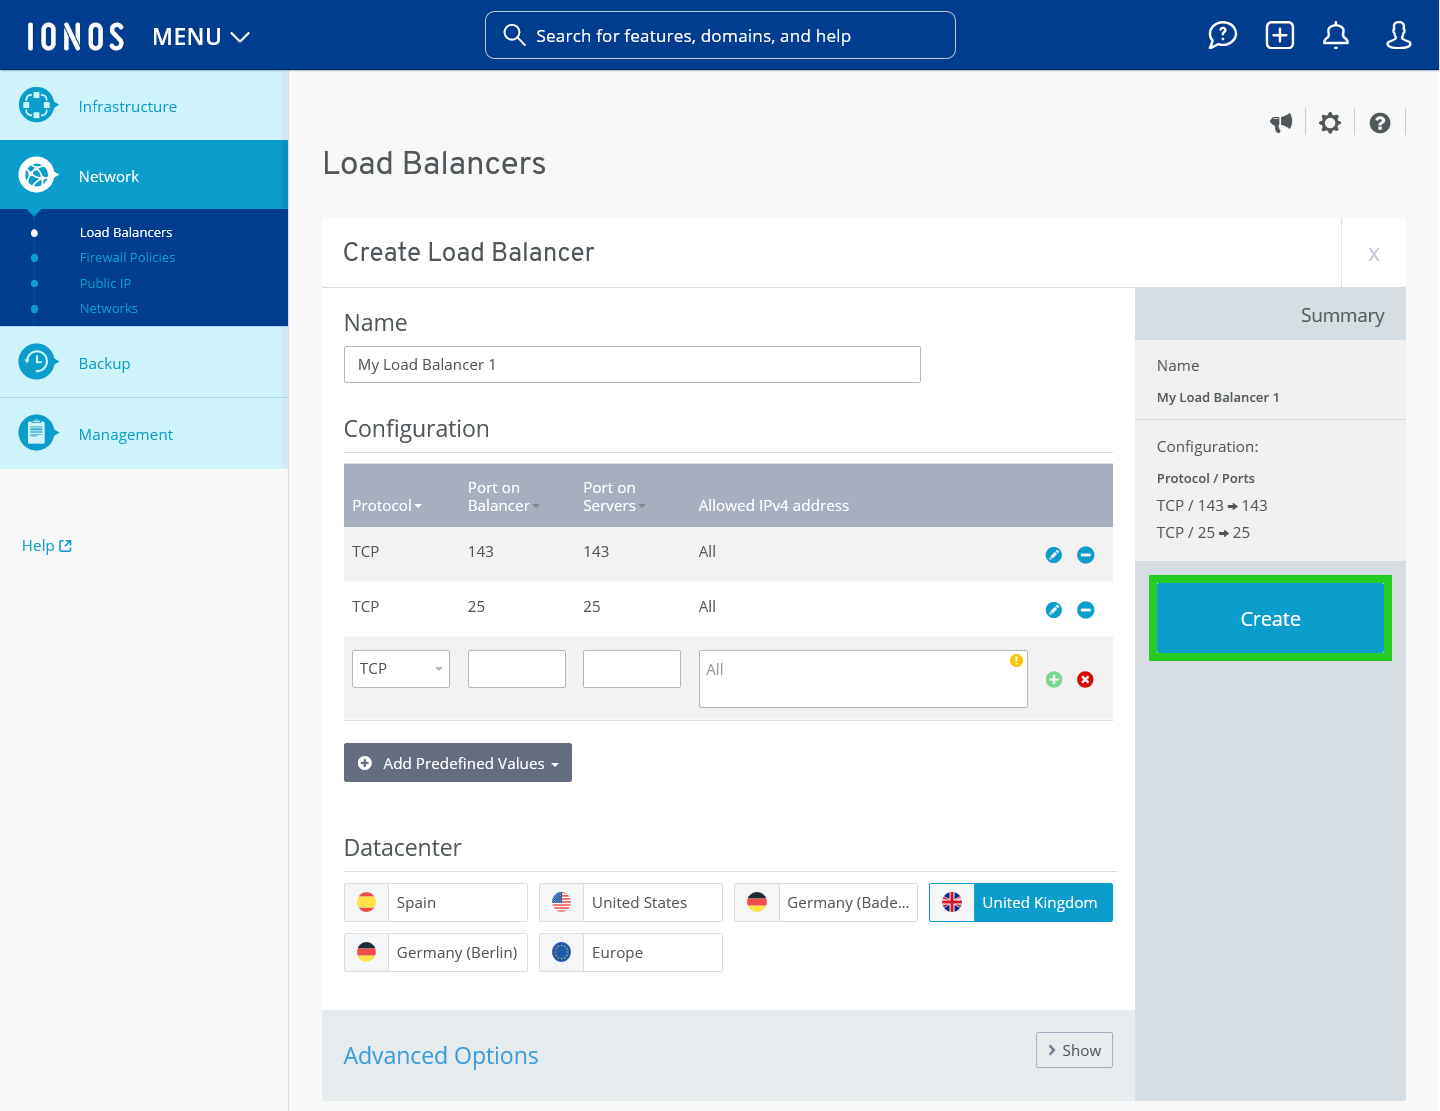
The load balancer is created.