Overview: Load Balancer (migrated Cloud Servers)
For migrated Cloud Servers, which are managed in the Cloud Panel
This article explains how to manage load balancers in the IONOS Cloud Panel in order to maximise data throughput and minimise the server load.
You can use a load balancer to maximise data throughput and minimise the server load at the same time. Load balancers can assess both the utilisation and the response times of individual servers and distribute the traffic to several servers following a set of rules.
The use of load balancers makes sense if your web applications have to be provided by several servers and high availability must be guaranteed. This applies, for example, to websites with heavy traffic.
You can use the following questions to determine whether a load balancer is required:
Do you need several servers to provide your web applications?
Do you need to guarantee high availability of the web applications?
Is there a high volume of traffic?
Note
You can also use several load balancers to ensure optimal traffic distribution.
You can find more information on how load balancers work and how to use them in the following article:
Load Balancers: General information
Open load balancer area
- Log in to your IONOS account.
Click on Menu > Servers & Cloud in the title bar.
Optional: If you have multiple server contracts, select the desired contract.
The Cloud Panel opens.
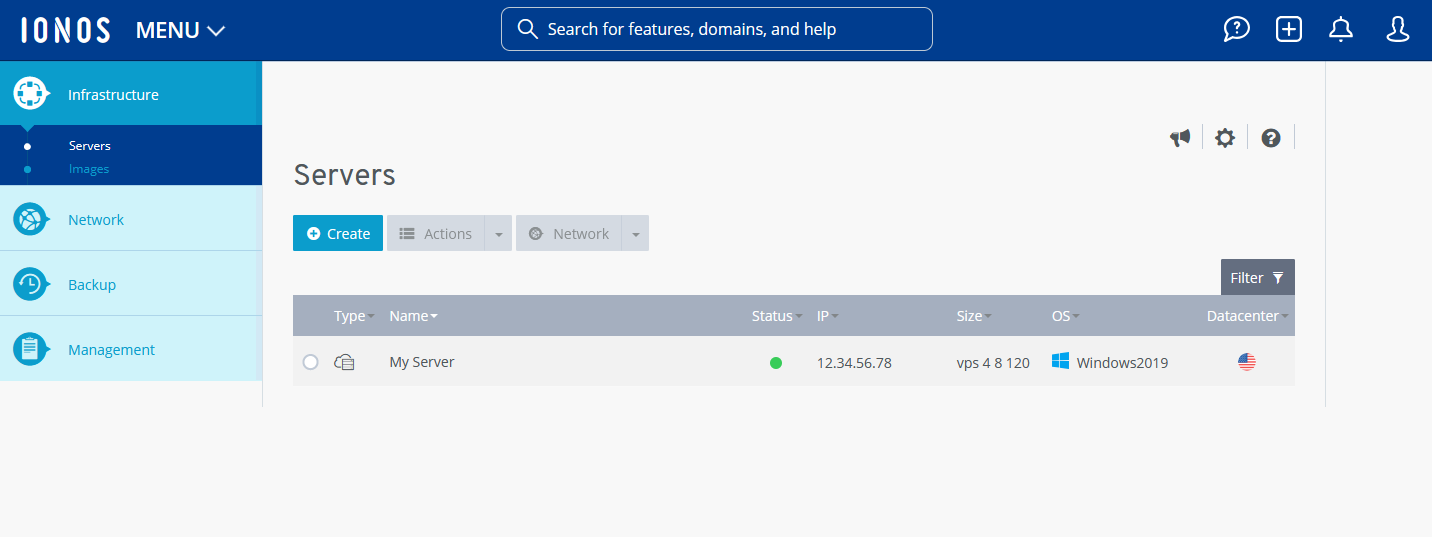
- Click on Network > Load Balancer in the navigation bar on the left.
Structure of the load balancer area
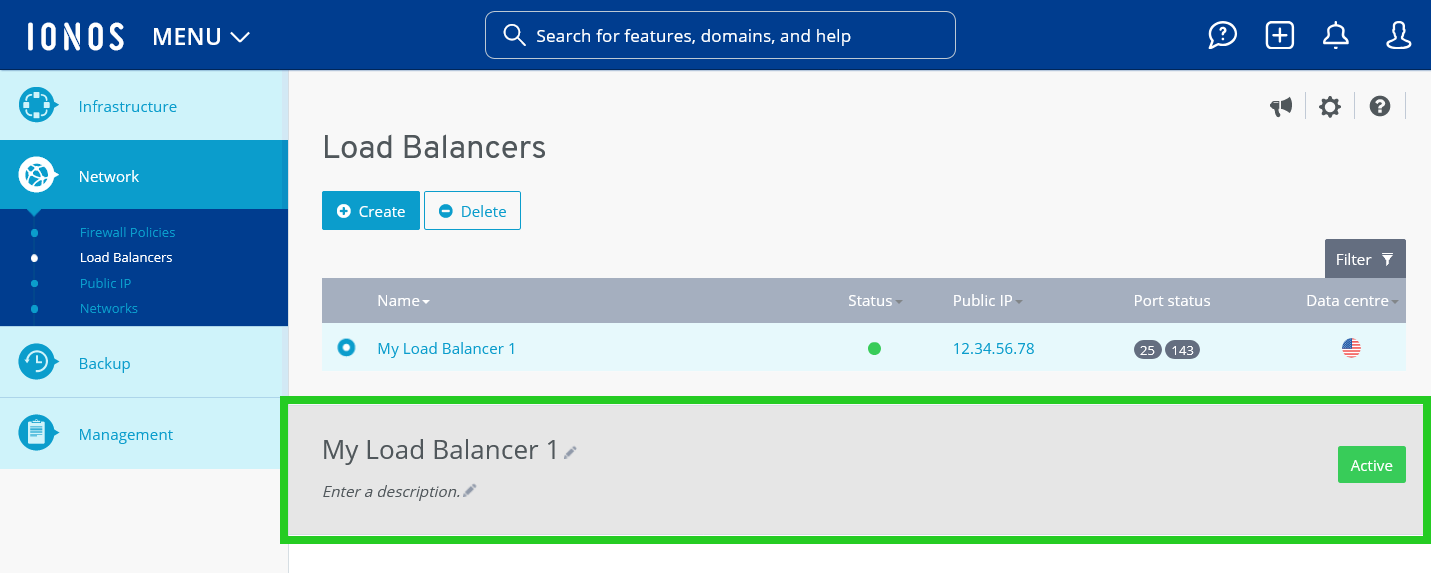
All the load balancers you have configured are listed in a table in the Network > Load Balancer area of the Cloud Panel. This table lists the most important information about the individual load balancers:
Name: Name assigned to the load balancer. You can change the name at any time.
Status: Current status of the load balancer.
Active: The load balancer is activated.
Being configured: The load balancer is being created or configured.
Delete: The load balancer is being deleted.
Public IP: IP address assigned to the load balancer.
Port status: Displays the ports to be monitored and their status.
Data centre: Data centre in which the load balancer is hosted.
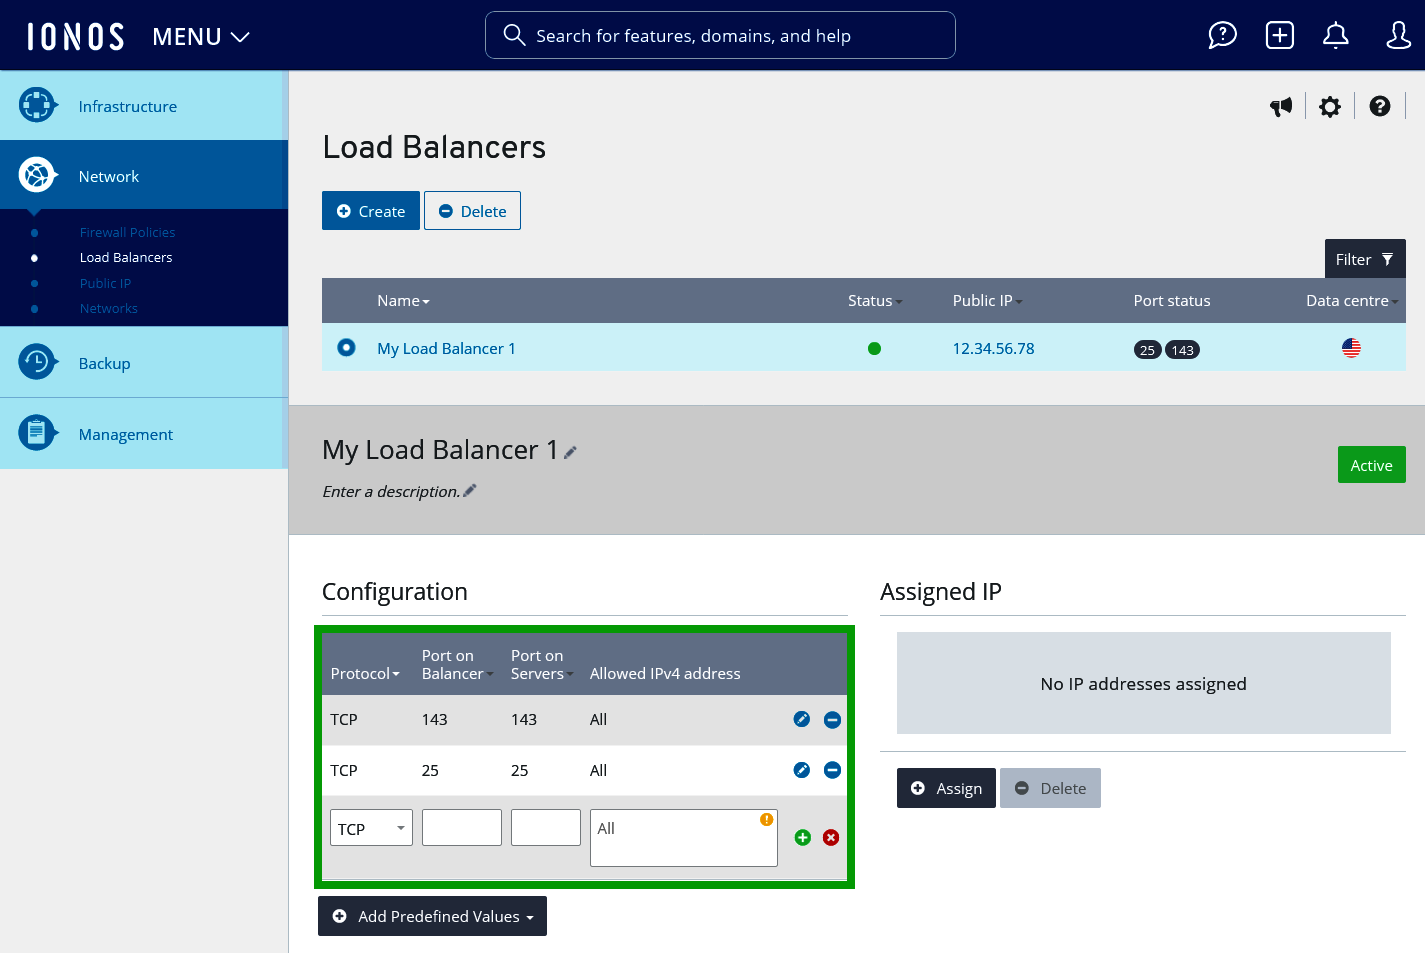
To display all information on the desired load balancer, click on the name of the load balancer. The list contains the following additional information:
Description: Description of the load balancer. You can change the description at any time.
Configuration: List of rules for protocols, ports, and IP addresses that are configured in the load balancer.
The following information is listed in the Properties section:
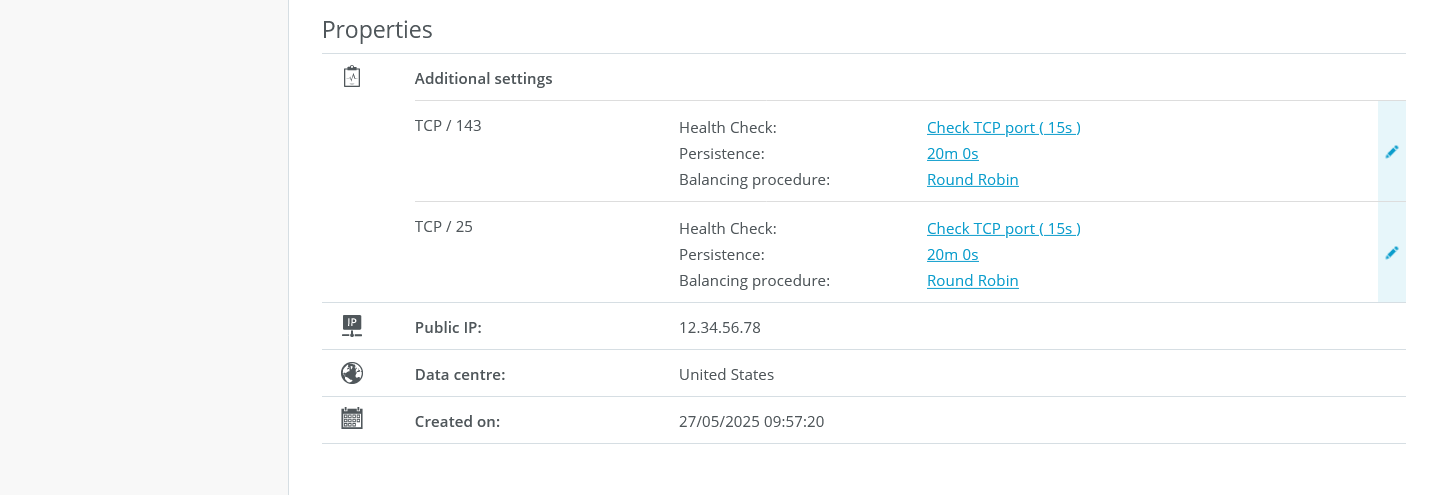
Other settings: The configured health checks are listed in this area.
Health check: Type of health check set.
Persistence: Indicates whether persistence has been activated. If persistence is activated, all subsequent requests from a device within the defined time period are always forwarded to the same server.
Balancing procedure: Balancing procedure that has been set for traffic distribution.
Round Robin: Even distribution of traffic to all servers assigned to the load balancer.
Least Connections: Redirection of traffic to the servers that have less traffic to process at that moment.
Public IP: Public IP address of the load balancer.
Data centre: Data centre in which the load balancer is hosted.
Creation date: Date on which the load balancer was set up.
To edit an element, click on the pencil icon.