Checking and Changing a Sender Address in Outlook 2016/2019
This article explains how to check and change the sender address in Microsoft Outlook 2016/2019.
Please Note
In order to increase security for our customers, we will deactivate sending with alternative or empty sender addresses on our email servers from the 29th January 2024. After this date, emails can only be sent if the sender address has the same domain as the email account used.
For details on the settings you need, please refer to the article Important change for sending emails with a different sender address.
Change the Sender Address
To check and change the sender address in Microsoft Outlook 2016/2019, follow the steps below:
Open Microsoft Outlook.
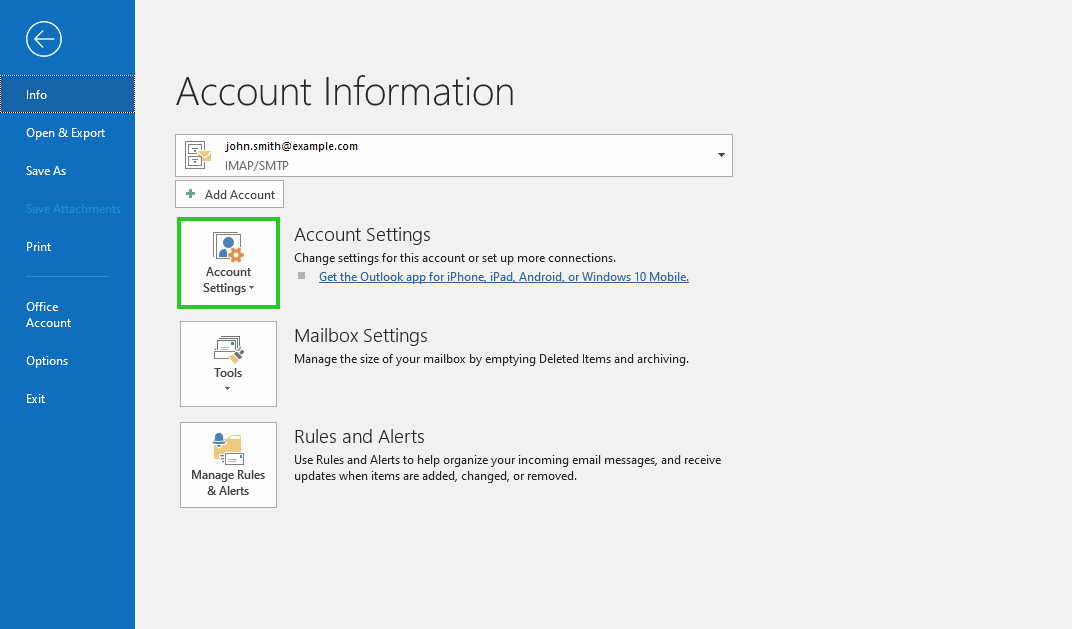
Click on File in the top left of the menu bar.
In the Account information area, click on the Account Settings button.
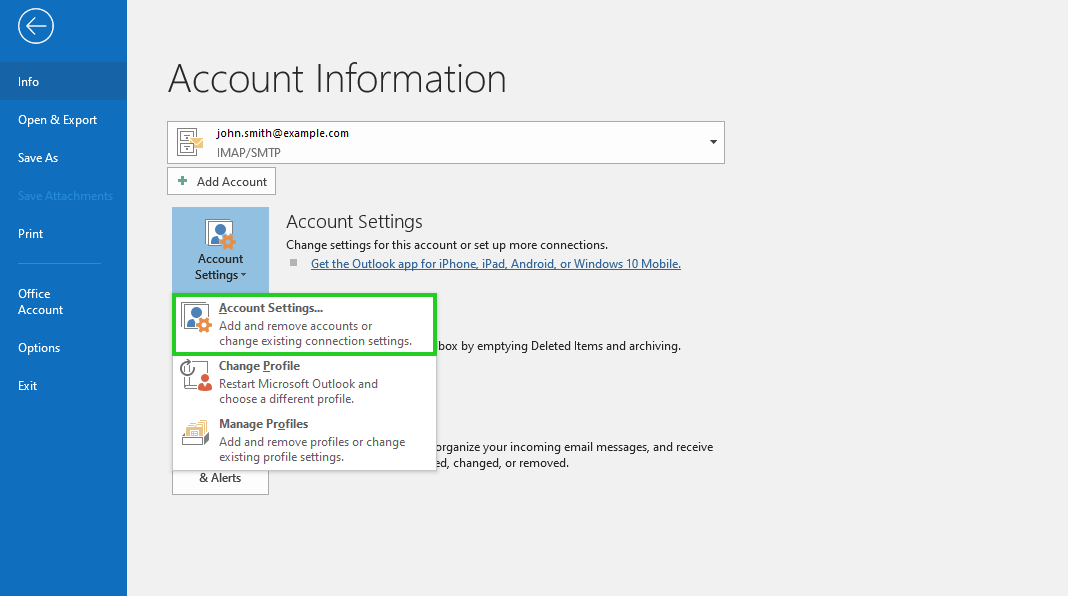
Click on Account settings...
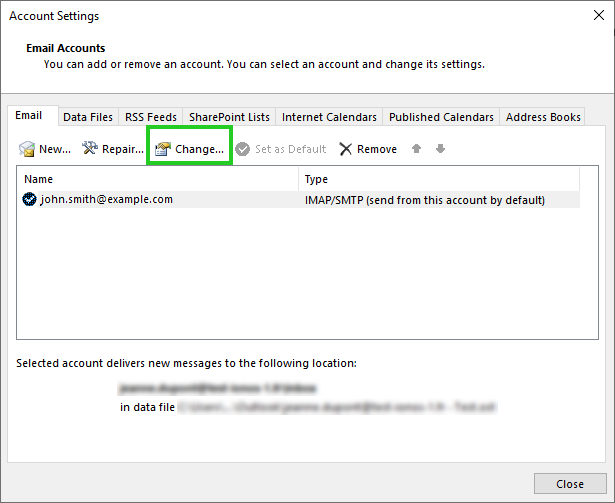
Select the desired account in the Email tab and click on Change ...
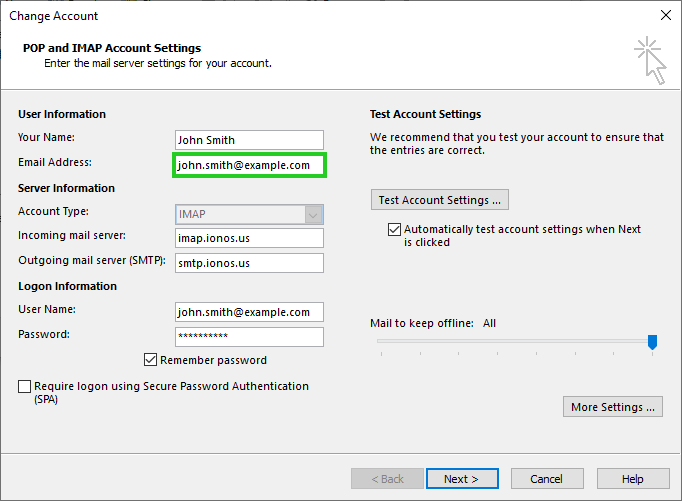
- Check whether the same email address is entered in the field Email Address as is displayed in the field User Name. If a different email address is entered, replace it.
Example: You have set up an email account with the email address john.smith@example.com. This address is also used for authentication on the IONOS outgoing mail server (SMTP). As the sender address, you are using a Gmail account.
From the 29th January 2024, you can only use sender addresses ending in the same domain as the mailbox. Emails with sender address using a different domain than the mailbox, such as the @gmail.com used in the example, will no longer be delivered. In this case, the IONOS outgoing mail server (SMTP) sends the following error code: Sender address is not allowed
Click Next.
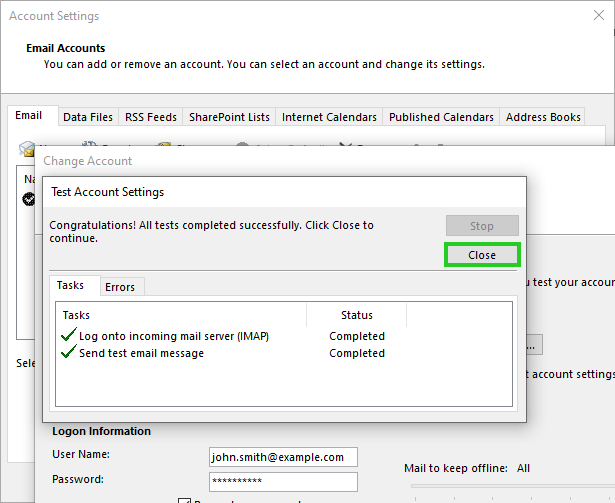
The Test account settings window opens. The account settings are tested.Click on Close.
The Change account window opens.
Click on Finish.