Managing Public Folders for Microsoft Exchange® 2019 in Outlook
You can set up public folders to share data such as calendars, contacts, emails, and tasks with other Microsoft Exchange 2019 users set up in the same IONOS contract.
Prerequisites
- You need Microsoft Exchange 2019 accounts with at least one set as an administrator to set permissions for the other users. These accounts also must be within the same contract number.
Microsoft Exchange® 2019 is fully set up. For more information, please see the article Setting up Microsoft Exchange 2019 in Outlook 2019.
Public folders have been enabled in the Microsoft Exchange 2019 Administration Tool by an administrator.
Start Microsoft Outlook with the Microsoft Exchange 2019 account previously configured in it.
In the Home tab, click the mailbox name in the folder list on the left (if necessary).
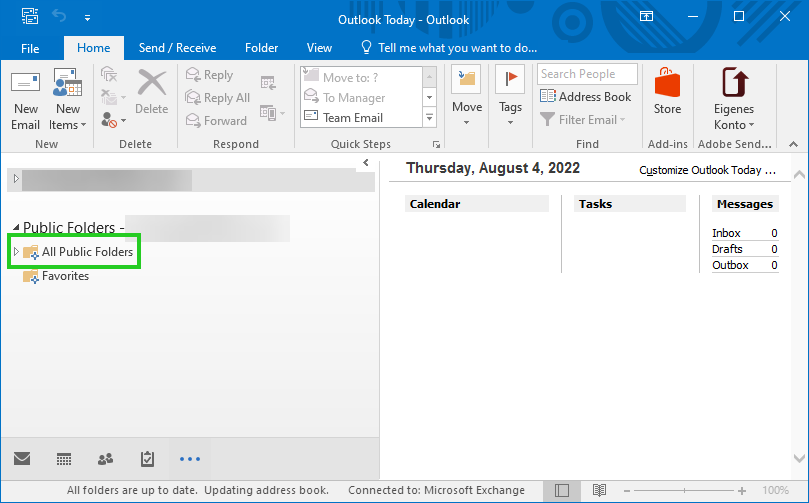
If you don't already see the Public Folders option below your mailbox (as shown in the image below), switch to the folder list in the folder pane by pressing the [CTRL] and 6 keys simultaneously.
Click the arrow next to All Public Folders. This will expand the list of additional subfolders created by the system.
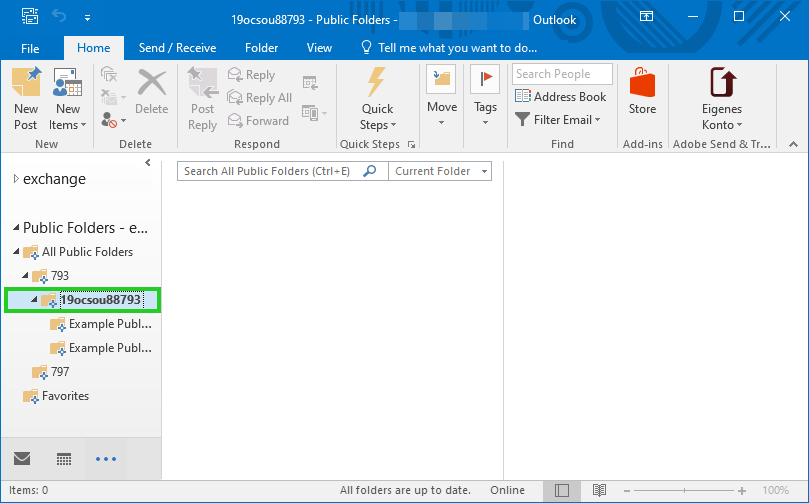
Find the subfolder that has ocsou or ocsu within its name. In this folder, you can create new public folders and manage any existing public folders.
If desired, click on one of the public folders that you want to edit.
By right-clicking on one of the subfolders, you can select the Properties item. Within the folder's properties, as an administrator, you will find various parameters for managing the folder. For example, in the Permissions tab, you can define which user can edit, read or even delete elements (e.g. appointment entries) within the folder.
Detailed documentation on managing public folders can also be found on Microsoft's help pages: