Writing and sending emails with webmail
Valid for Mail Basic and Mail Business.
With Webmail, you can write and send emails without additional programs on any computer with a browser installed. In this article, we'll show you how to do it.
Note
To write emails even easier and faster, you can add the AI Email Assistant to your Webmail. This innovative tool allows you to generate texts, translations and summaries of your emails automatically thanks to the support of artificial intelligence. You can learn how to do this in the article Creating texts with AI Email Assistant.
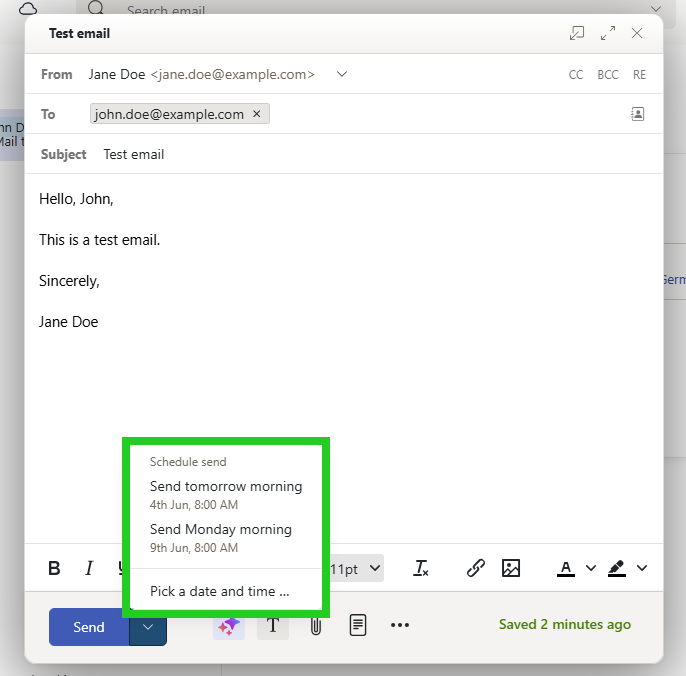
Please note that the AI Email Assistant is a paid plugin and is not included in the standard version of Webmail. For instructions on how to add it to your Webmail, please see the article Adding the AI Email Assistant to Webmail.You can send your emails at a later time. You can schedule the sending time as you wish.
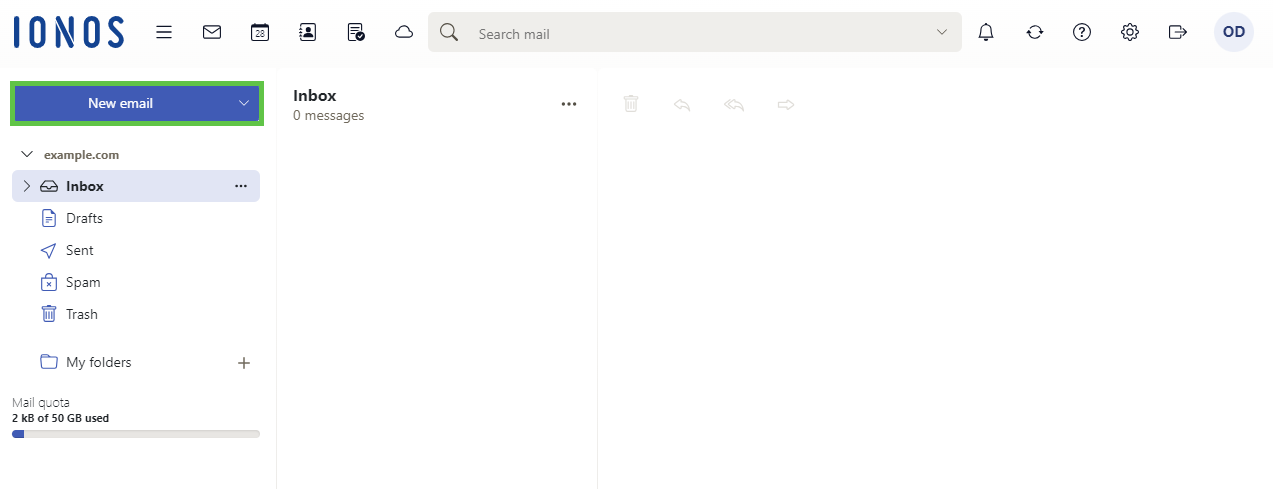
- Log into IONOS Webmail.
- Click on New email in the navigation bar on the left. If this button is not displayed, click on the email icon in the top left of the main navigation bar.
- Select the sender in the From field.
- Enter the recipient in the To field. To enter additional recipients, click on Enter CC (copy) or BCC (blind copy).
- Enter a subject in the Subject field.
- Enter the message text.
- To add a signature, click on the three-dot icon at the bottom of the toolbar and select the desired signature in the Signatures area.
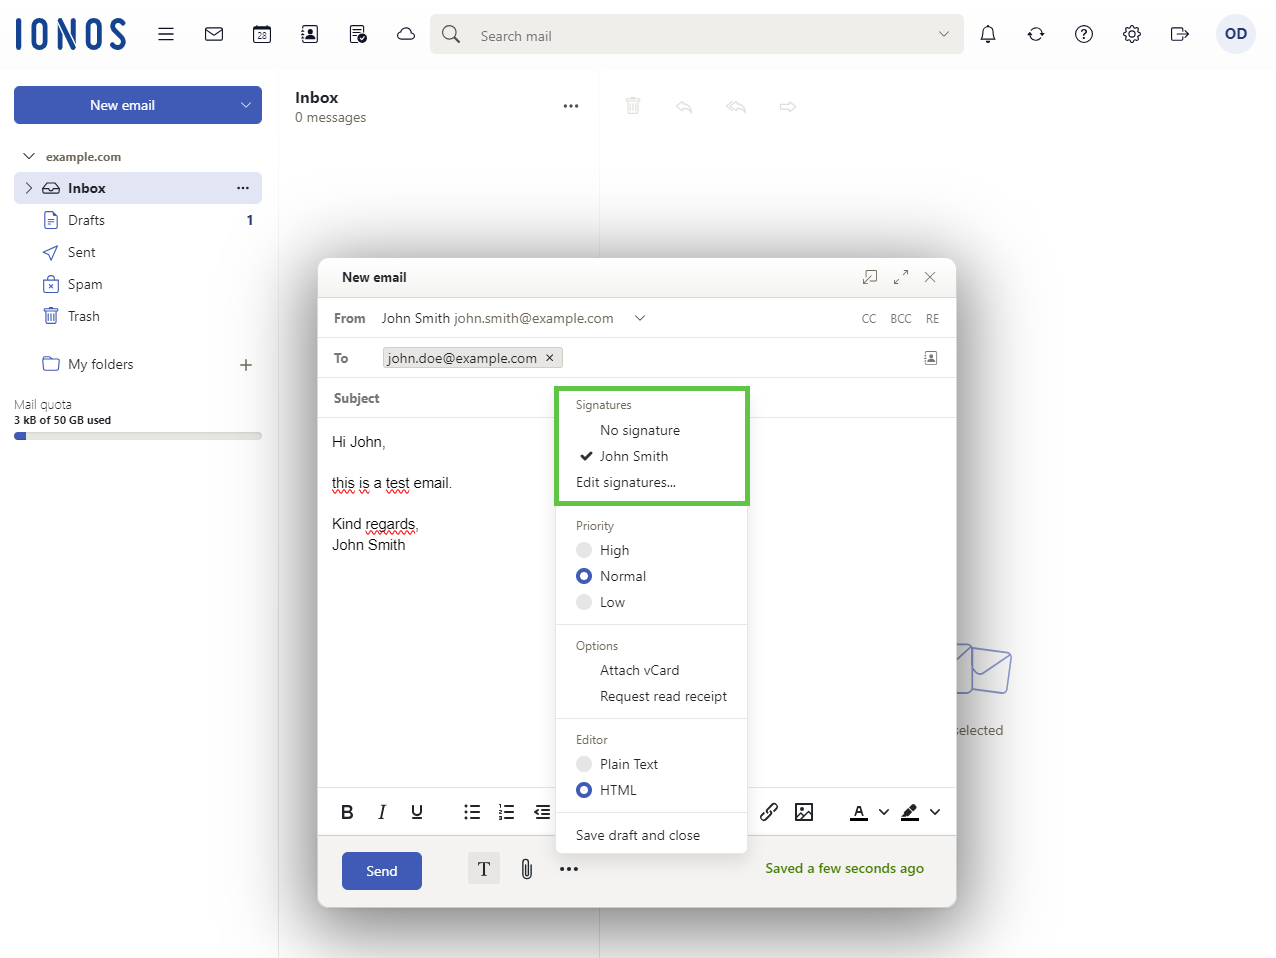
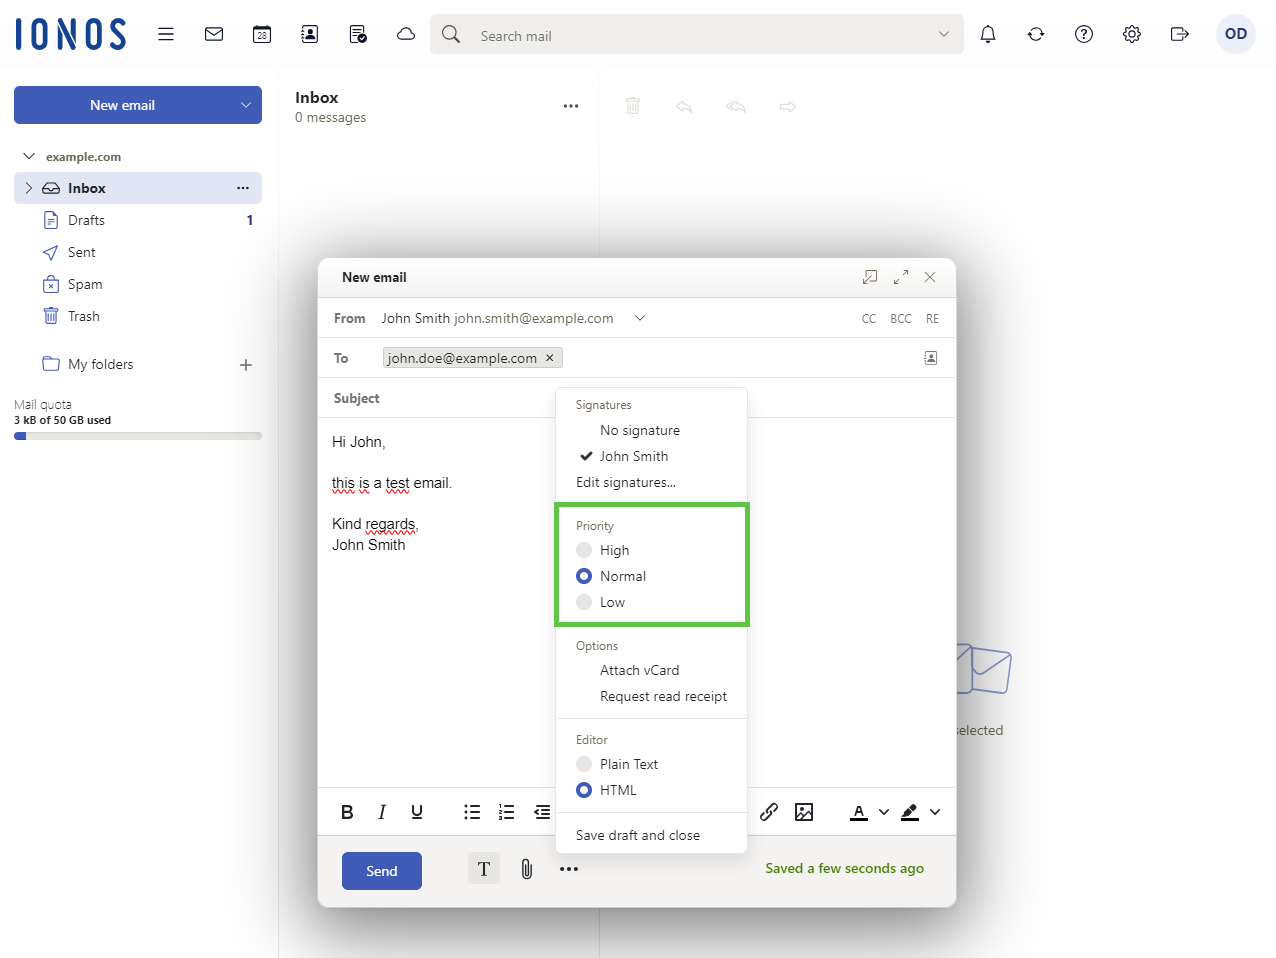
- Optional: To change the priority of the email, select the desired priority in the section priority.
- Optional: To attach a business card, click on Attach business card in the Options area.
- Optional: To request a read receipt, click Request read receipt in the Options area.
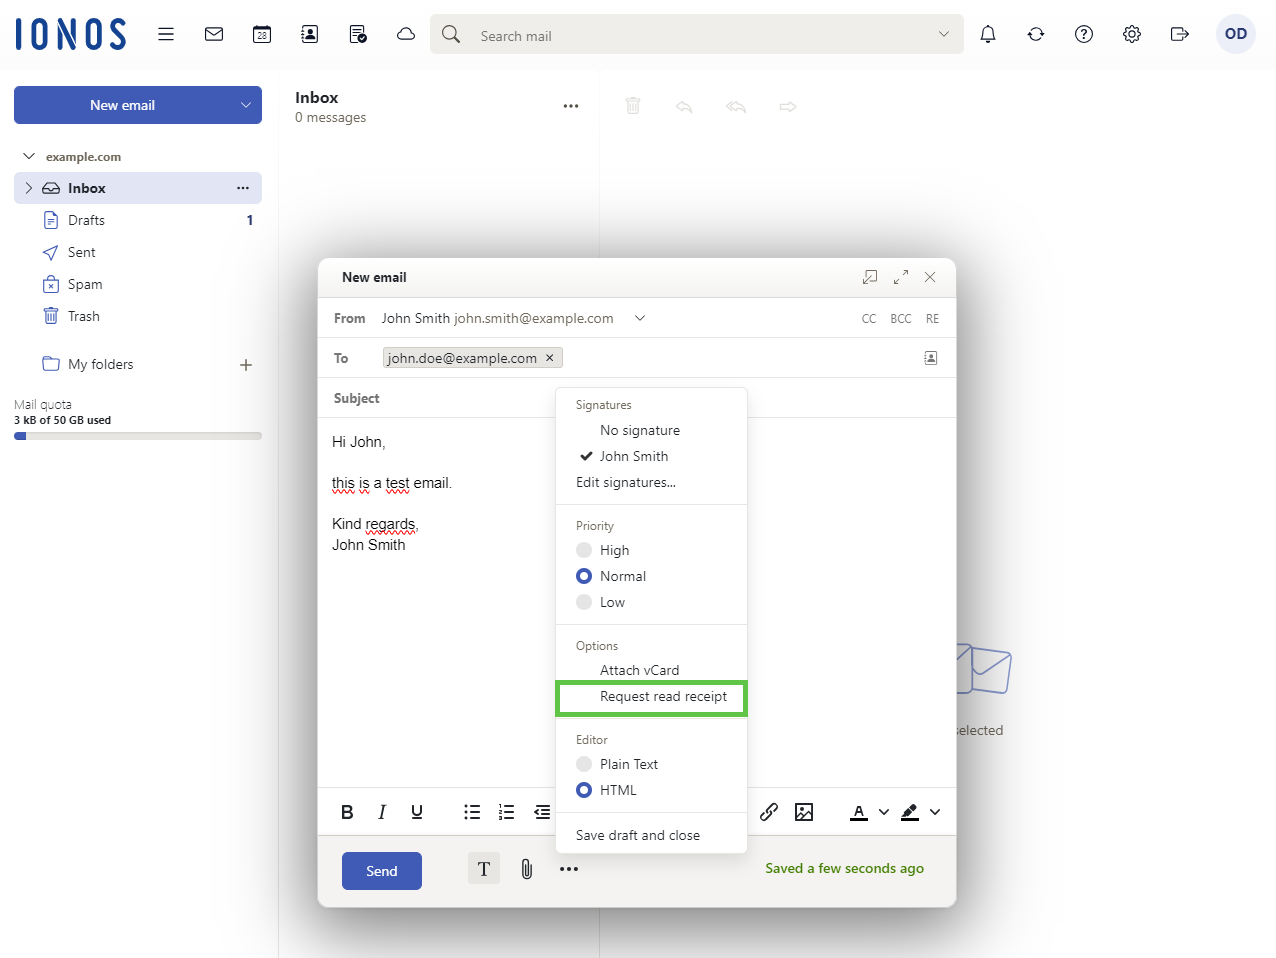
- Optional: To change the email format, select the desired format in the Editor area.
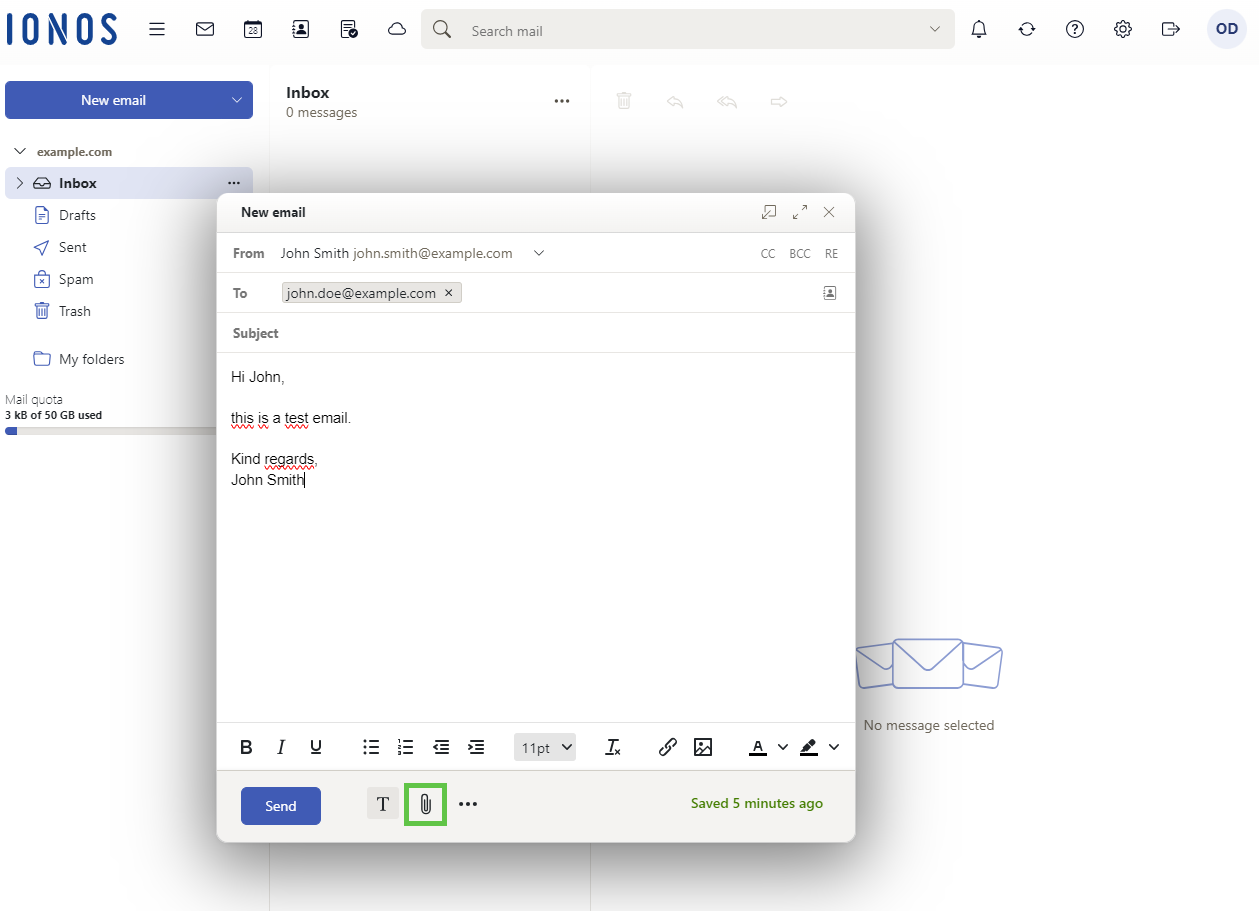
- To add a file attachment, click on the paperclip symbol.
- Optional: To save the email, click on the three-dot icon and select the option Save draft and close.
- To send the email, click on Send.
To send an email at a later time, click the down arrow next to the Send button and select the desired sending time.