Microsoft 365: Creating a DKIM Entry for a Domain in the Microsoft 365 Defender Portal
DKIM stands for "DomainKeys Identified Mail" and is a method for checking the authenticity of emails. This method is used to ensure that emails actually originate from the specified domain and have not been forged.
DKIM allows you to add a digital signature to outgoing email messages in the message header. These signatures are based on cryptographic keys and are verified by recipient mail servers to ensure that the email actually comes from a trusted source and has not been tampered with.
With this method, a private key encrypts the header in outgoing emails from a domain. The public key is published in the domain's DNS records. Receiving servers can use this public key to decrypt the signature.
If you configure DKIM correctly, the likelihood of your emails being classified as spam is reduced. In this way, DKIM helps to ensure that your emails are properly delivered by email providers.
By implementing DKIM, you also increase the recipients' trust in your emails. This is particularly important when sending business emails, as recipients can ensure that the messages actually originate from your trusted domain. DKIM also helps to protect your emails from phishing attacks, where attackers send fake emails in the name of your domain to steal confidential information.
Finding the Required CNAME Entries in the Microsoft 365 Defender Portal
Log in to the Microsoft 365 Defender portal at the URL https://security.microsoft.com/ with your Microsoft 365 administrator account.
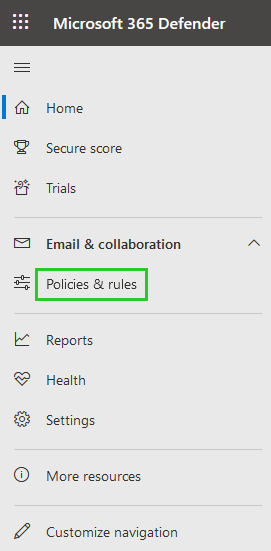
Click Policies and rules in the navigation bar on the left.
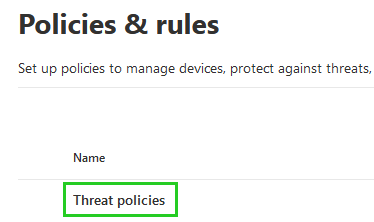
Click on Threat policies.
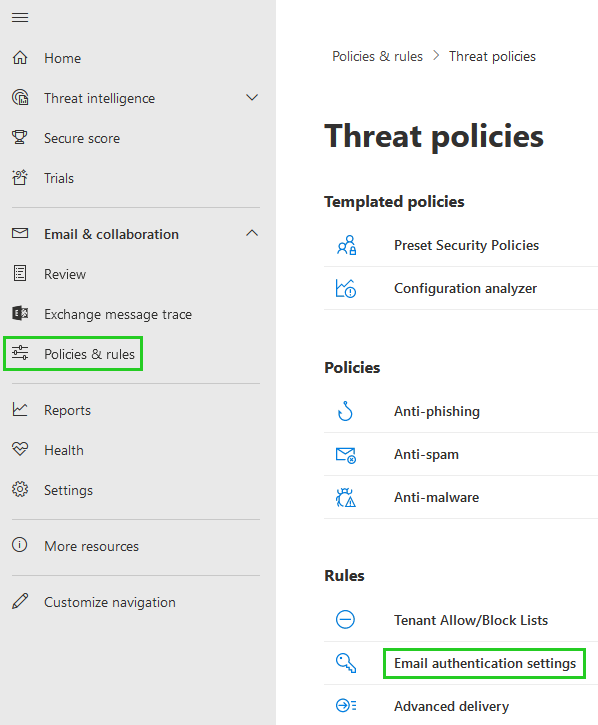
Click on Email authentication settings.
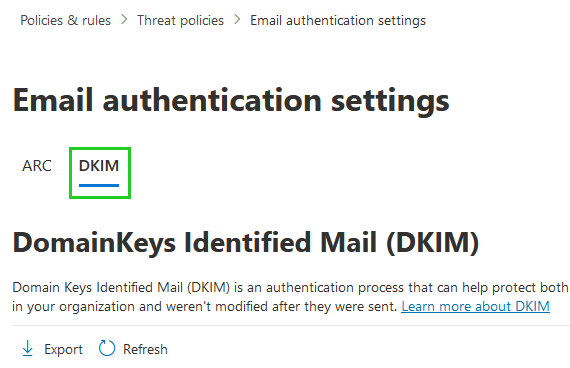
Select the DKIM tab.
Click on the desired domain.
Move the switch in the Sign messages for this domain with DKIM signatures area to the right.
If no switch is displayed and no DKIM key has yet been saved for the desired domain, click on Create DKIM key at the bottom left.
The Publish CNAMEs window opens.Copy the required CNAME entries, paste them into a document and save it. You must configure the CNAME entries or CNAME records for the desired domain in your IONOS account.
Please Note
Under certain circumstances, you may see the Client error window instead of the Publish CNAMEs window.
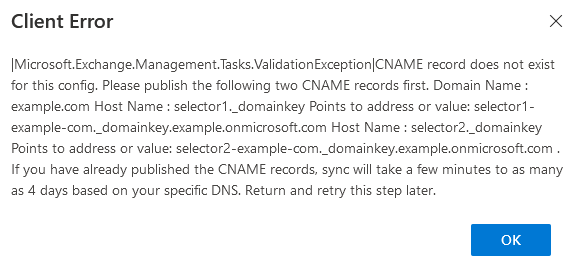
In this case, also copy the required CNAME entries and follow the steps listed below.
Close the Publish CNAMEs window.
Configuring CNAME Records in the IONOS Account
Open a new tab in your browser.
- Log in to your IONOS account.
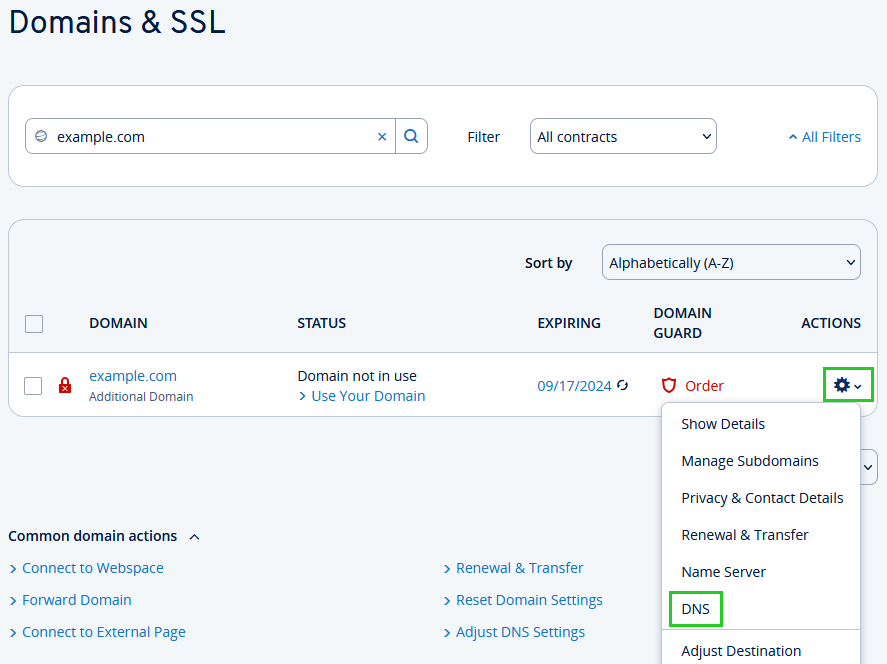
Click on the Domains & SSL tile.
Click on the gear icon under Actions for the desired domain.
Click on DNS.
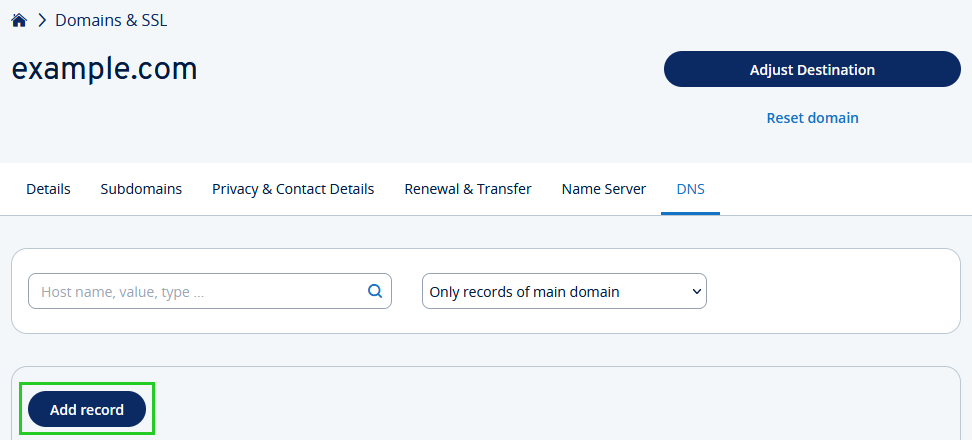
Click on the Add Record button.
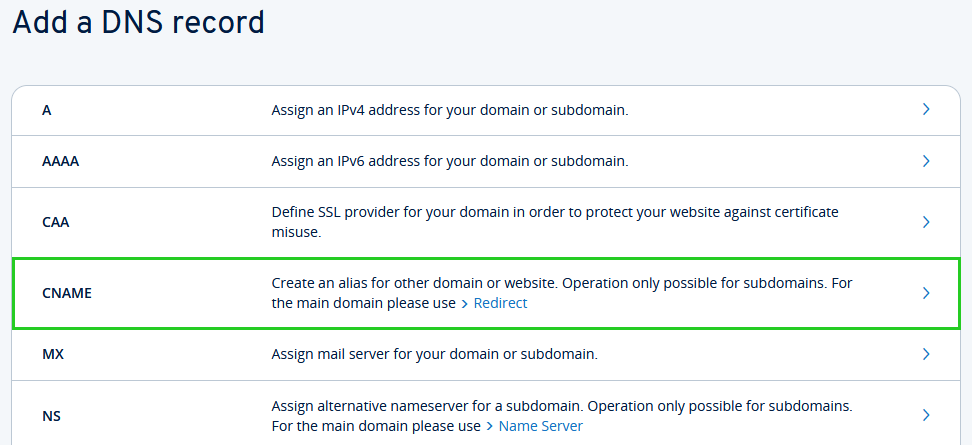
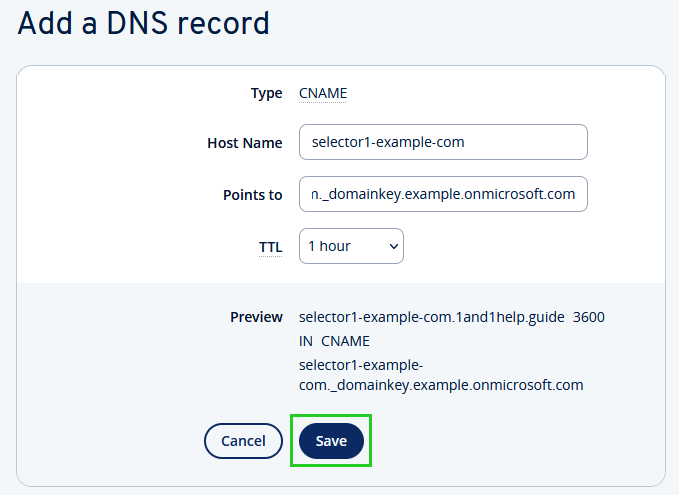
Under Type, select the entry CNAME.
In the Hostname field, enter the first host name that you have previously saved. Example: selector1._domainkey
Enter the corresponding URL in the Points to field.
Enter the fully qualified host name here. This is entered without the http:// or https:// part - e.g. selector1-example-com01b._domainkey.maxmustermann.onmicrosoft.com.Make sure that the TTL is set to 1 hour.
To add the CNAME record, click on Save.
Add the other required CNAME records.
Your changes will take effect immediately at IONOS. However, it can take up to an hour for the change to take effect everywhere due to the decentralized structure of the Domain Name System.
Activating DKIM
To activate DKIM, return to the Microsoft 365 Defender portal.
Move the switch in the Sign messages for this domain with DKIM signatures section to the right.
If you see the error "CNAME record does not exist", this may have the following causes:
Synchronization with the DNS server has not yet been completed. This can take a few seconds to hours. If the problem persists, wait an hour and repeat the steps again.
Look for errors when copying and pasting, such as extra spaces or tabs etc.
Additional Information
For more information on DKIM, see the following article from Microsoft:
Using DKIM to verify outbound email sent from your custom domain