Creating a VPS+ server
Valid for VPS+.
This article shows you how to create additional servers within the Cloud Panel, alongside your existing VPS+.
Note
The creation of an additional VPS+ is only possible in the Cloud Panel if you have already created a VPS+. In this case, you can create another VPS+ as part of the same contract within the Cloud Panel.
- Log in to your IONOS account.
Click on Menu > Servers & Cloud in the title bar.
Optional: If you have multiple server contracts, select the desired contract.
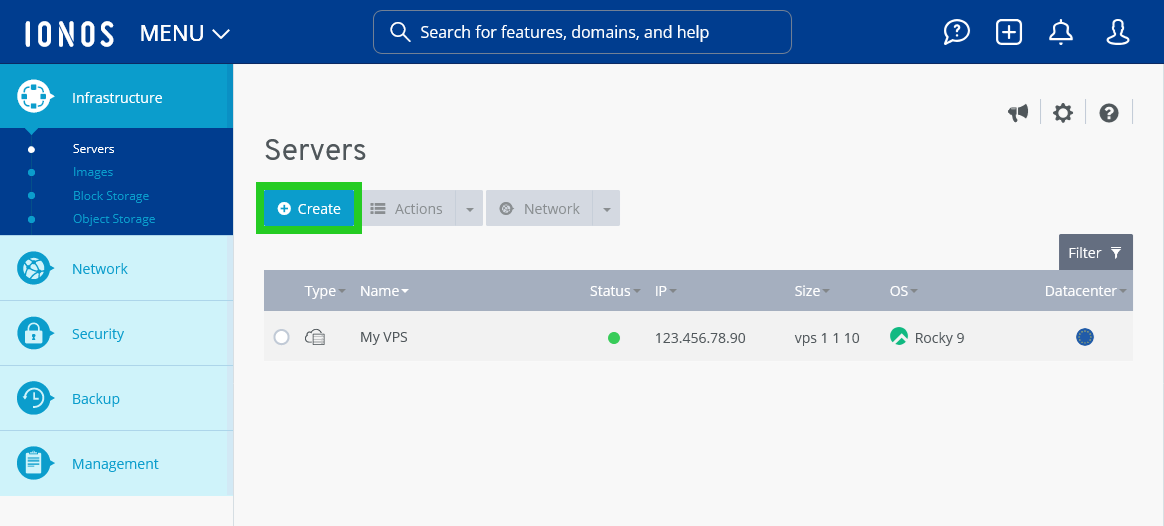
- Click on Create in the Infrastructure > Servers area of Cloud Panel. The Create server area opens.
- Enter the desired server name in the Name field.
- Select the desired server configuration in the Size list.
- Select the operating system for the server in the Images area.
- For Microsoft Windows Server operating system: Read and accept the Microsoft end user license conditions.
- Select the desired data centre in the Datacenter area.
Notes
The shorter the geographical distance between your servers and the visitors, the shorter the loading times. To optimise the loading time, we recommend selecting an IONOS data centre that is close to your users.
Firewall policies can be assigned to all servers regardless of the IONOS data centre selected.
- Click on Show in the Advanced Options area.
- Enter the password for access to the server in the Password field, and repeat it.
- Select a firewall policy from the Firewall policy list.
- Click on the Public IP dropdown list to specify whether an existing or a new public IP address should be assigned to the server.
- Click on the Network field to select whether the server should be assigned to a network.
- Click Create on the right side.
The server will now be created.