Installing and Configuring OpenVPN (Ubuntu)
Please use the “Print” function at the bottom of the page to create a PDF.
For Cloud Servers, Dedicated Servers and Server Power Deals managed in the Cloud Panel
To use a VPN, you have to install the OpenVPN software on the local PC and then configure it. In the Access section, you can download a zip file with the necessary configuration file. To install and configure OpenVPN:
Installing OpenVPN
Requirements
- You have administrator rights.
You have already created a VPN in the Cloud Panel.
- You have logged in to your local PC.
To update Ubuntu, enter the following commands:
[root@localhost ~]# sudo apt update
[root@localhost ~]# sudo apt-get upgradeTo download OpenVPN, enter the following command:
[root@localhost ~]# sudo apt install openvpn
The following message will be displayed:The following packages were automatically installed and are no longer required:
libdumbnet1 libnetplan0 python3-netifaces
Use 'apt autoremove' to remove them.
The following additional packages will be installed:
libpkcs11-helper1
Suggested packages:
easy-rsa resolvconf
The following NEW packages will be installed:
libpkcs11-helper1 openvpn
0 upgraded, 2 newly installed, 0 to remove and 3 not upgraded.
Need to get 514 kB of archives.
After this operation, 1,274 kB of additional disk space will be used.
Do you want to continue? [Y/n]- Enter Y.
OpenVPN is installed.
Configuring OpenVPN
To configure OpenVPN:
- Log in to your IONOS account.
Click Menu > Server & Cloud in the title bar.
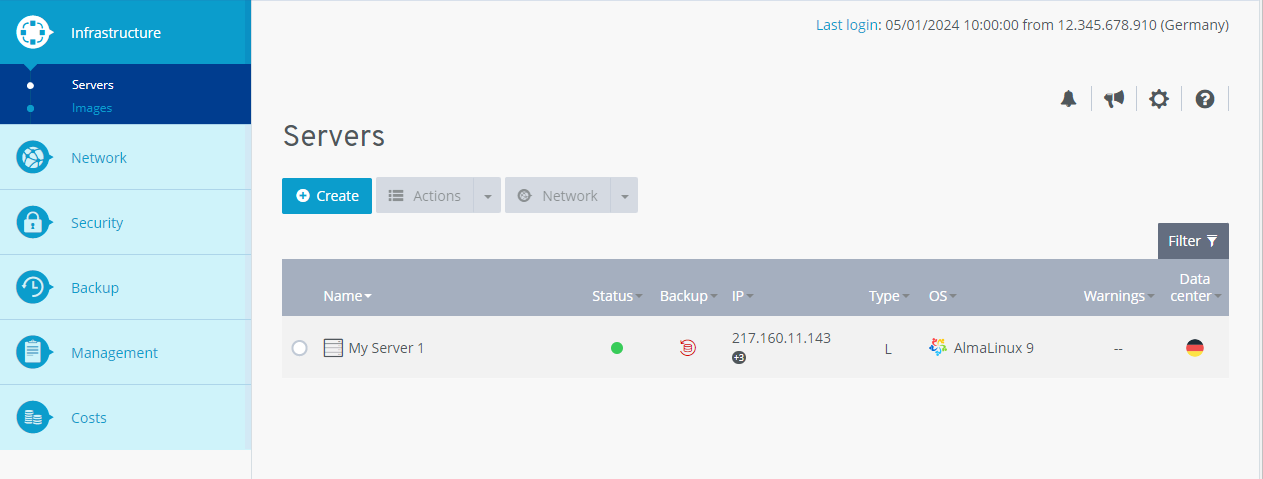
Optional: Select the desired Server & Cloud contract.The Cloud Panel opens.

Click Network > VPN in the navigation bar on the left.
Activate the desired VPN.
In the section Access, click Download to download the configuration files.
Save the zip-file.
Note
This zip file contains the configuration file.
Extract the zip file to the desired folder.
Copy the OpenVPN configuration file (e.g. vpn1234B_1.ovpn) to the installation directory.
Note
OpenVPN is installed by default in the /etc/openvpn directory.
To start OpenVPN, enter the following command:
[root@localhost ~]# openvpn /etc/openvpn/<vpnID>.ovpn
Example
[root@localhost ~]# openvpn /etc/openvpn/vpn45BC7_1.ovpn