Setting up Mail Business on iPhone and iPad
Valid for Mail Business on iPhone and iPad.
This article shows you how to set up your Mail Business mailbox in Apple Mail as a Microsoft Exchange account. This is the preferred method, as it supports the synchronisation of your emails, contacts, and calendars with Apple Mail. If you only want to access your emails, you can also set up your mailbox as an IMAP account. To set up your mailbox as an IMAP account instead, simply follow the instructions in the article Setting up an email account on iPhone.
Requirement
An active Mail Business mailbox is required. For more information, see the following article: Setting up Mail Business users
Access the settings.
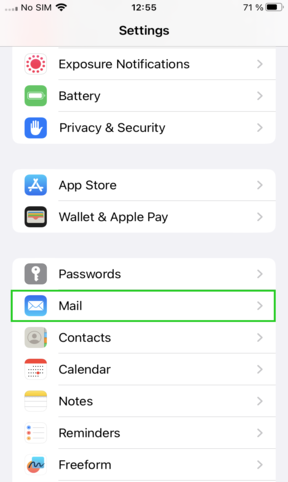
Tap Mail on the settings screen.
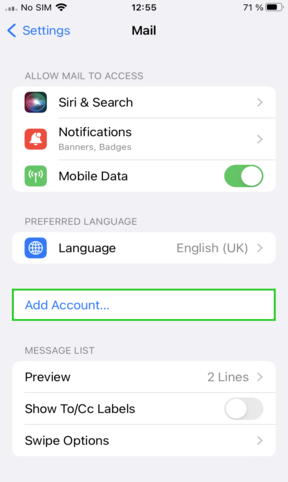
Tap Add Account. If you have already set up an account in Mail, tap Accounts > Add Account.
Note that the Add Account menu item on iPadOS is accessible from Settings > Passwords and Accounts.
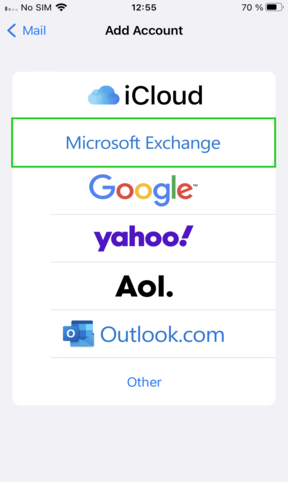
On the Add Account screen, select Microsoft Exchange as the account type.
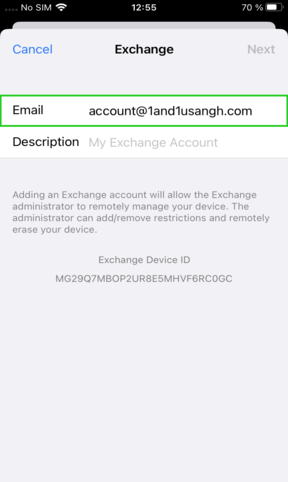
Enter the email address of your Mail Business account and tap Next.
The following window appears:
Sign in to your "YOUR EMAIL ADDRESS" Exchange account using Microsoft?
Tap Configure Manually.
Enter your password.
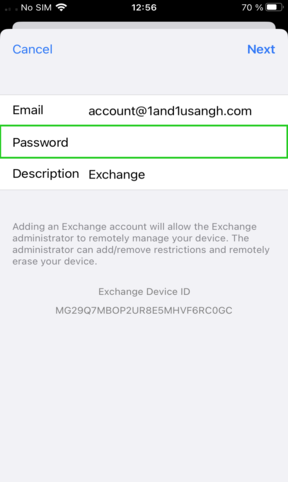
Tap Next.
A new window opens.Now enter the following data:
Server: s.mailbusiness.ionos.co.uk
Domain: Please leave this field empty.
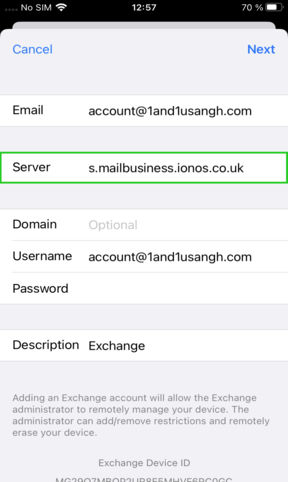
Tap Next.
On the Exchange screen, select which data (Mail, Contacts, Calendars, Reminders) you want to sync and tap Save.
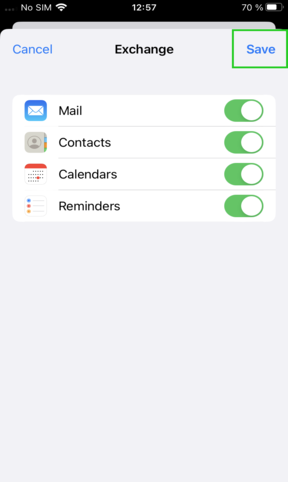
Your email account will now be set up.