Enabling and Configuring Two-Factor Authentication (MyDefender)
In this article, we'll show you how to enable two-factor authentication for the MyDefender product.
Before you can enable immutable storage, the first step is to enable two-factor authentication and then configure it for the specific user account. To do this, follow the steps below.
Enabling Two-Factor Authentication for All Accounts
- Log in to your IONOS account.
If you have an IONOS server and MyDefender, click Menu > Server & Cloud in the title bar. If necessary, select the MyDefender contract you want.
If you have purchased MyDefender and do not have a server, click Menu > MyDefender.
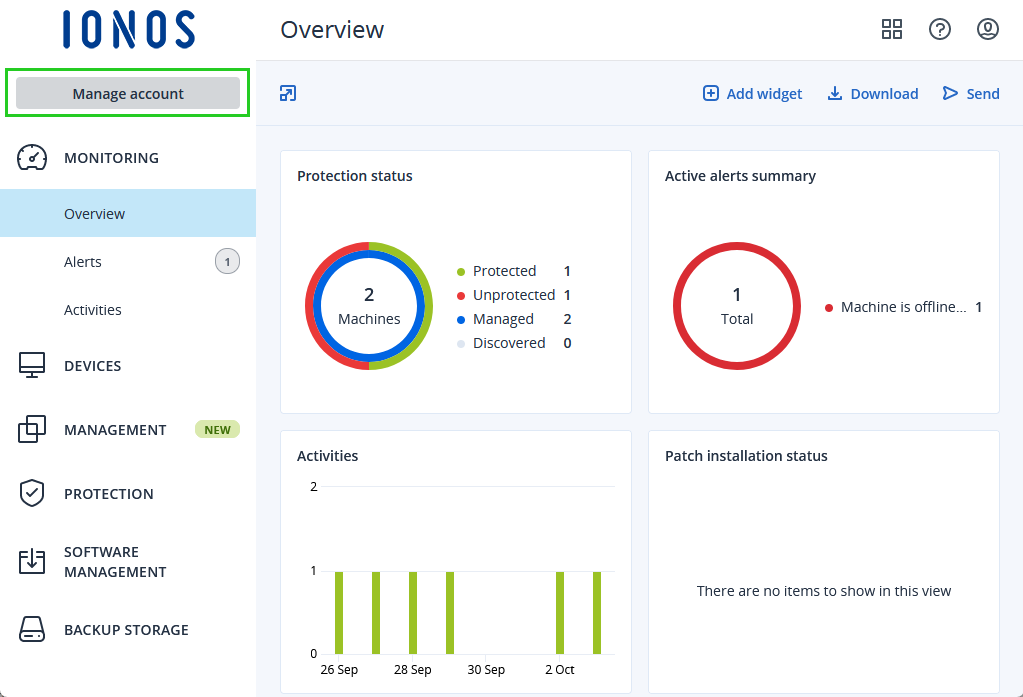
The Backup Console opens.Click Manage Account in the upper-left corner.
Click Settings > Security.
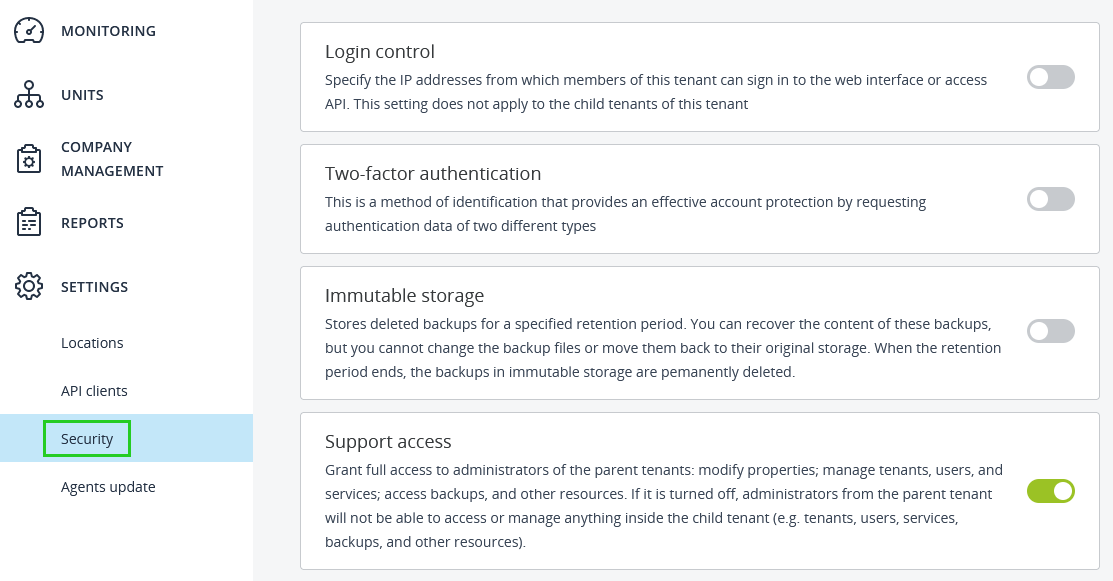
Activate the two-factor authentication option. To do this, move the switch to the right. The Enable two-factor authentication... window then opens.
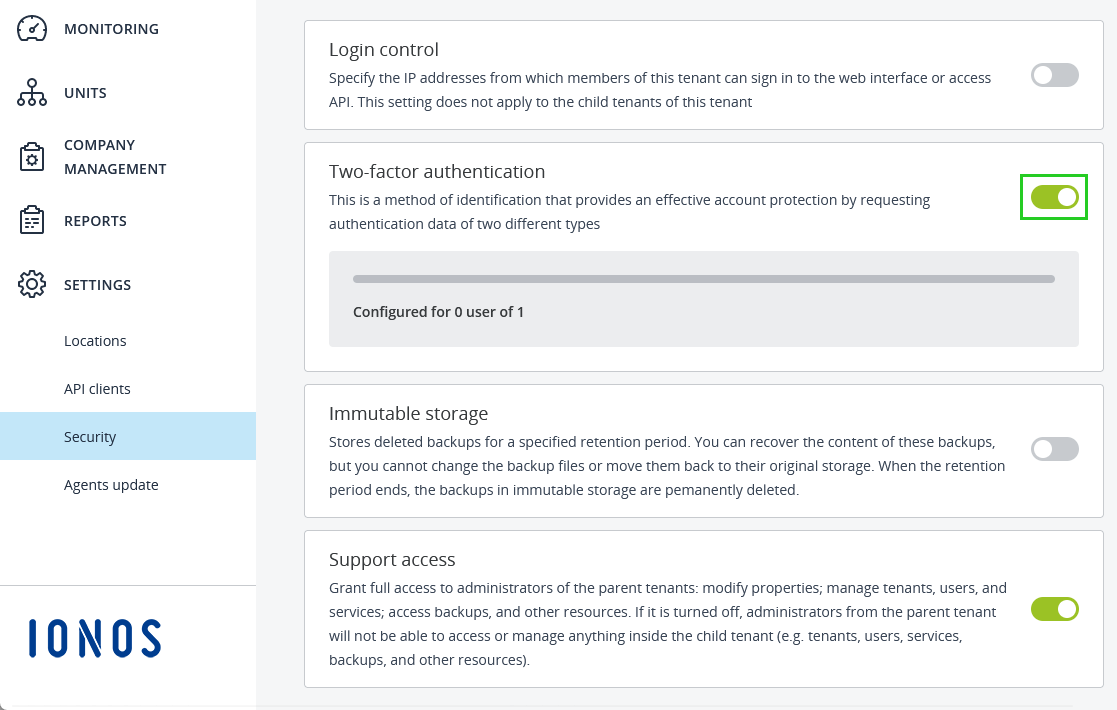
Click Enable.
Then, log out.
Configuring Two-Factor Authentication for an Account
Log in to the backup console using your user account.
Install either the Google Authenticator app or Microsoft Authenticator on your mobile device or computer.
Open the Authenticator app and scan the QR code that appears.
To complete the setup, enter the six-digit code displayed in your authenticator app on the web page displayed in your browser.
On the web page displayed in your browser, click Next.
Read and save the 2FA recovery instructions.
Two-factor authentication is now enabled for the backup account that was set up in the Backup Console.
Additional Information
How to enable the immutable storage is explained in the following article: