Docker: Orchestration of multi-container apps with Swarm and Compose
With the container platform Docker, you can quickly, comfortably, and efficiently spread applications out in the network as tasks. All you need is the swarm cluster manager, which has been included since version 1.12.0 as “Swarm Mode”, a native piece of the Docker engine and so part of the container platform’s core software. Docker Swarm allows you to scale container applications by operating them in any number of instances on any number of nodes in your network. On the other hand, if you want to run a multi-container application in a cluster - called a “stack” in Docker - then you’ll need the Docker Compose tool. Here, we explain the basic concepts of Docker orchestration with Swarm and Compose and illustrate their implementation using code examples.
Docker Swarm
Swarm is a piece of software from the developer of Docker that consolidates of any number of Docker hosts into a cluster and enables central cluster management as well as the orchestration of containers. Up to Docker version 1.11, Swarm had to be implemented as a separate tool. Newer versions of the container platform, though, support a native swarm mode. The cluster manager is available to every Docker user with the installation of the Docker engine.
A master-slave architecture forms the basis of Docker Swarm. Each Docker cluster consists of at least one manager and any number of worker nodes. While the swarm manager is responsible for the management of clusters and the delegation of tasks, the swarm workers take over for the execution. This way, container applications are divided into a number of worker nodes as so-called “Services”.
In Docker terminology, the term “Service” refers to an abstract structure for defining tasks that are to be carried out in the cluster. Each service corresponds to a set of individual tasks, which are each processed in a separate container on one of the nodes in the cluster. When you create a service, you specify which container image it’s based on and which commands are run in the container. Docker Swarm supports two modes in which swarm services are defined: you choose between replicated and global services.
- Replicated services: A replicated service is a task which is run on a user-defined number of replications. Each replication is an instance of the Docker container defined in the service. Replicated services can be scaled by allowing users to create additional replications. A web server such as NGINX, for example, can be scaled as needed with a separate command line of 2, 4, or 100 instances
- Global services: If a service is run in global mode, each available node in the cluster starts a task for the corresponding service. If a new node is added to the cluster, then the swarm manager immediately assigns a task to it for the global service. Global services are suitable for monitoring applications or anti-virus programs, for example
A central field of application for Docker Swarm is load distribution. In swarm mode, Docker has available integrated load balancing functions. If you run an NGINX web server with 4 instances, for example, Docker intelligently divides the incoming requests between the available web server instances.
Docker Compose
Docker Compose allows you to define multi-container applications - or “stacks” - and run them either in their own Docker node or in a cluster. The tool provides command line commands for managing the entire lifecycle of your applications.
Docker defines stacks as groups of interconnected services that share software dependencies and are orchestrated and scaled together. A Docker stack enables you to define various functions of an application in a central file - the docker-compose.yml - and start it from there, run it together in an isolated runtime environment, and manage it centrally.
Depending on which operating system you’re using to run Docker, Compose may need to be installed separately.
If you use the Docker container platform as part of the desktop installations Docker for Mac or Docker for Windows, then Docker Compose is already contained in the range of functions. The same goes for the Docker toolbox, which is available for older Mac or Windows systems. If you use Docker either on Linux or on Windows Server 2016, a manual installation of the tool is required.
Compose-Installation unter Linux
Open the terminal and run the following command to download the Compose binary files from the GitHub repository:
sudo curl -L https://github.com/docker/compose/releases/download/1.18
.0/docker-compose-`uname -s`-`uname -m` -o /usr/local/bin/docker-compose
Permit all users to run the binary files:
sudo chmod +x /usr/local/bin/docker-composeTo check if the tool has been installed correctly, run the following command:
docker-compose -versionIf the installation was successful, you’ll receive the version number of the tool as a terminal output.
Compose installation on Windows Server 2016 (Docker EE for Windows only)
Start the PowerShell as an administrator and run the following command to start the download of the Compose binary files from the GitHub repository:
Invoke-WebRequest
"https://github.com/docker/compose/releases/download/1.18.0/docker-compose-
Windows-x86_64.exe" -UseBasicParsing -OutFile
$Env:ProgramFiles\docker\docker-compose.exe
Start the executable file to install Docker Compose.
Further information on Docker tools like Swarm and Compose can be found in our article on the Docker ecosystem.
Tutorial: Docker Swarm and Compose in use
To operate multi-container apps in a cluster with Docker, you need a swarm - a Docker engine cluster in swarm mode - as well as the Docker Compose tool.
In the first part of our tutorial, you’ll learn how to create your own swarm in Docker in just a few steps. The creation of multi-container apps with Docker Compose and deployment in the cluster are discussed in the second part.
An introduction to Docker as well as a step-by-step manual on installing the Docker engine on Linux can be found in our basics article on container platforms.
Part 1: Docker in swarm mode
A swarm refers to any number Docker engines in swarm mode. Each Docker engine runs on a separate node and integrates it into the cluster.
The creation of a Docker cluster involves three steps:
- Prepare Docker hosts
- Initialise swarm
- Integrate Docker hosts in the swarm
Alternatively, an individual Docker engine can be swarmed in a local development environment. This is referred to as a single node swarm.
Step 1: Prepare Docker hosts
For the preparation of Docker nodes, it’s recommended to use the provisioning tool Docker Machine. This simplifies the implementation of Docker hosts (also called “Dockerised hosts”, virtual hosts including Docker engine). With Docker Machine, prepare accounts for your swarm on any number of infrastructures and remotely manage them. Driver plugins for Docker Machine are provided by various cloud platforms. This reduces the effort required for the provisioning of Docker hosts by providers such as Amazon Web Services (AWS) or Digital Ocean to a simple line of code. Use the following code to create a Docker host (here: docker-sandbox) in the infrastructure of Digital Ocean.
$ docker-machine create --driver digitalocean --digitalocean-access-token xxxxx docker-sandboxCreate a Docker host in AWS (here: aws-sandbox) with the following command:
$ docker-machine create --driver amazonec2 --amazonec2-access-key AKI******* --amazonec2-secret-key 8T93C******* aws-sandboxThe characters xxxxx and ****** function as placeholders for individual access codes or keys, which you will generate with your user account for the service in question.
Step 2: Initialise swarm
If you’ve prepared the desired number of virtual hosts for your swarm, you can manage them via Docker Machine and consolidate them into a cluster with Docker Swarm. First, access the node that you would like to use as the swarm manager. Docker Machine provides the following command for building an SSH-encrypted connection to the Docker host.
docker-machine ssh MACHINE-NAMEReplace the MACHINE-NAME placeholder with the name of the Docker host that you want to access.
If the connection the desired node is established, use the following command to initialise a swarm.
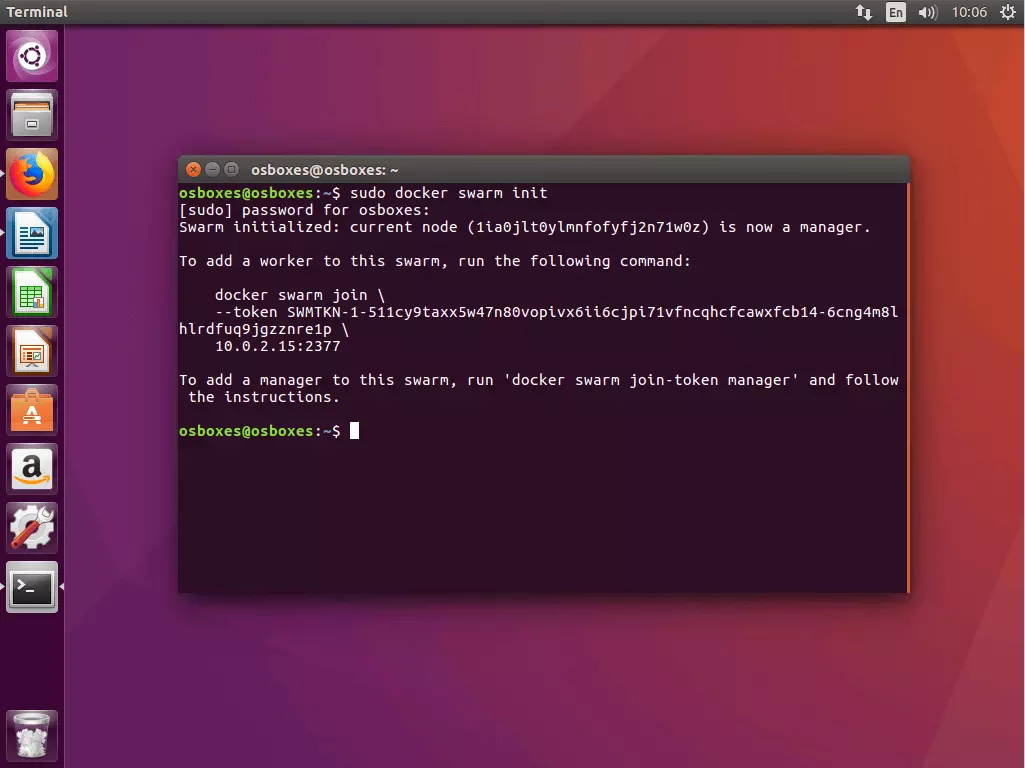
docker swarm init [OPTIONS]The command docker swarm init - with options, if desired (see documentation) - defines the currently selected node as swarm manager and creates two random tokens: a manager token and a worker token.
Swarm initialized: current node (1ia0jlt0ylmnfofyfj2n71w0z) is now a manager.
To add a worker to this swarm, run the following command:
docker swarm join \
--token SWMTKN-1-511cy9taxx5w47n80vopivx6ii6cjpi71vfncqhcfcawxfcb14-6cng4m8lhlrdfuq9jgzznre1p \
10.0.2.15:2377
To add a manager to this swarm, run 'docker swarm join-token manager' and follow the instructions.
The command docker swarm init generates a terminal output that contains all of the information you need to add additional accounts to your swarm.
In general, docker swarm init is used with the flag --advertise-addr. This indicates which IP address should be used for API access and overlay networking. If the IP address isn’t explicitly defined, Docker automatically checks which IP address the selected system is reachable under and selects this one. If a node has more than one IP address, then the corresponding flag has to be set. As long as nothing else is entered, Docker uses port 2377.
Step 3: Integrate Docker hosts in the swarm
After you’ve initialized your swarm with the chosen node as swarm manager, add any numbers of nodes as managers or workers. Use the command docker swarm join in combination with the corresponding token.
3.1 Add worker nodes: If you would like to add a worker node to your swarm, access the corresponding node via docker-machine and run the following command:
docker swarm join [OPTIONS] HOST:PORTA mandatory component of the docker swarm join command is the flag --token, which contains the token for access to the cluster.
docker swarm join \
--token SWMTKN-1-511cy9taxx5w47n80vopivx6ii6cjpi71vfncqhcfcawxfcb14-6cng4m8lhlrdfuq9jgzznre1p \
10.0.2.15:2377
In the current example, the command contains the previously generated worker token as well as the IP address under which the swarm manager is available.
If you don’t have the corresponding token on hand, you can identify it via docker swarm join-token worker.
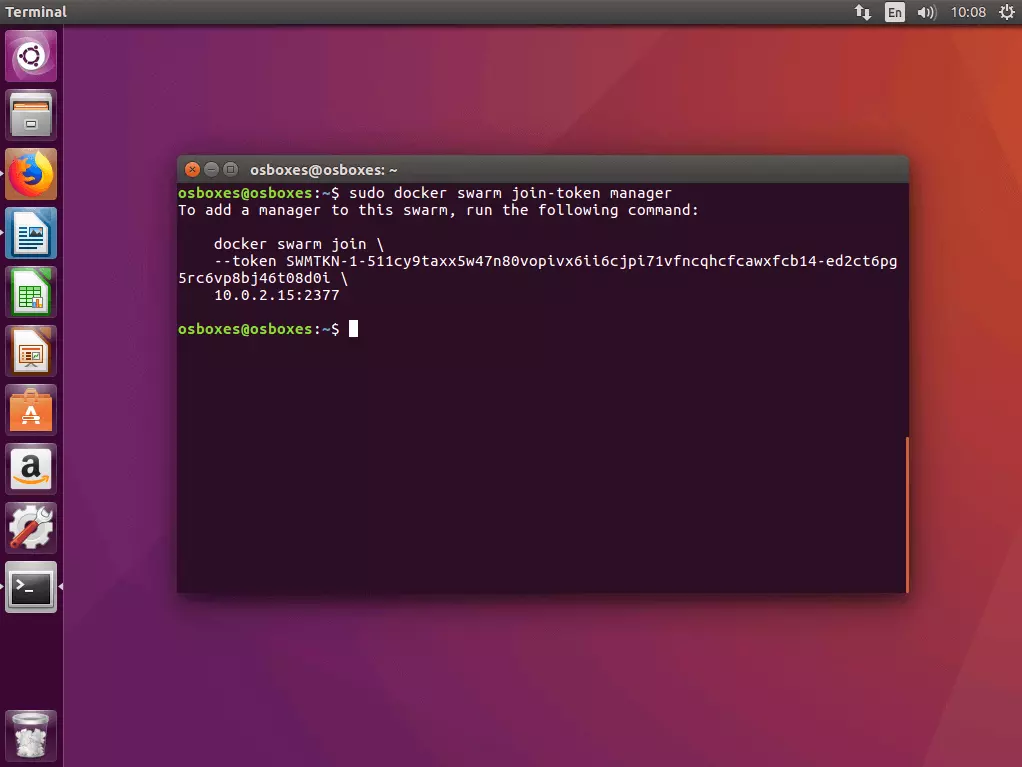
3.2 Add master node: If you’d like to add another manager node to your swarm, first identify the manager token. Then run the command docker swarm join-token manager on the manager account on which the swarm was initialised, and follow the instructions on the terminal.
Docker generates a manager token that can be run in combination with the command docker swarm join and the IP address that you define on any number of Docker hosts to integrate it into the swarm as a manager.
$ sudo docker swarm join-token manager
To add a manager to this swarm, run the following command:
docker swarm join \
--token SWMTKN-1-511cy9taxx5w47n80vopivx6ii6cjpi71vfncqhcfcawxfcb14-ed2ct6pg5rc6vp8bj46t08d0i \
10.0.2.15:23773.3 Overview of all nodes in the swarm: An overview of all nodes integrated into your swarm can be obtained using the management command docker node ls on one of your manager nodes.
ID                           HOSTNAME  STATUS  AVAILABILITY  MANAGER
jhy7ur9hvzvwd4o1pl8veqms3    worker2   Ready   Active
jukrzzii3azdnub9jia04onc5    worker1   Ready   Active
1ia0jlt0ylmnfofyfj2n71w0z *  osboxes   Ready   Active        Leader
Manager nodes are labeled as Leader in the overview.
If you’d like to delete a node from your swarm, log in to the corresponding host and run the command docker swarm leave. If the node is a swarm manager, you must force the execution of the command using the flag --force.
Part 2: Run multi-container app in cluster
In the first part of our Docker tutorial, we provided the Docker host with Docker Machine and compiled it in swarm mode as a cluster. Now we show you how to define various services as compact multi-container apps with the help of Docker Compose and run them in a cluster.
The preparation of multi-container apps in a cluster involves five steps:
- Create local Docker registry
- Define multi-container app as stack
- Test multi-container app with Compose
- Load image in the registry
Step 1: Start local Docker registry as service
Since a Docker swarm consists of any number of Docker engines, applications can only be run in a cluster if all Docker engines involved have access to the application’s image. For this, you need a central service that allows you to manage images and prepare them in a cluster. Such a service is called a registry.
An image is a compact, executable likeness of an application. In addition to the application code, this also includes all dependencies (runtime environments, libraries, environmental variables, and configuration files) that Docker needs to run the corresponding application as a container. This means that each container is a runtime instance of an image.
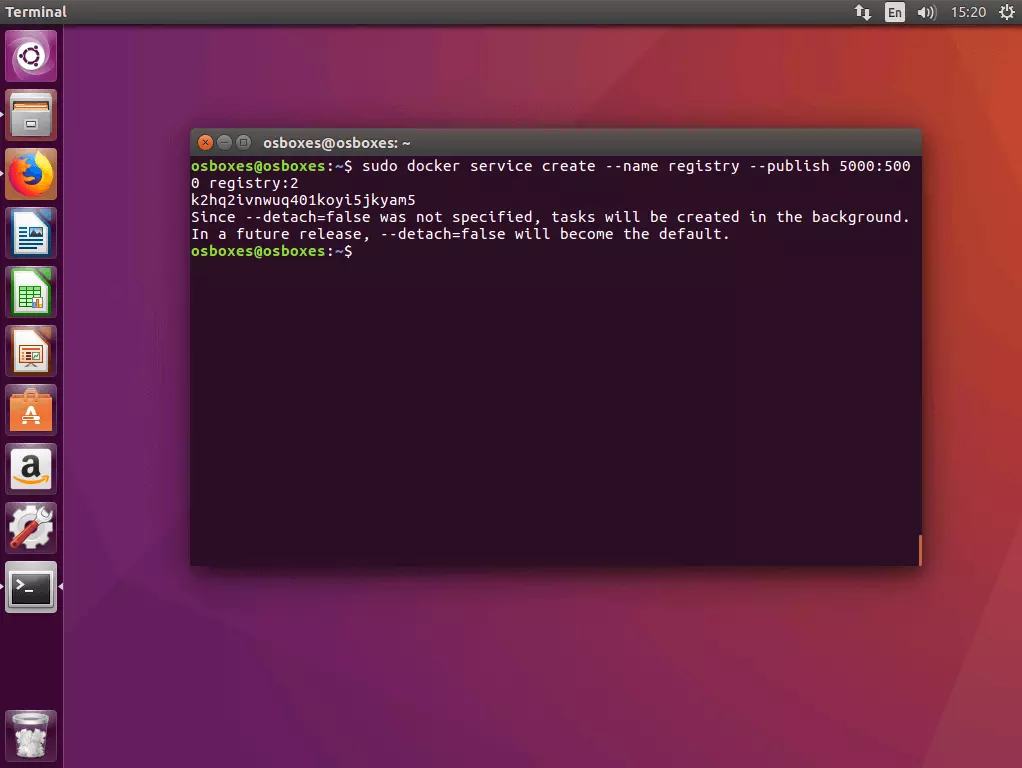
1.1 Start registry as a service in the cluster: Use the command docker service create as follows to start a local registry server as a service in the cluster.
docker service create --name registry --publish 5000:5000 registry:2The command indicates to Docker to start a service with the name registry that listens to port 5000. The first value following the --publish flag specifies the host port and the second specifies the container port. The service is based on the image registry:2, which contains an implementation of the Docker registry HTTP API V2 and can be obtained for free via the Docker hub.
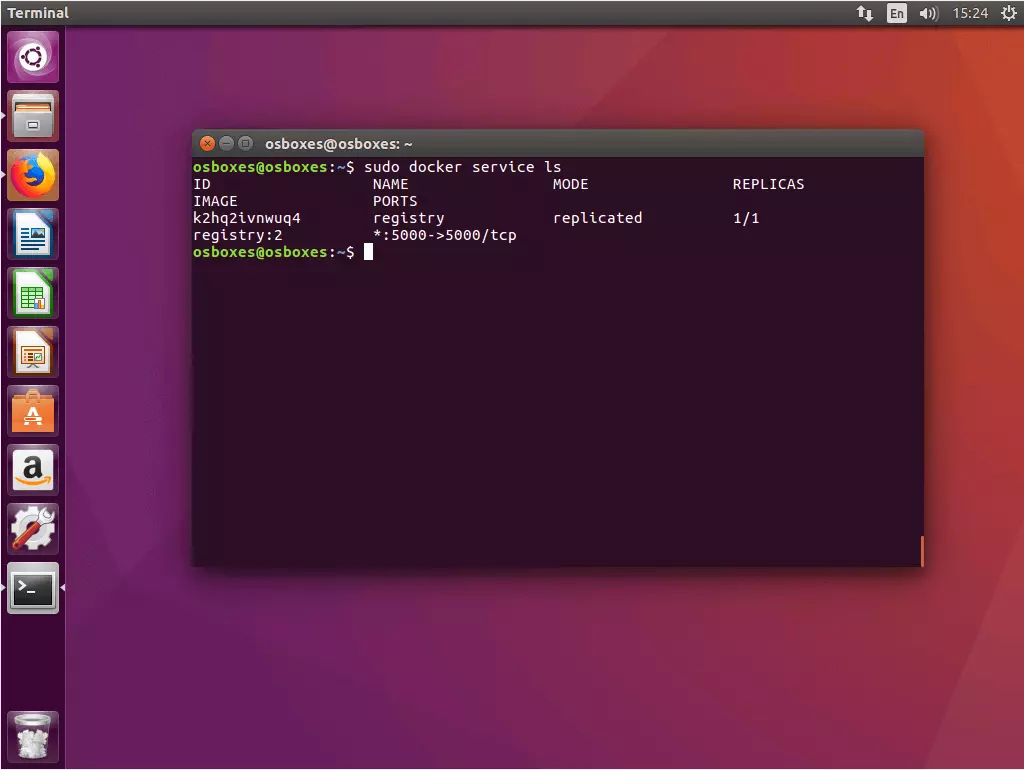
1.2 Check the status of the registry service: Use the command docker service ls to check the status of the registry service that you just started.
$ sudo docker service ls
ID            NAME      MODE        REPLICAS  IMAGE          PORTS
K2hq2ivnwuq4 registry replicated 1/1 registry:2 *:5000->5000/tcp1.3 Check registry connection with cURL: Make sure that you can access your registry via cURL. To do this, enter the following command:
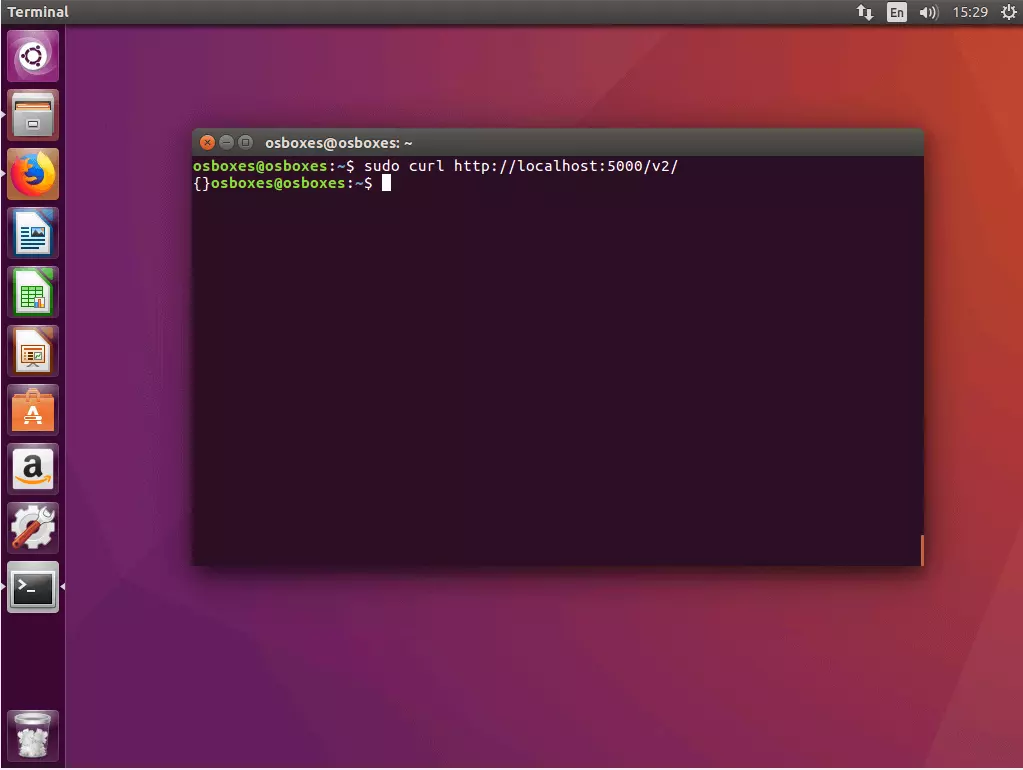
$ curl http://localhost:5000/v2/If your registry is working as intended, then cURL should deliver the following terminal output:
{}cURL is a command line program for calling up web addresses and uploading or downloading files. Learn more about cURL on the project website of the open source software: curl.haxx.se.
Step 2: Create a multi-container app and define it as a stack
In the next step, create all files that are needed for the deployment of a stack in the Docker cluster and file them in a common project directory.
2.1 Create a project folder: Create a project directory with any name that you like - for example, stackdemo.
$ mkdir stackdemoNavigate to the project directory.
$ cd stackdemoYour project directory functions as a common folder for all files that are necessary for the operation of your multi-container app. This includes a file with the app’s source code, a text file in which you define the software required for the operation of your app, as well as a Dockerfile and a Compose-File.
2.2 Create the app: Create a Python application with the following content and file it under the name app.py in the project directory.
from flask import Flask
from redis import Redis
app = Flask(__name__)
redis = Redis(host='redis', port=6379)
@app.route('/')
def hello():
    count = redis.incr('hits')
    return 'Hello World! I have been seen {} times.\n'.format(count)
if __name__ == "__main__":
    app.run(host="0.0.0.0", port=8000, debug=True)
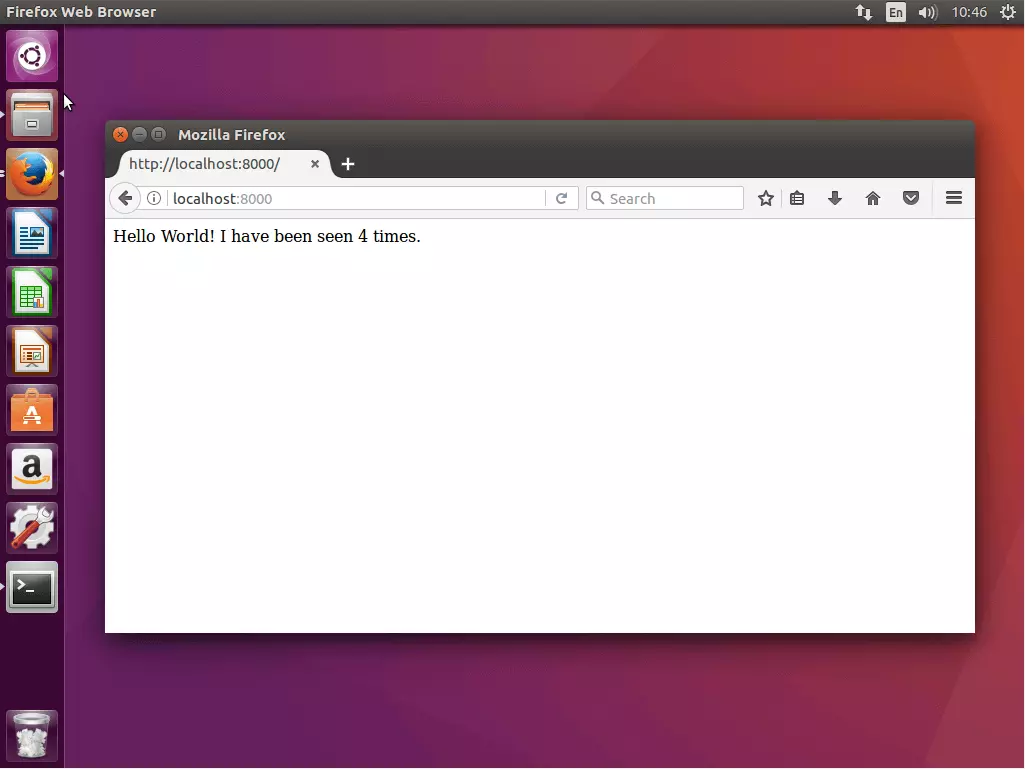
The example application app.py is a simple web application with a homepage displaying the greeting “Hello World!” as well as a detail showing how often the app was accessed. The basis for this is the open source web framework Flask and the open source in-memory database Redis.
2.3 Define requirements: Create a text file titled requirements.txt with the following content and file it in the project directory.
flask
redis
In the requirements.txt file, specify on which software your application is built.
2.4 Create Dockerfile: Create another text file with the name Dockerfile, add the following content, and file it in the project folder like the others.
FROM python:3.4-alpine
ADD . /code
WORKDIR /code
RUN pip install -r requirements.txt
CMD ["python", "app.py"]
The Dockerfile contains all instructions necessary for creating an image of an application. For example, the Dockerfile points to requirements.txt and specifies which software must be installed to run the application.
The Dockerfile in the example makes it possible to create an image of the web application app.py including all requirements (Flask and Redis).
2.5 Create Compose-File: Create a configuration file with the following content and save it as docker-compose.yml.
version: '3'
services:
    web:
        image: 127.0.0.1:5000/stackdemo
        build: .
        ports:
            - "8000:8000"
    redis:
        image: redis:alpine
The docker-compose.yml file allows you to link various services to one another, run them as a single entity, and manage them centrally.
The Compose-File is written in YAML, a simplified markup language which serves to map structured data and is primarily used in configuration files. With Docker, the docker-compose.yml file serves as the central configuration of services of a multi-container application.
In the current example, we define two services: A web service and a Redis service.
- Web service: The foundation of the web service is an image generated on the basis of the created Dockerfile in the stackdemo directory.
- Redis service: For the Redis service, we don’t use our own image. Instead, we access a public Redis image (redis:alpine) available over the Docker hub.
Step 3: Test multi-container app with Compose
Test the multi-container app locally first by running it on your manager node.
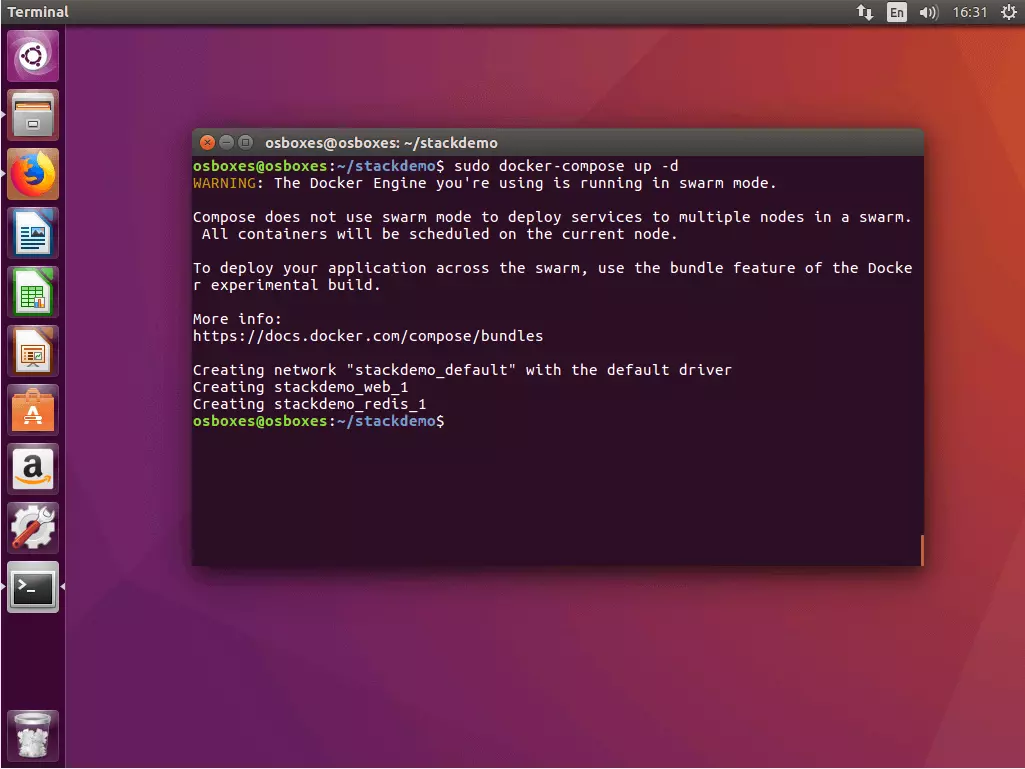
3.1 Start the app: Use the command docker-compose up in combination with the flag -d to start your stack. The flag activates “Detached mode”, which runs all containers in the background. Your terminal is now ready for additional command input.
$ sudo docker-compose up -d
WARNING: The Docker Engine you're using is running in swarm mode.
Compose does not use swarm mode to deploy services to multiple nodes in a swarm. All containers will be scheduled on the current node.
To deploy your application across the swarm, use the bundle feature of the Docker experimental build.
More info:
https://docs.docker.com/compose/bundles
Creating network "stackdemo_default" with the default driver
Creating stackdemo_web_1
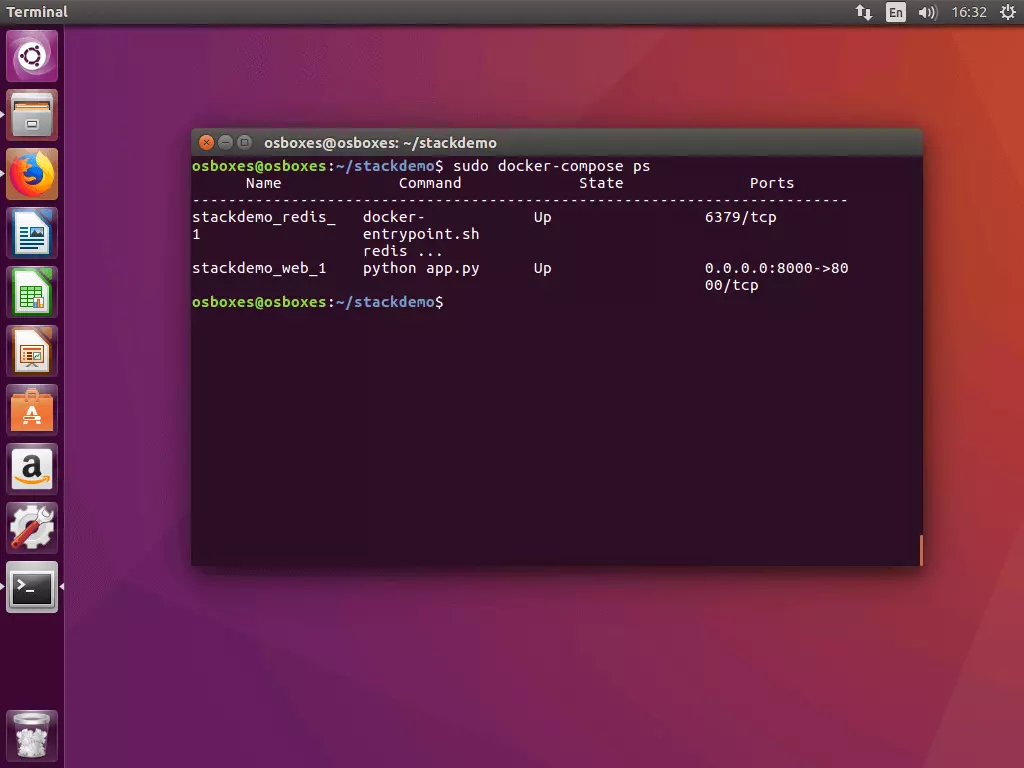
Creating stackdemo_redis_13.2 Check stack status: Run the command docker-compose ps to check the status of your stack. You’ll receive a terminal output that looks something like the following example:
$ sudo docker-compose ps
    Name         Command         State          Ports
-------------------------------------------------------------------------
stackdemo_redis_   docker-        Up             6379/tcp
1            entrypoint.sh
             redis ...
stackdemo_web_1    python app.py    Up             0.0.0.0:8000->80
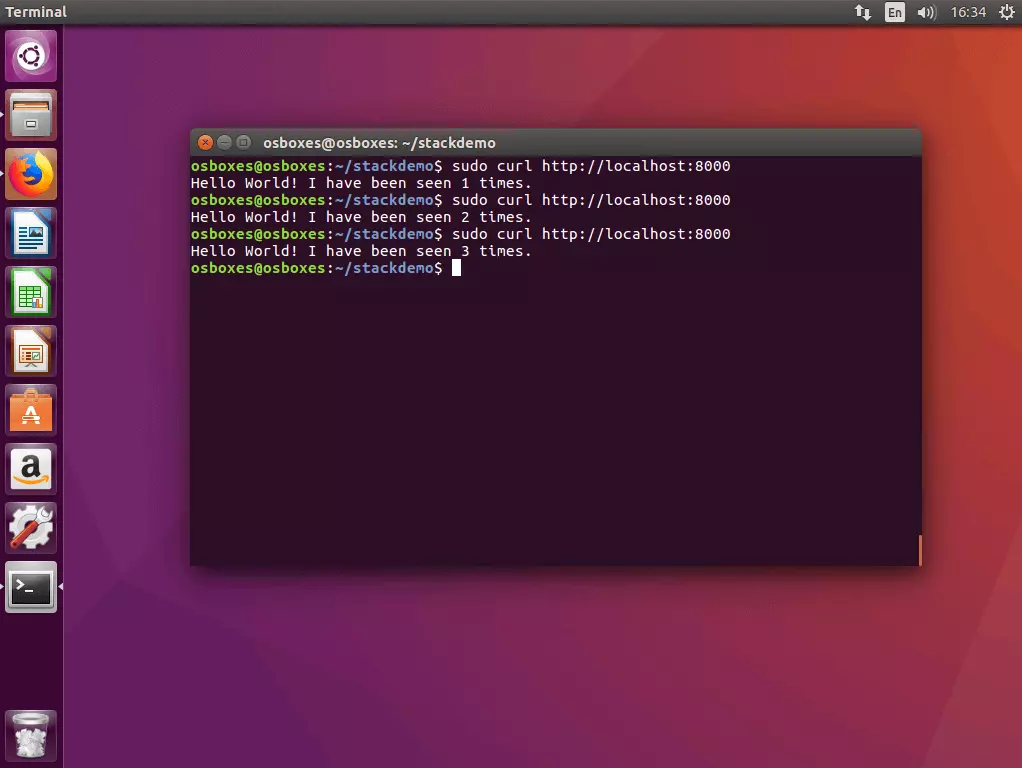
00/tcp3.3 Test the stack with cURL: Test your stack by running the command line program cURL with the localhost address (localhost or 127.0.0.1).
$ curl http://localhost:8000
Hello World! I have been seen 1 times.
$ curl http://localhost:8000
Hello World! I have been seen 2 times.
$ curl http://localhost:8000
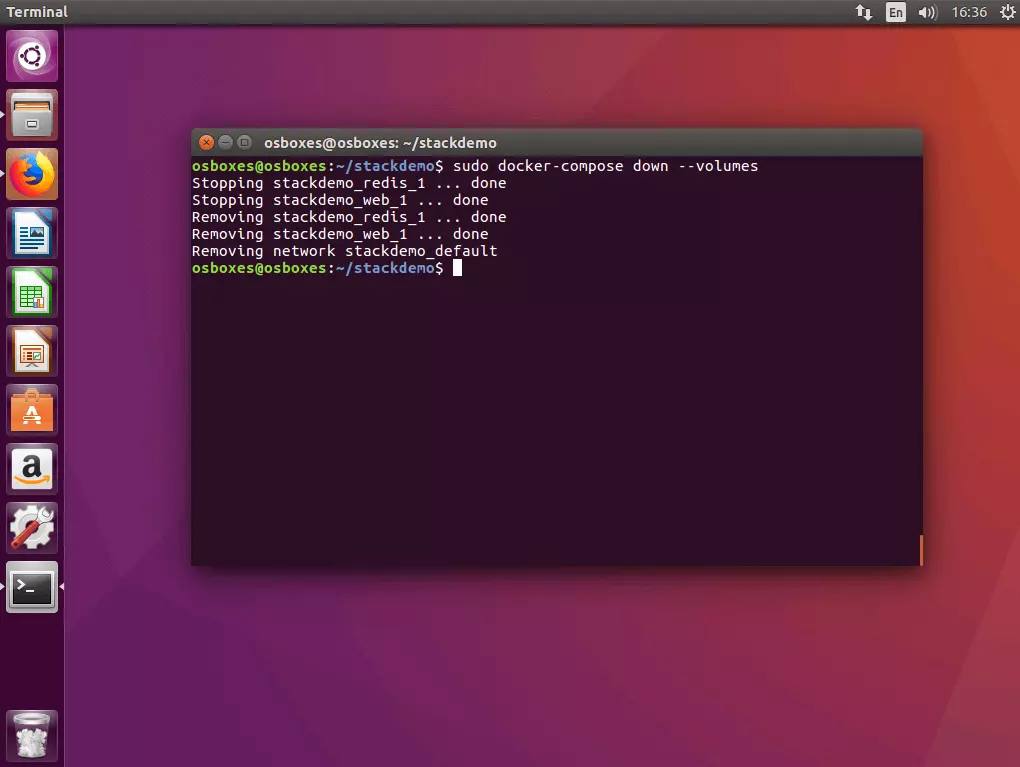
Hello World! I have been seen 3 times.3.4 Deactivate the app: If you would like to turn the app off, run the command docker-compose down with the flag --volumes.
$ sudo docker-compose down --volumes
Stopping stackdemo_redis_1 ... done
Stopping stackdemo_web_1 ... done
Removing stackdemo_redis_1 ... done
Removing stackdemo_web_1 ... done
Removing network stackdemo_defaultStep 4: Load image into the registry
Before you can run your multi-container app as a divided application in the cluster, you need to prepare all of the required images via the registry service. In the current example, this includes only the self-created web service image (the Redis image is available via a public registry in the Docker hub).
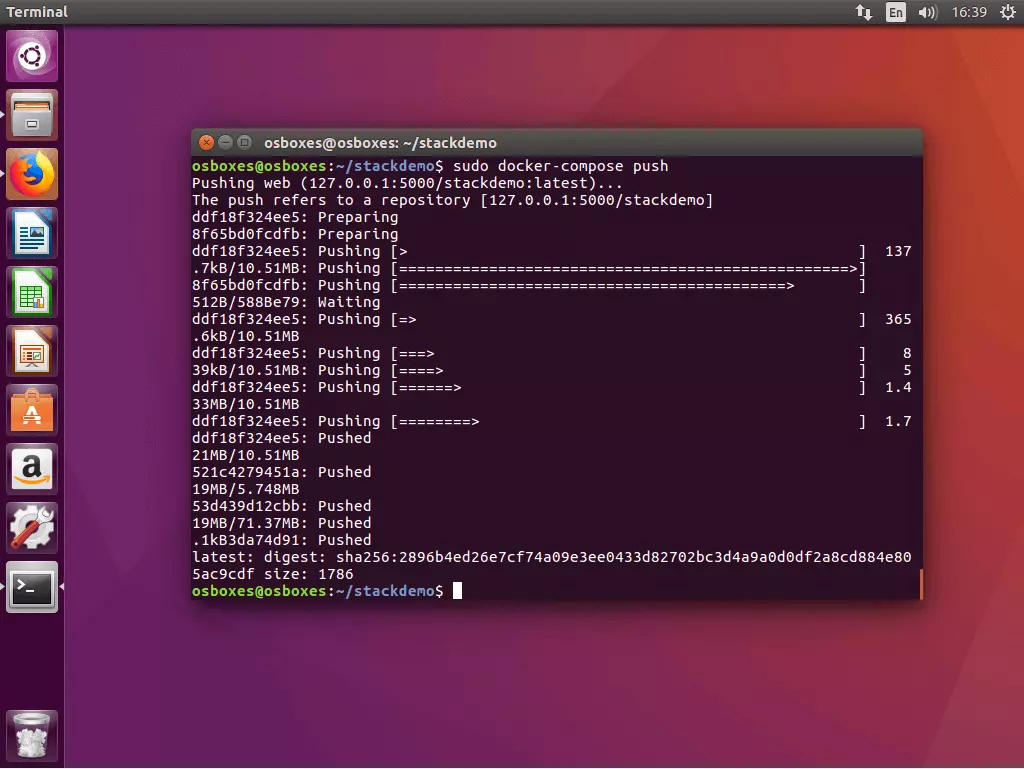
Uploading a locally created image into a central registry is called a “push” in Docker. Docker Compose has the command docker-compose push available for this. Run the command in the project directory.
All images run in the docker-compose.yml file that are locally created and loaded into the registry.
$ sudo docker-compose push
Pushing web (127.0.0.1:5000/stackdemo:latest)...
The push refers to a repository [127.0.0.1:5000/stackdemo]
5b5a49501a76: Pushed
be44185ce609: Pushed
bd7330a79bcf: Pushed
c9fc143a069a: Pushed
011b303988d2: Pushed
latest: digest: sha256:a81840ebf5ac24b42c1c676cbda3b2cb144580ee347c07e1bc80e35e5ca76507 size: 1372Step 5: Run stack in a cluster
If your stack’s image is available via the local registry service, then the multi-container application can be run in the cluster.
5.1 Run stack in a cluster: You can also run stacks in a cluster with a simple command line. The container platform provides the following command for this:
docker stack deploy [OPTIONS] STACKReplace the STACK placeholder with the name of the stack image that you want to run.
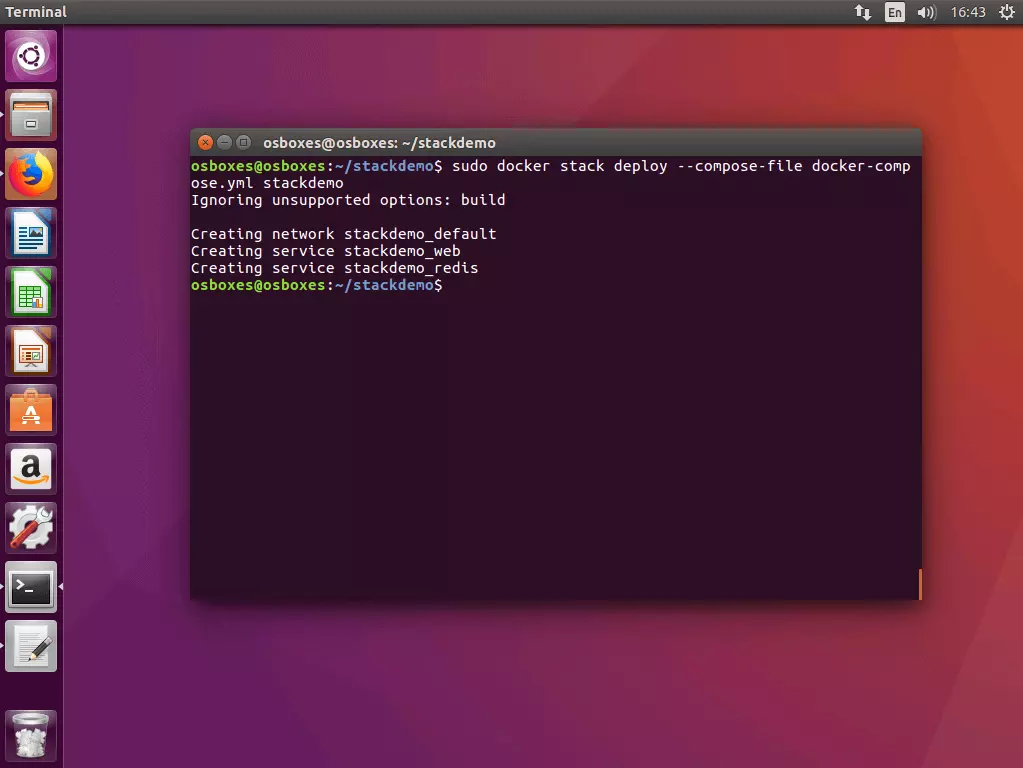
Run the command docker stack deploy on one of the manager nodes in your swarm.
$ sudo docker stack deploy --compose-file docker-compose.yml stackdemo
Ignoring unsupported options: build
Creating network stackdemo_default
Creating service stackdemo_web
Creating service stackdemo_redis5.2 Obtain the stack status: Use the following command to obtain the status of your stack:
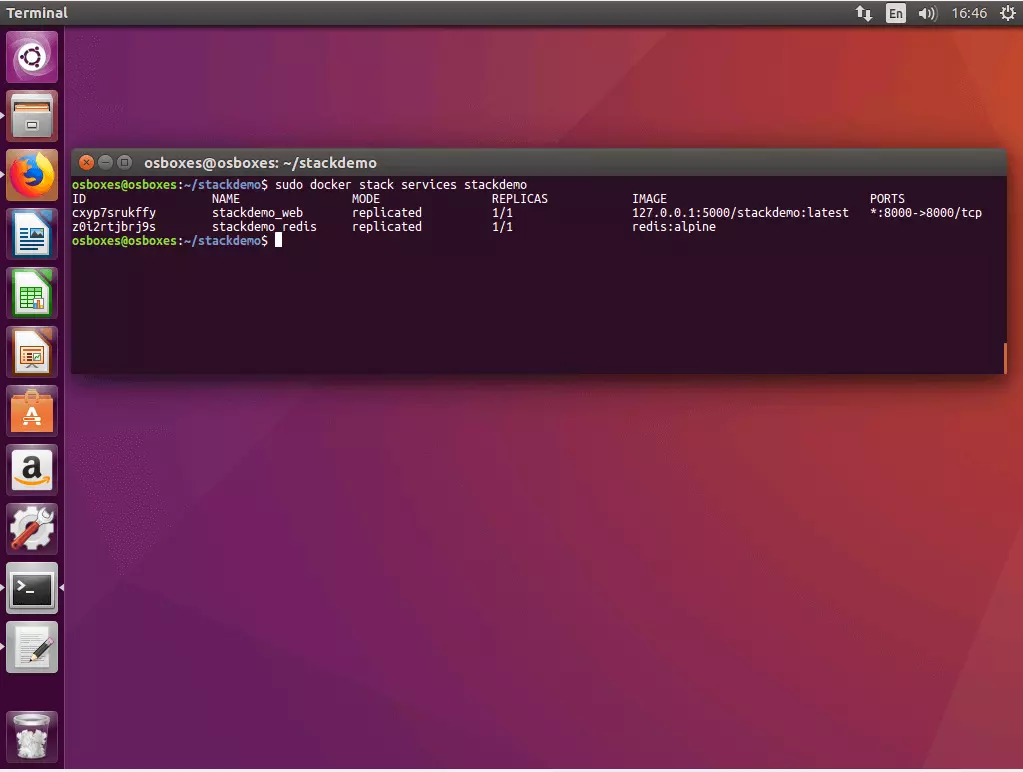
docker stack services [OPTIONS] STACKDocker gives you IDs, names, modes, replications, images, and ports of all of the services that are run in the context of your stack.
$ sudo docker stack services stackdemo
ID                  NAME                MODE                REPLICAS            IMAGE                             PORTS
cxyp7srukffy        stackdemo_web       replicated          1/1                 127.0.0.1:5000/stackdemo:latest   *:8000->8000/tcp
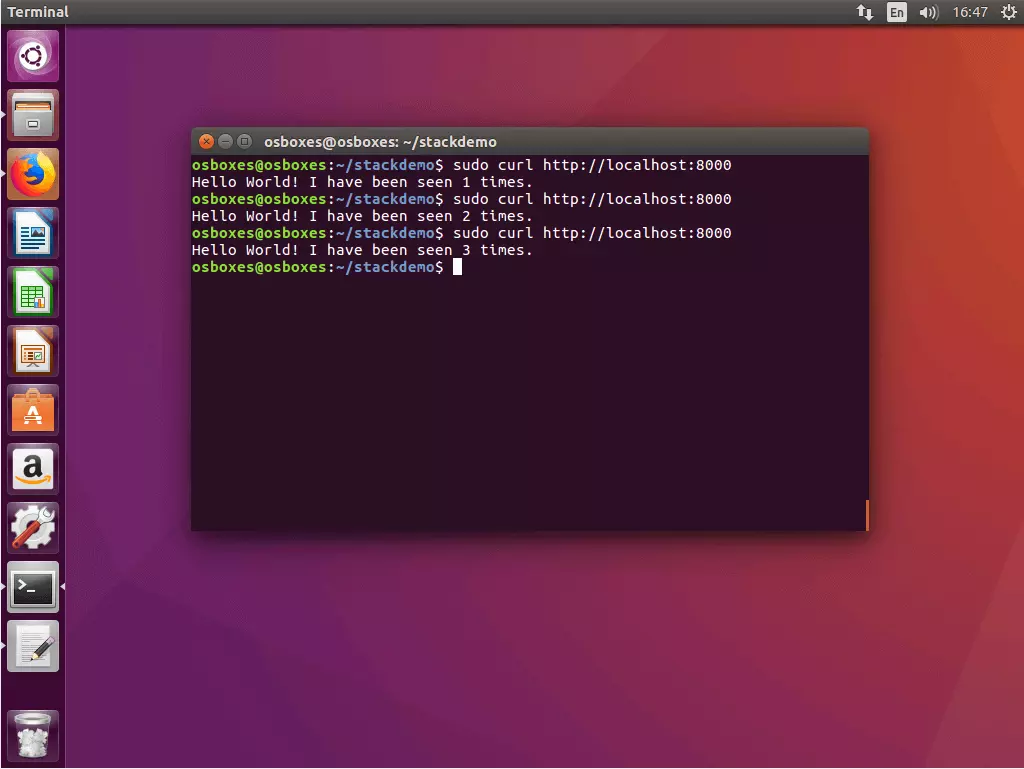
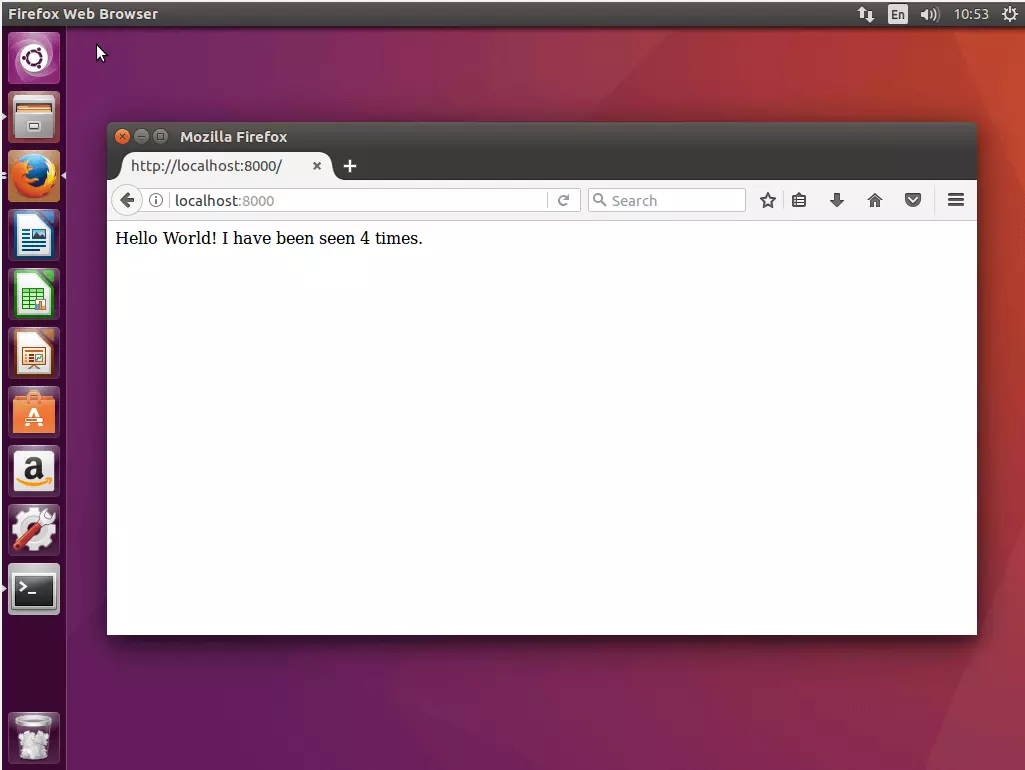
z0i2rtjbrj9s stackdemo_redis replicated 1/1 redis:alpine5.3 Test app with cURL: To test your multi-container app, call it up via the local host address on port 8000.
$ curl http://localhost:8000
Hello World! I have been seen 1 times.
$ curl http://localhost:8000
Hello World! I have been seen 2 times.
$ curl http://localhost:8000
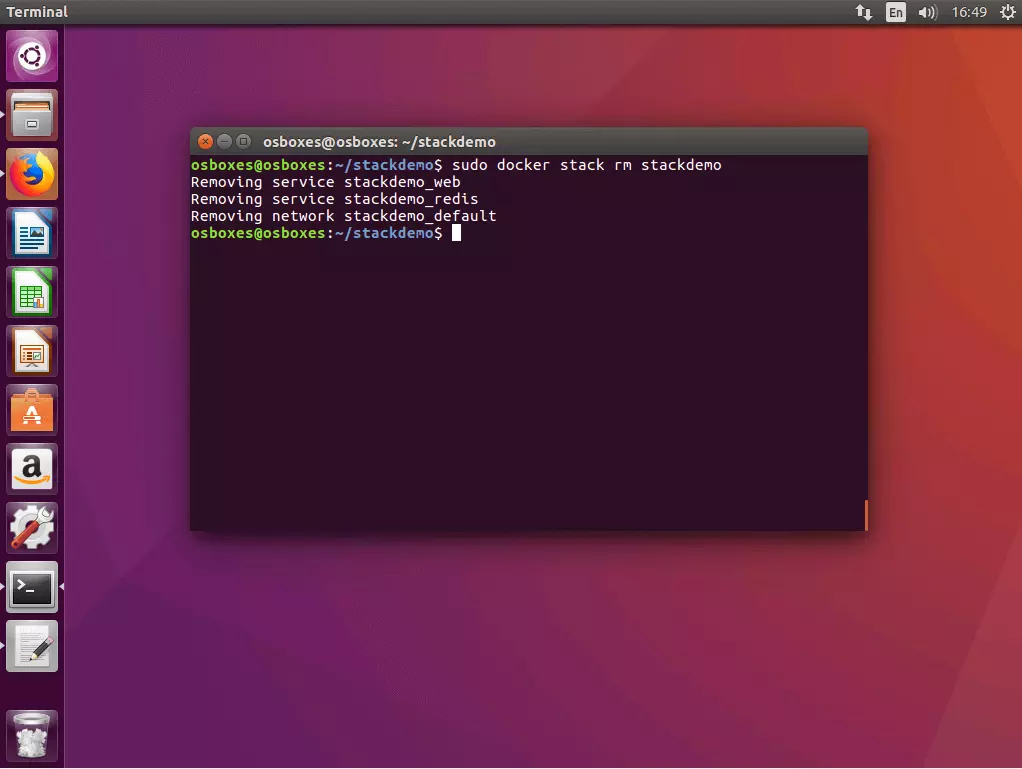
Hello World! I have been seen 3 times.5.4 Deactivate the stack: If you would like to shut down your stack, use the command docker stack rm in combination with the name of the stack.
$ docker stack rm stackdemo
Removing service stackdemo_web
Removing service stackdemo_redis
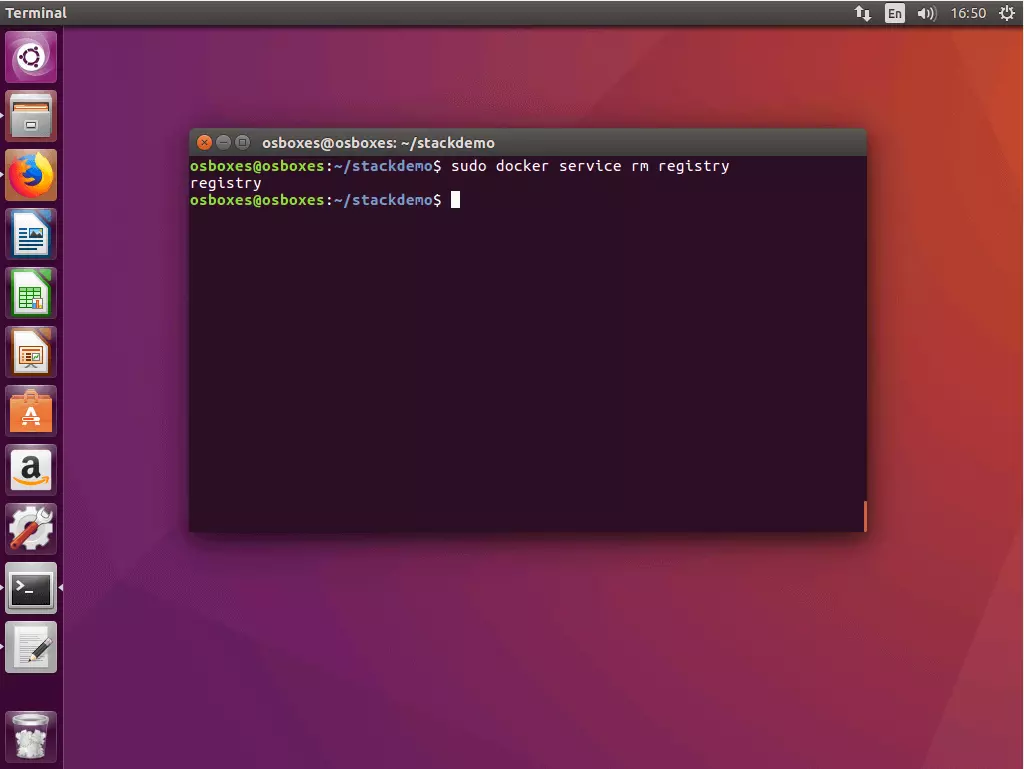
Removing network stackdemo_default5.5 Deactivate registry service: If you would like to shut down the registry service, use the command docker service rm with the name of the service - in this case: registry.
$ docker service rm registryDocker Swarm and Compose extend the core functionality of the container platform with tools that enable you to run complex applications in divided systems with minimal management effort. The market leader in the area of container virtualisation offers its users a complete solution for the orchestration of containers. Both tools are well-supported with documented and updates at regular intervals. Swarm and Compose have positioned themselves as good alternatives to established third-party tools such as Kubernetes or Panamax.


