Assign a Minecraft server to a domain
To make it easier for your fellow players to access your server, you have the option to assign a domain to the game server. This way, users won’t have to enter the cumbersome IP address in the Minecraft client but will remember a simple URL. If you already have your own website anyway, you don’t even need a new domain.
Requirements: A Minecraft server and your own domain
If you’re just starting out, you’ll first need to create a Minecraft server. To do this, install the free server software on a server you have rented. If you have rented a Windows server, you must make sure that Java is also installed on it. Finally, after you have released the corresponding port and entered the IP address in the game client, you and other players can enjoy Minecraft in multiplayer mode together.
In our detailed tutorial on Minecraft server setup you will find detailed step-by-step instructions as well as all system requirements. These include a powerful server. For smooth enjoyment of Minecraft even with many players, we recommend, for example, a Cloud Server from IONOS.
You still need your own domain. At IONOS you can register a suitable domain name with just a few clicks. Especially for servers in the gaming sector one of the new domain extensions would be especially suitable. For example, one of these top-level domains:
- .builders
- .club
- .fans
- .games
- .gg
- .io
- .world
But there are many more new top level domains and exclusive domain extensions that can go well with your Minecraft server. For example, when creating your domain, also think about puns or highlight the local character of your game world.
Connect Minecraft server with domain - step by step
Now that you have a domain name and a Minecraft server, you can connect the two. Even if you have previously run a web server for your own website, you can use the same domain name for the Minecraft server.
We will show you the process using an IONOS account. If you have the server and domain with a different provider, you will need to adapt the steps accordingly to the interface of your user account.
Determine data of the Minecraft server
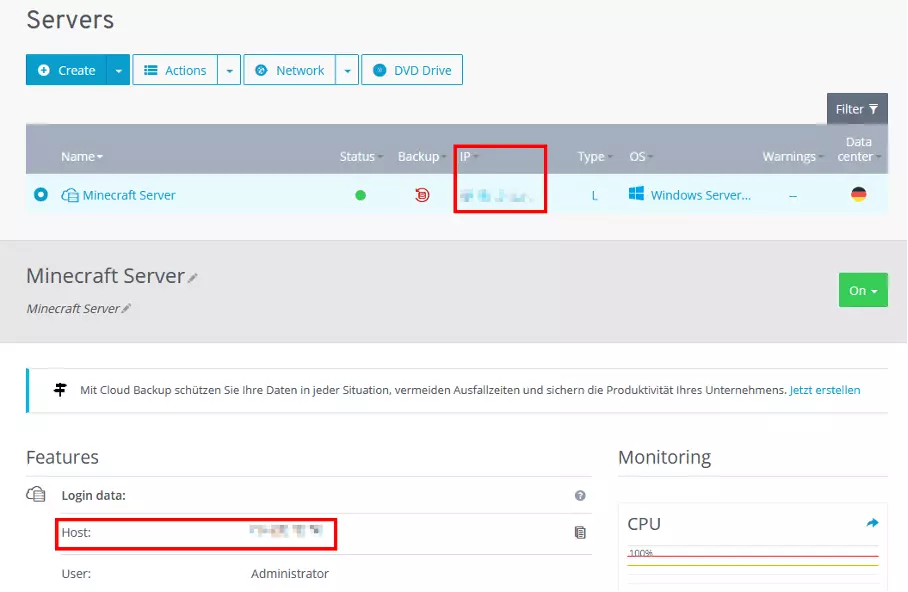
The first thing you need to do is find out the information of your Minecraft server. You will need the IP address and the shared port. If you host your Minecraft server via IONOS, you can find the corresponding data in the customer account under 'Server & Cloud'. There you select your server contract and then get a list with all servers that have been set under this instance. Here you can also see the IP address of the Minecraft server. In turn, you can find the shared port by going to 'Network' > 'Firewall Policies' in the navigation list. Make a note of both pieces of information.
Access domain options
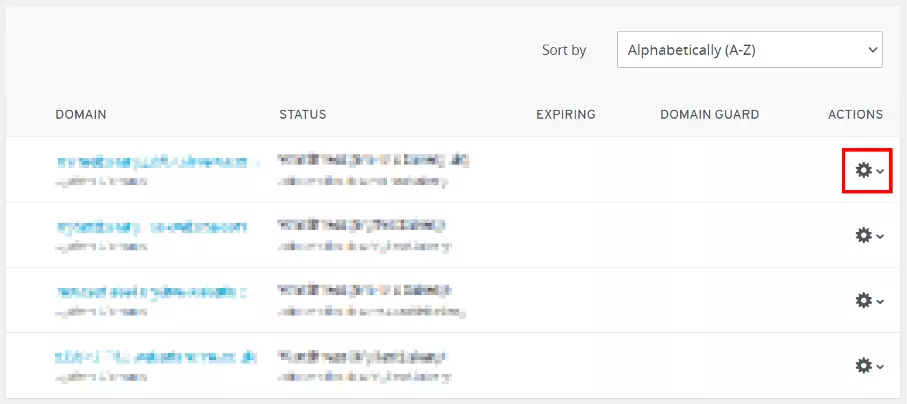
Now, in your customer account, access the menu for domains. At IONOS you will see a list of all your domains. Select the domain you have designated for your Minecraft server and access the DNS options. You can find these from the context menu by clicking the gear. Each domain has different DNS records. These are - roughly speaking - responsible for clarifying the affiliation of the domain to one or more servers. For example, if you are already using the domain for a website, you already have an A record.
Create new domain records
You now need to create two new records. First, you need an A record. This links the domain name to the IP address of the Minecraft server. In IONOS, click on the 'Add Record' button. Then from the list of different options, select 'A'. You now have three fields to customize:
- Hostname: By assigning a hostname, you create a specific subdomain meant for the Minecraft server. For example, you can enter 'minecraft' to then create minecraft.example.org. If you are using the domain exclusively for Minecraft, you can also use a wildcard (@). This way, the Minecraft server can also be reached at 'example.org'.
- Directs to: Now enter the IP address of the Minecraft server in this field.
- TTL: The specification in this field determines how often the Domain Name System (DNS) checks the entry and applies changes. So, to ensure that your new entry is applied as quickly as possible, you should enter the shortest amount of time available here.
Next, create an SRV record. To do this, click the button to create a DNS record again and then select 'SRV' from the list. You will need to fill in the following fields:
- Service: It is mandatory to name the service 'minecraft'.
- Protocol: Make sure that TCP is selected here.
- Hostname: Enter the name here that you also assigned in the A record (e.g., 'minecraft').
- Directs to: In this field, enter the domain that the A record also links to, for example, minecraft.example.org.
- Priority: If you create multiple SRV records for a domain, you can use this value to specify which record is queried first. If you are using the domain only for Minecraft, you do not need to change the default value.
- Weighting: If multiple SRV entries have the same value, the weighting decides which entry is looked at first. Usually, you can keep the default value here as well.
- Port: Here you now enter the port that you have enabled for Minecraft on your server. Normally, this should be 25565.
- TTL: In this field, select the smallest value again.
Now you have your domain name associated with the Minecraft server. Give the Domain Name System some more time to take on the new information. Even if you have entered a small value in the TTL field of the two DNS records, the conversion may be delayed a bit.
Connect client to server
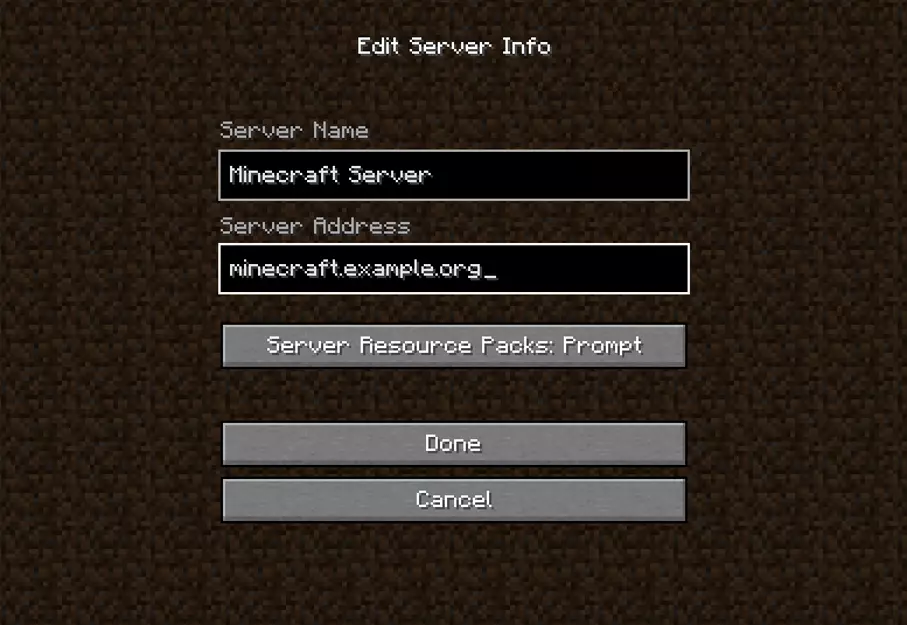
Now you and your fellow players can log in to the Minecraft server via the domain. To do this, select multiplayer mode in the game’s start menu and then add a new server. Under 'Server address' you now specify the domain. You can freely choose the name of the server. By clicking on 'Done' the software adds the server. Now you only need to log in.


