How to remove an Image Background
We encounter extracted images – that is to say, images without their original background – all the time, every day. Whether we see models in posters, images of food in supermarket advertising, or illustrations in magazines, all these are examples of cut out or extracted images. The process of removing a background has been around for a long time. In the days of analogue photography, objects still had to be laboriously separated from the image background by manually cutting them out. Nowadays almost all digital image processing programs can do this work for you, provided you know what you’re doing.
- Free website protection with SSL Wildcard included
- Free private registration for greater privacy
- Free 2 GB email account
Why remove an image background?
In principle, there are two reasons why parts of images are cut out. First of all, by omitting the background, the viewer’s attention is completely drawn to the cut-out part of the picture. Imagine a photo of a fruit and vegetable display in a supermarket. It’s difficult to use this image to advertise an offer on apples, for example, but if you cut out the image of the apple from the image, in other words, remove the photo background, then the focus can only be on the apple. This sounds basic, but it’s of fundamental importance in online retail and advertising.
It’s not necessary that the existing background is completely removed – often it’s only lightened or blurred. In this way, you can highlight a particular part of an image, without removing it from its context completely. Knowing how to extract an image is also extremely useful when collecting material for a collage, or making a card, for example.
What tools are available for background removal?
Background removal is one of the most common tasks in modern image editing, and so almost all professional and semi-professional graphics programs have tools that make it easy for editors to remove backgrounds quickly. The most popular applications for cutting out images are Adobe Photoshop, GIMP, and Paint.NET, but PowerPoint and various online tools also deliver good results.
What should you look out for when picking an image?
If you take a few factors into account when choosing the photo you want to edit, you’ll save yourself a lot of work later on:
- Contrast: make sure that your object to be cropped stands out as much as possible from the background – cutting out a red apple from a basket of green ones is easier than selecting one surrounded by other red ones.
- Detail: the more intricately detailed the image is at its edges, the more difficult it will be to remove the background seamlessly.
- Semi-transparency: If parts of an object are transparent or if the background peeks through, special filters and techniques are required for cutting out the selected image. Glasses, liquids, and insect wings, for example, require a great deal of effort.
Using desktop applications to remove backgrounds
The following tutorials will show you how to remove image backgrounds using different techniques for most programs. However, these are not the only methods to remove image backgrounds, and some of the programs will offer multiple options – we will show you the simplest in each case.
Removing image backgrounds using PowerPoint
We will start by introducing background removal using a program that you probably wouldn’t expect to be able to do this: Microsoft PowerPoint. Surprisingly, the results are good, and it’s a program that most Windows users have access to, and one that’s commonly used on other operating systems as well.
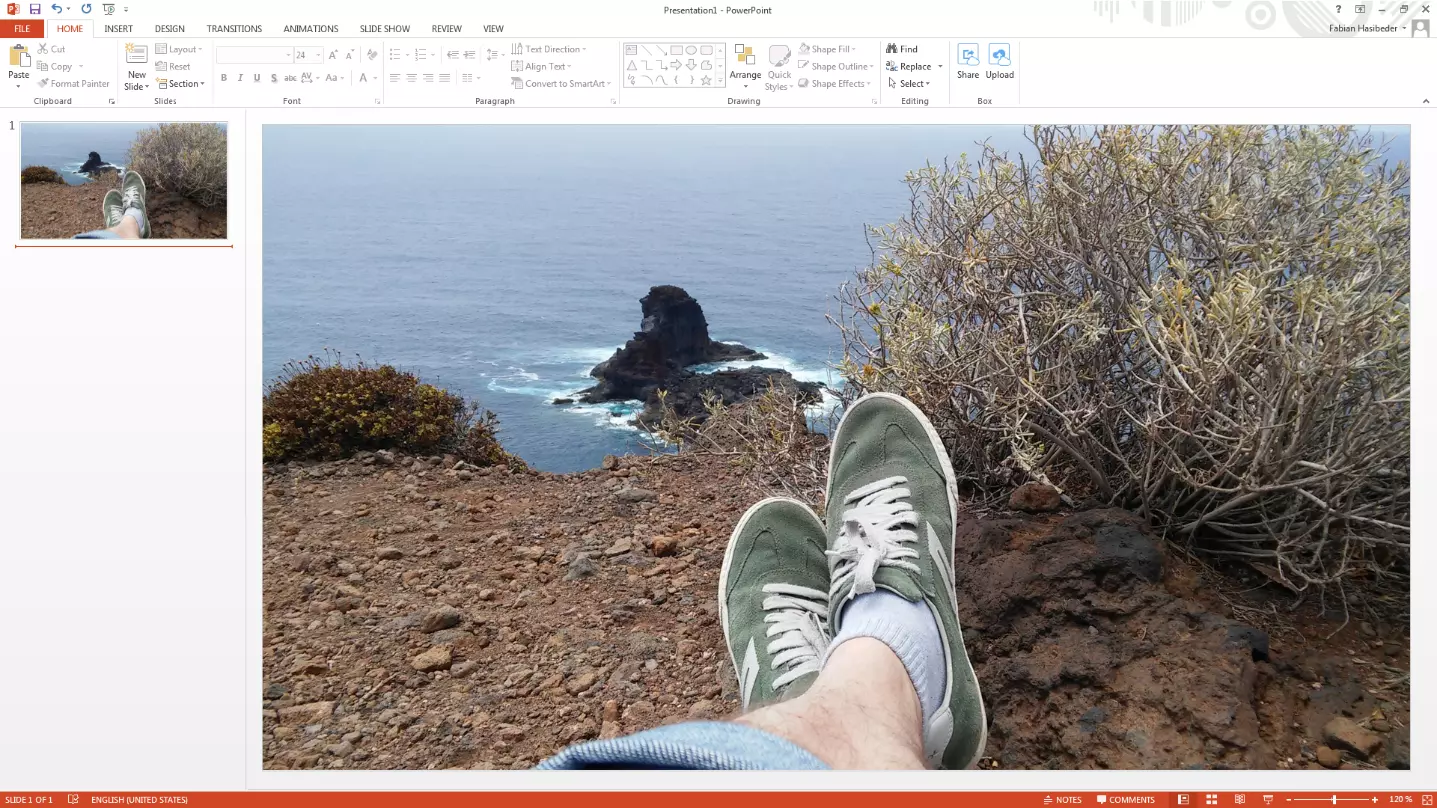
- Select the background image you want to keep and drag it onto an empty slide.
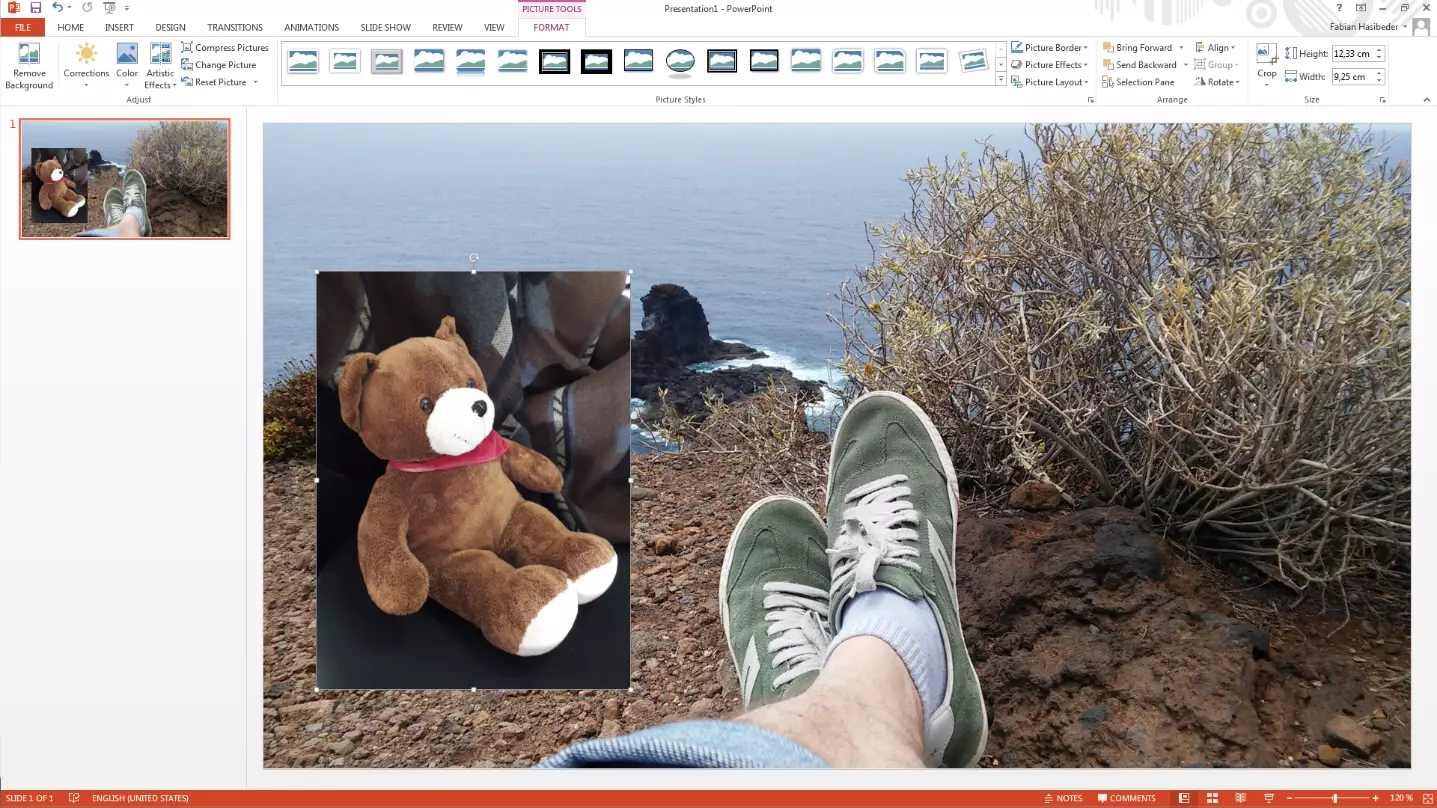
- Next, add the image you want to remove the background from, and resize it to fit the dimensions you want.
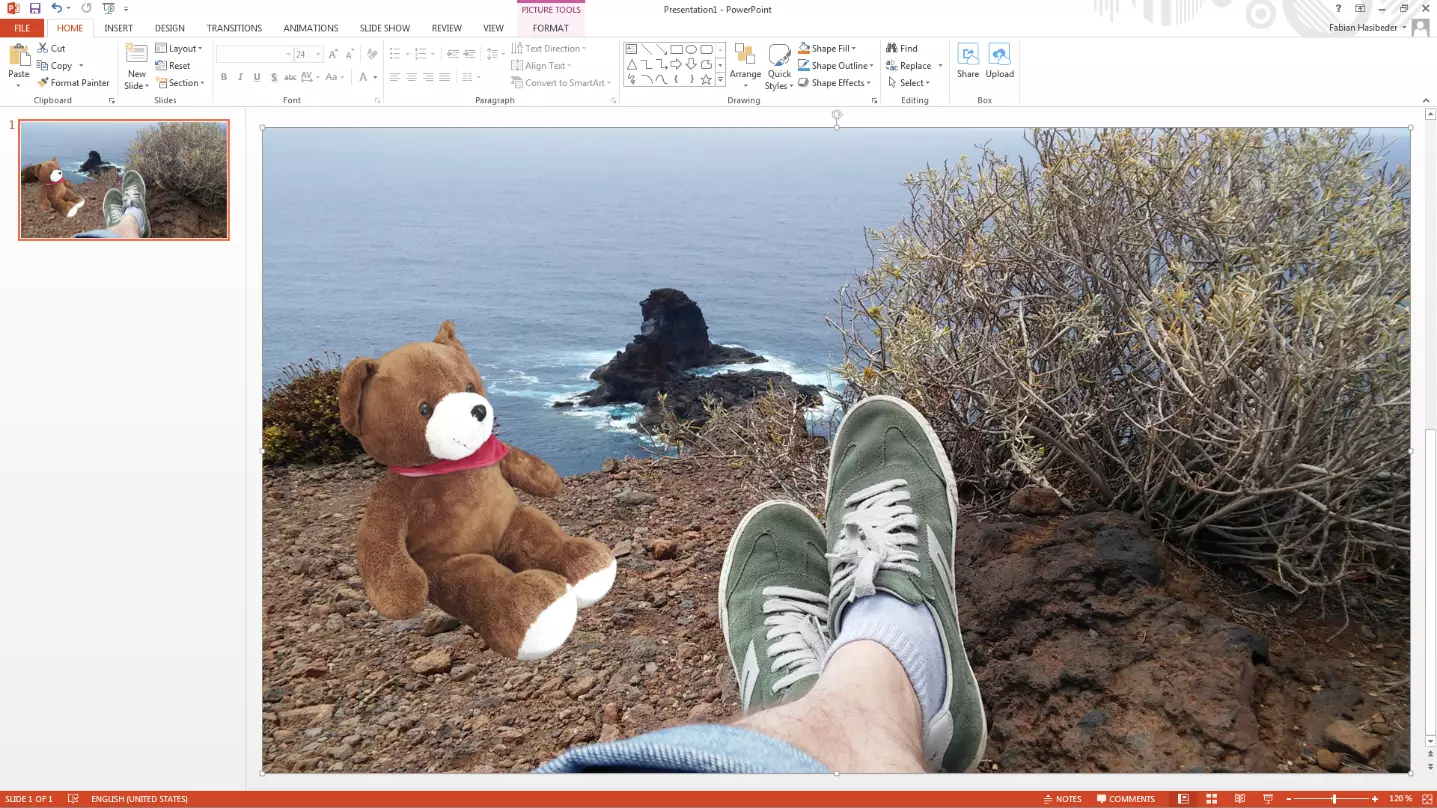
- Double-click on the image you want to crop and select the “remove background” button in the top left menu bar. PowerPoint marks all areas that are to become transparent (i.e. deleted) in purple. You can already see that some areas of the ear and nose have not been correctly detected – but this can be corrected later.
Removing image backgrounds using Photoshop
Adobe Photoshop is undoubtedly the best all-rounder and the long-standing go-to for image processing. The professional software offers extensive possibilities to crop even the most detailed photos. A two-week free trial can be found on the official Adobe website.
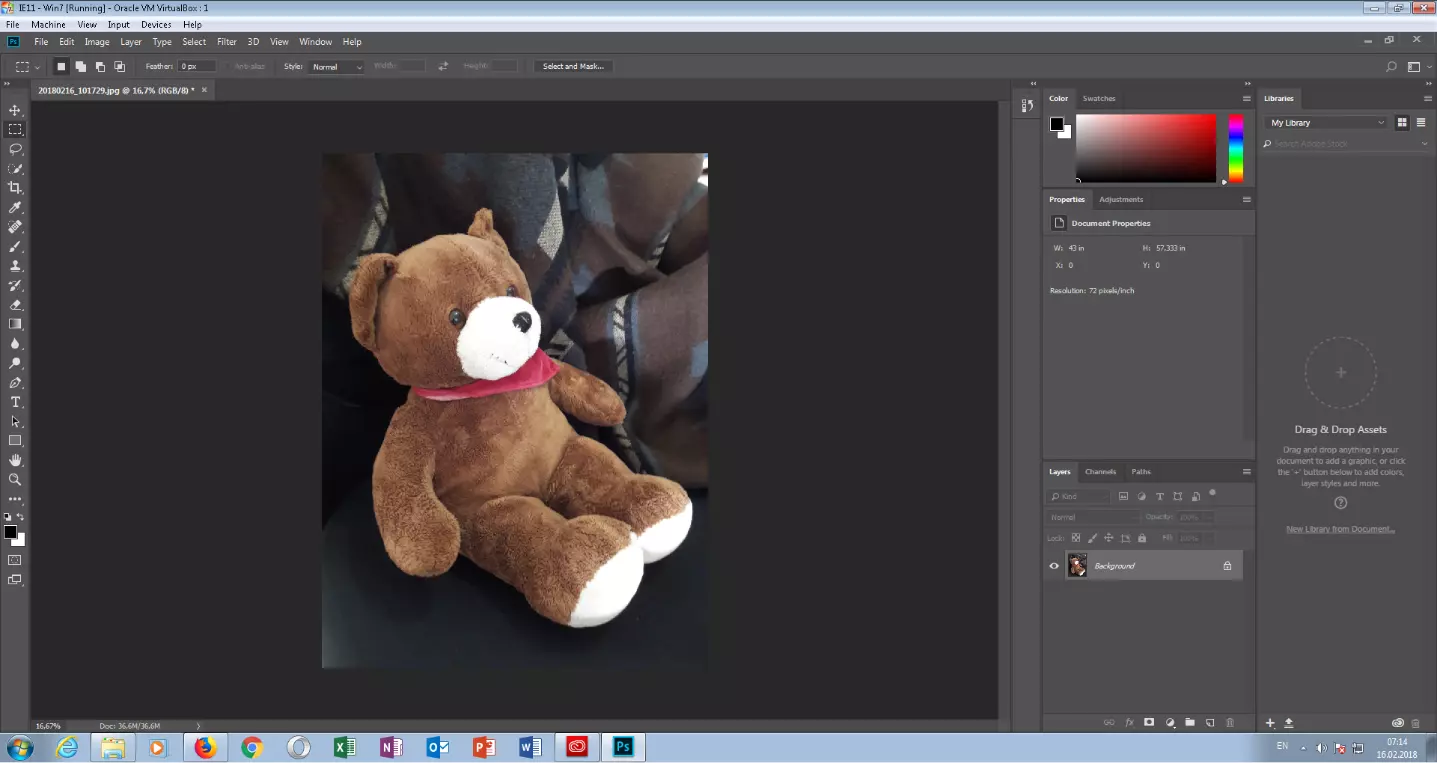
- Open the image you want to remove the background of in Photoshop.
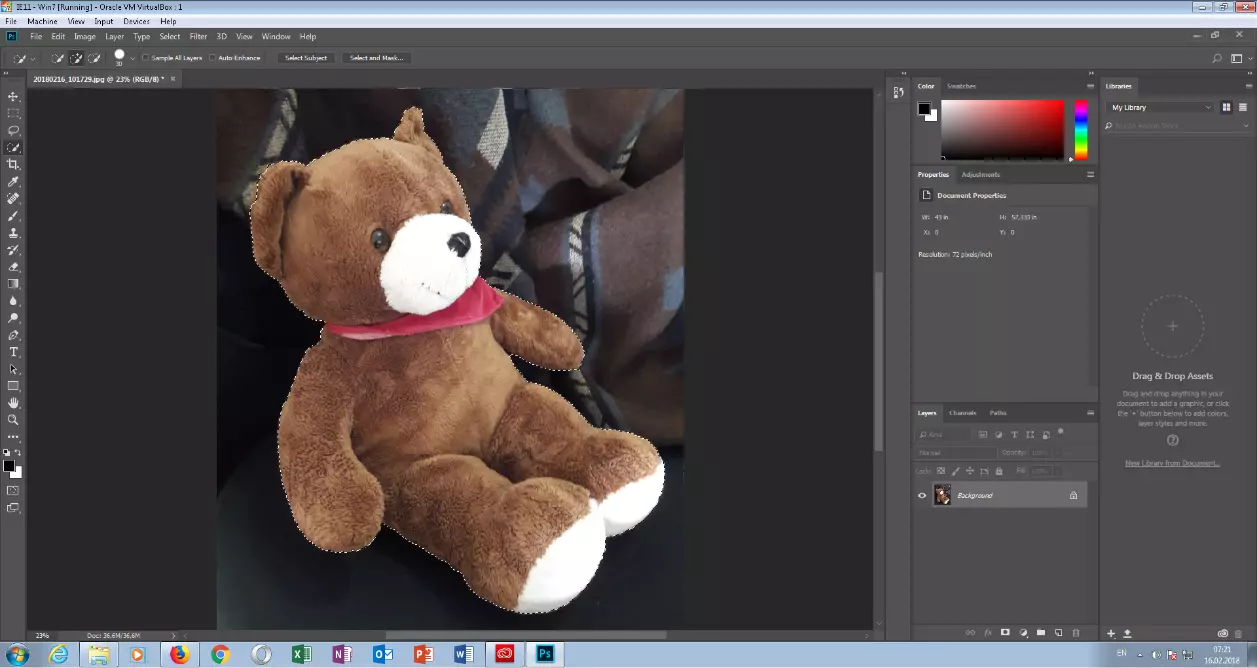
- Click on the “quick selection” tool in the left toolbar. Now move your mouse over the areas of the object you want to crop and you’ll notice that Photoshop automatically marks out all areas which are the same colour.
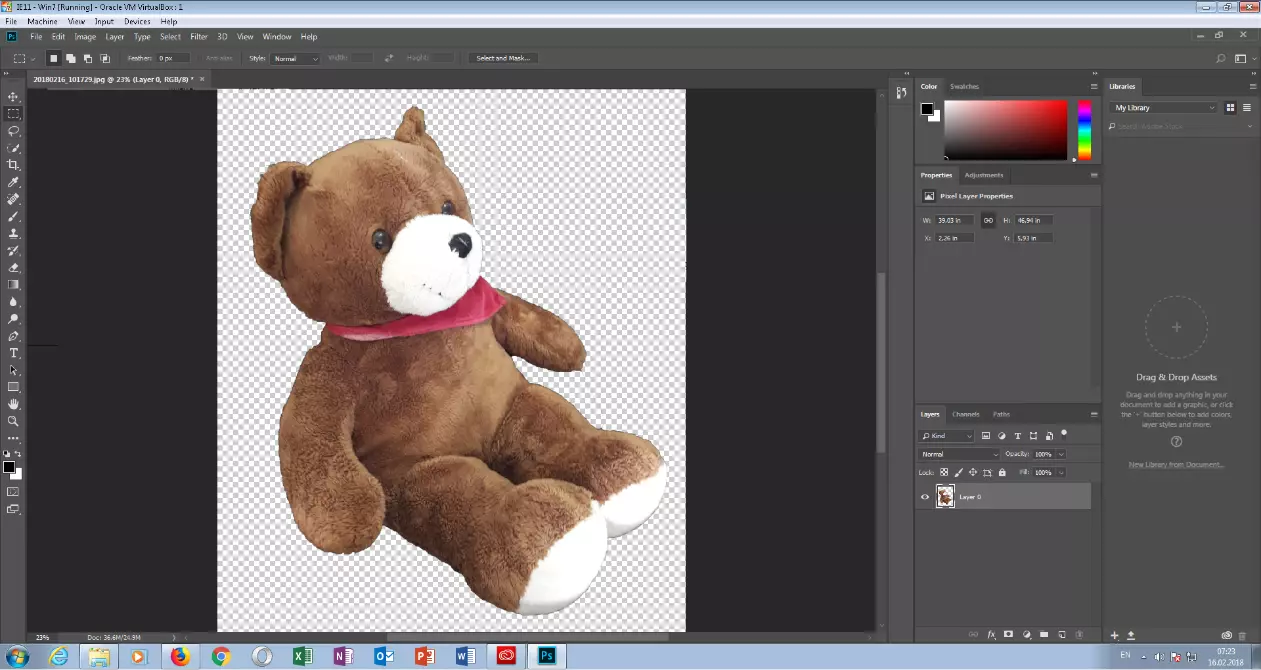
- A padlock icon appears next to the currently selected layer in the “layers” window at the bottom right. Click to enable editing on this layer. Press [Del] to delete the entire background. You should save the image as a PNG file, as this file format can display transparency. Then open your desired background and drag the newly saved image with your cropped object onto the background. If necessary, adjust size, rotation, and alignment using the corresponding tools in the left toolbar.
Removing image backgrounds using GIMP
GNU Image Manipulation Program (GIMP) is a free graphics program available for Windows, macOS, and Linux. You can download GIMP here.
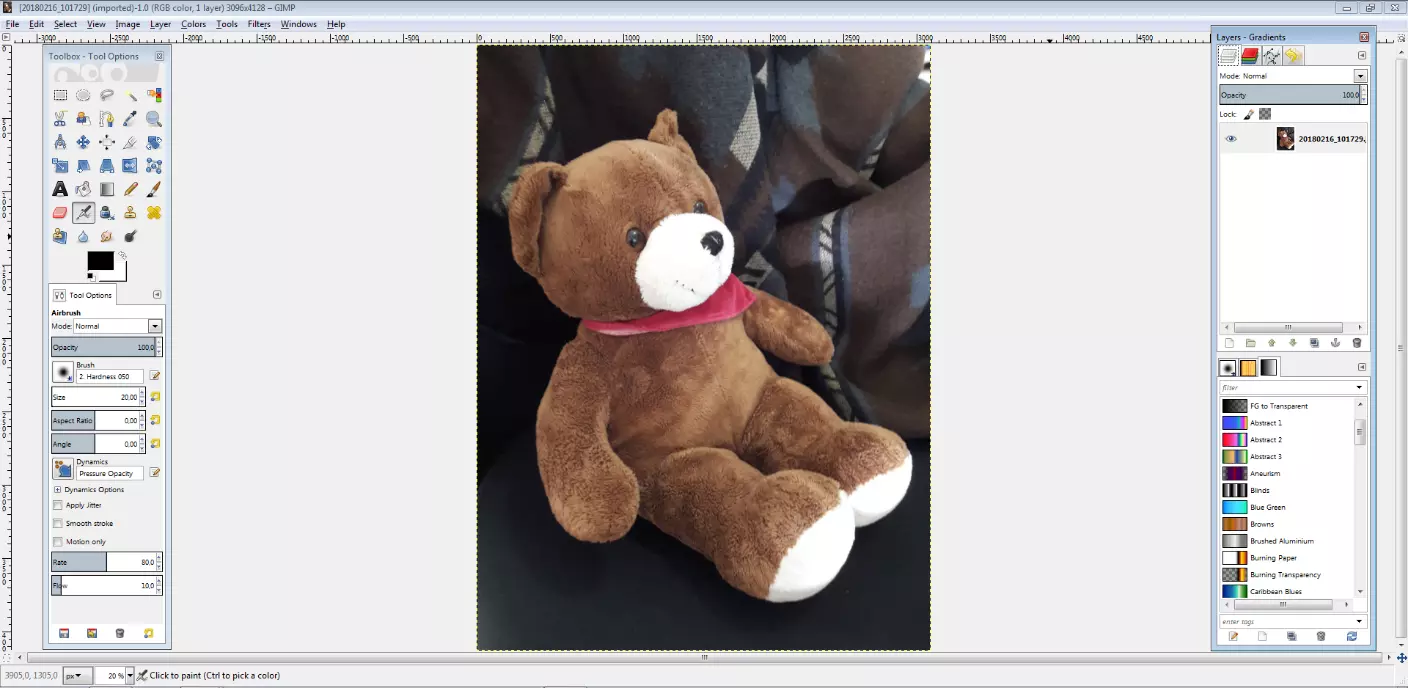
- Open your image in GIMP
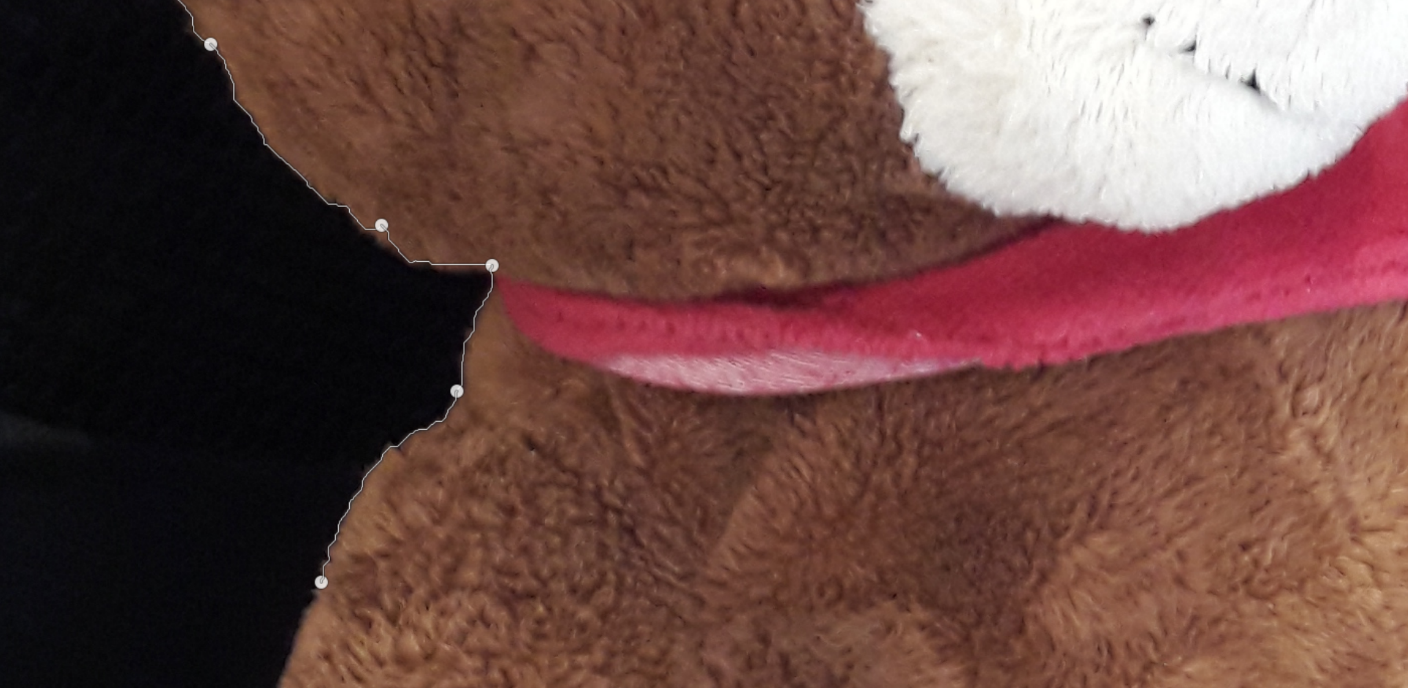
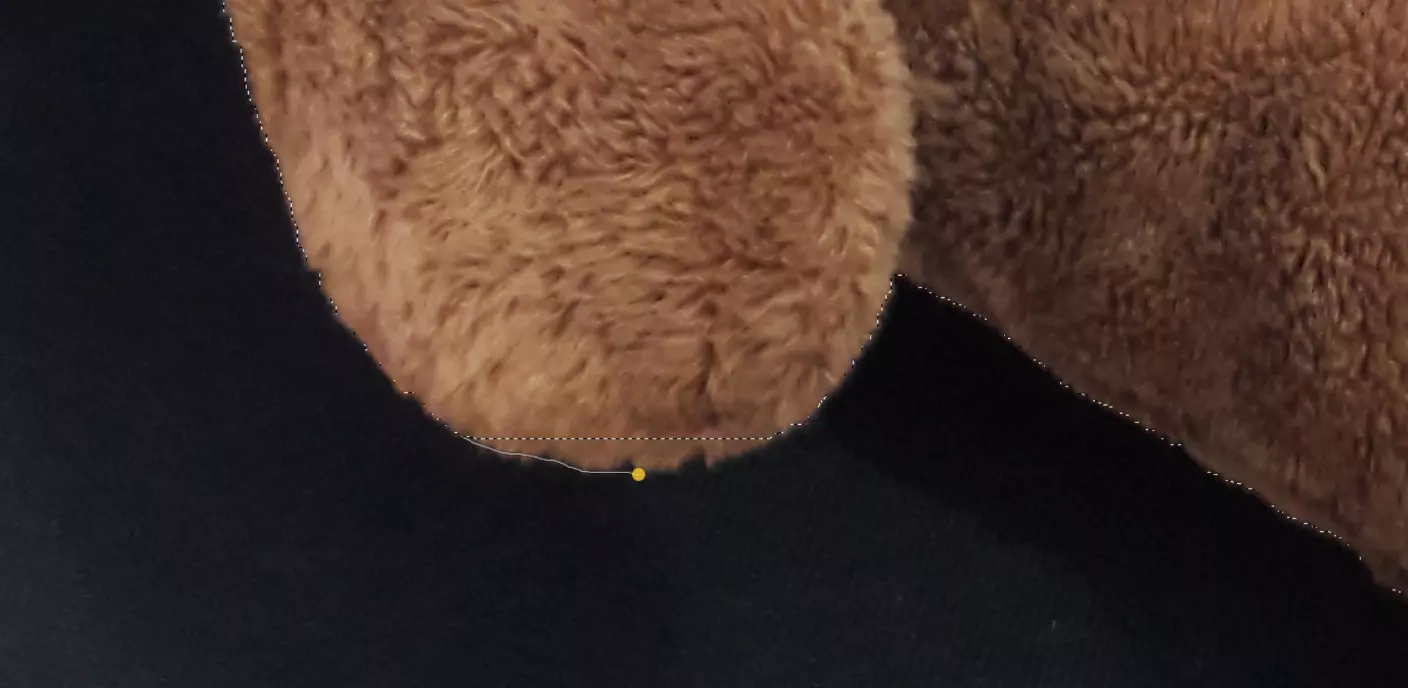
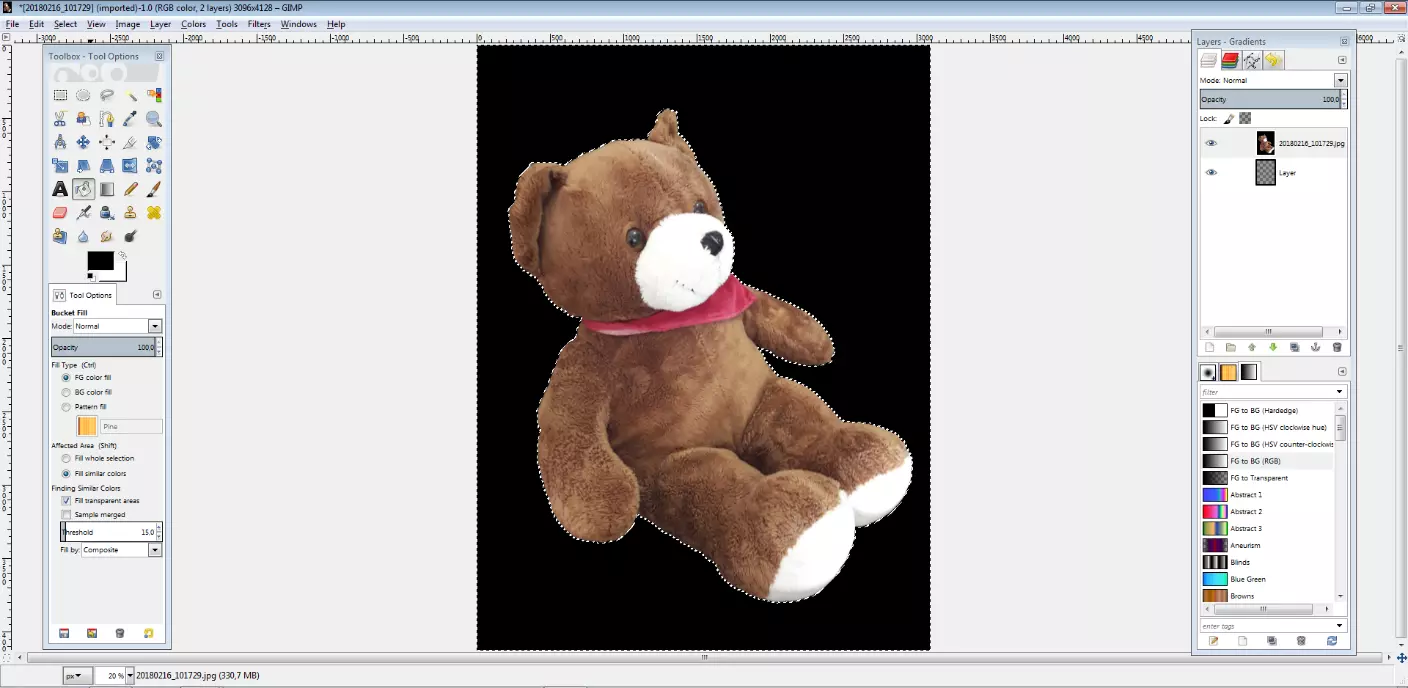
- Select the “intelligent scissors” tool from the toolbar on the left. Now click on a point that lies at the transition between the object to be cropped and the background. Then set the next point a little bit away from the first point, again at the edge of the object. Do this until you surround the object to be cropped, and then click on the first point. The closer together the points are, the better the result will be.
- You can use the “lasso” tool to select areas of the object that were not automatically detected by the “intelligent scissors”. To do this, hold down the left mouse button and the shift key while moving along the edge of the object. This works in the same way for areas that were accidentally recorded – simply left click and press [Ctrl].
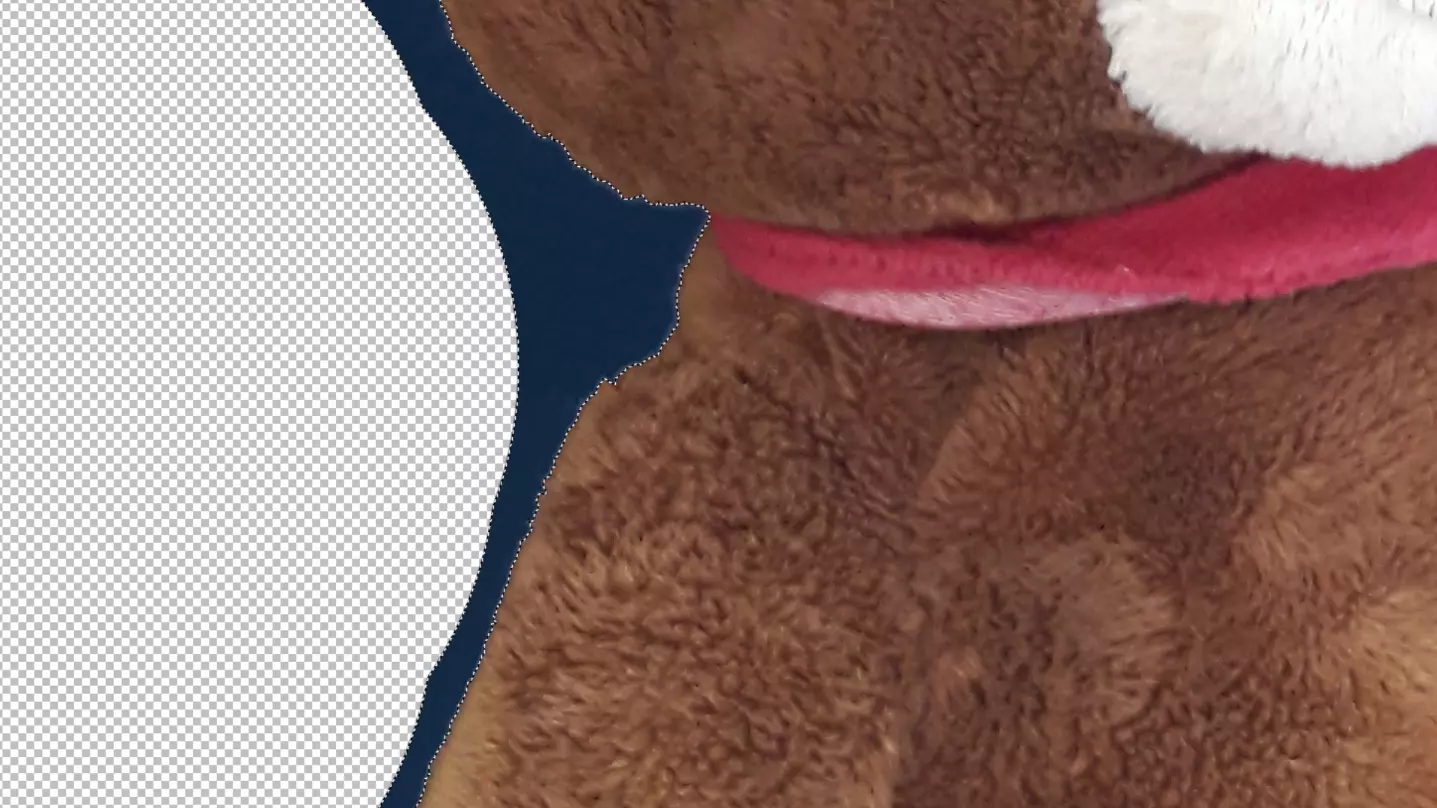
- Once you have outlined the object the way you want, click on select and invert in the menu bar. Now use the paint bucket tool and fill the entire area around the object in colour - the only important thing is that it does not appear on the object itself. In the menu item “layer” select transparency and then colour to transparency. Set the target colour to the one which is filled around the object. The background will now be transparent and you can save the image as a PNG file, and then layer it onto a new background.
Removing image backgrounds using Paint.NET
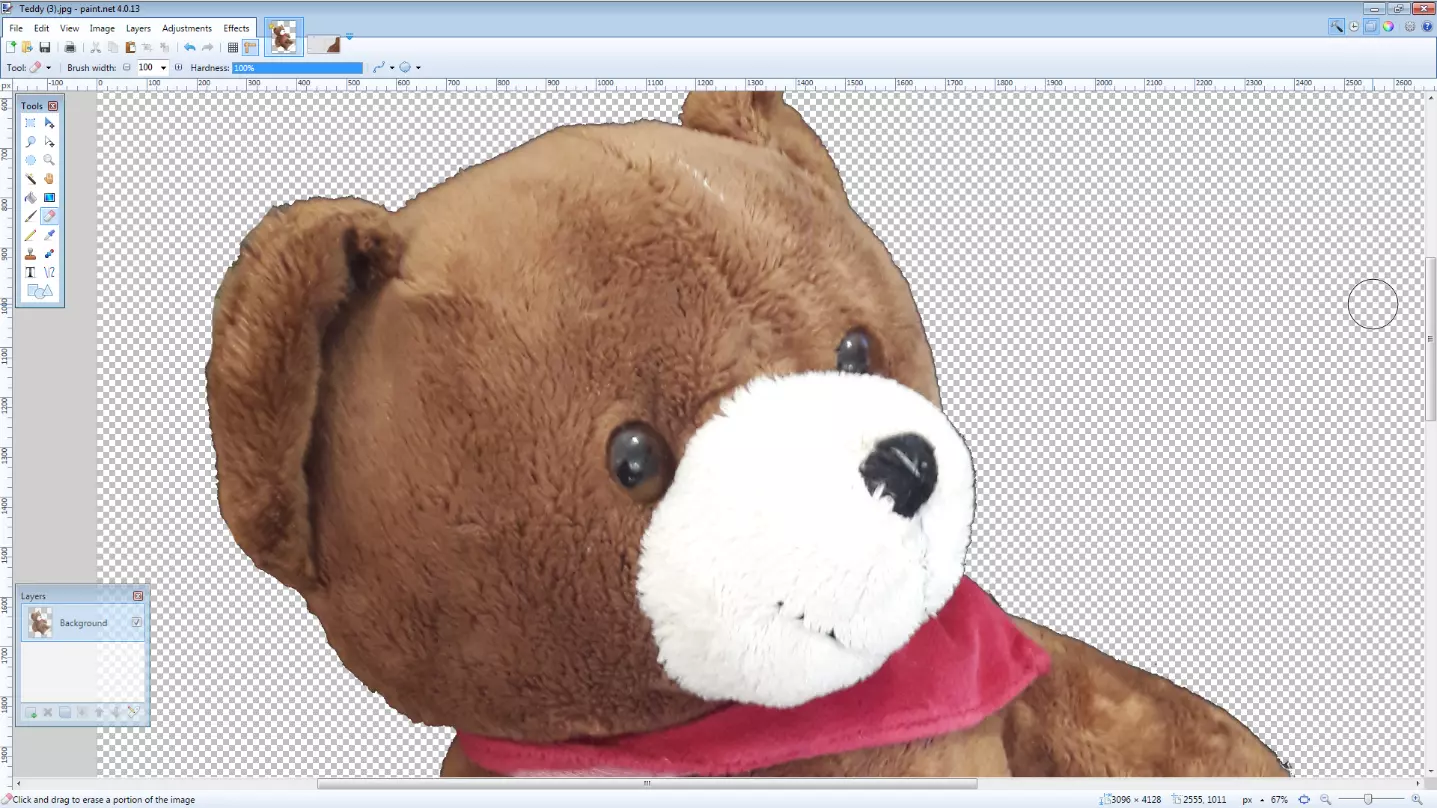
Another free image editing software is Paint.NET, which is available for Windows only. Originally it was planned as a more versatile replacement for Microsoft Paint. You can download the full version of Paint.NET for free here.
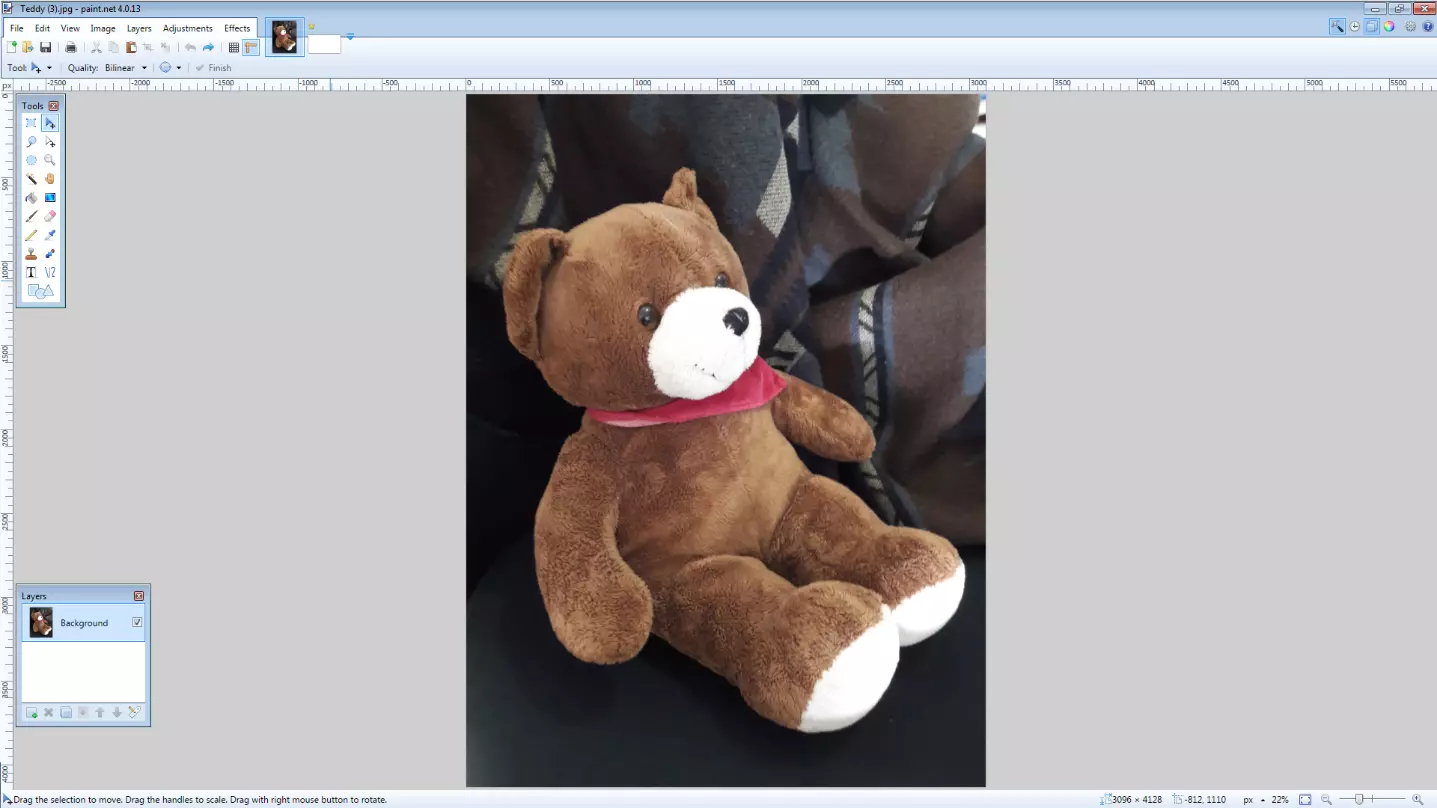
- Open the image you want to remove the background from
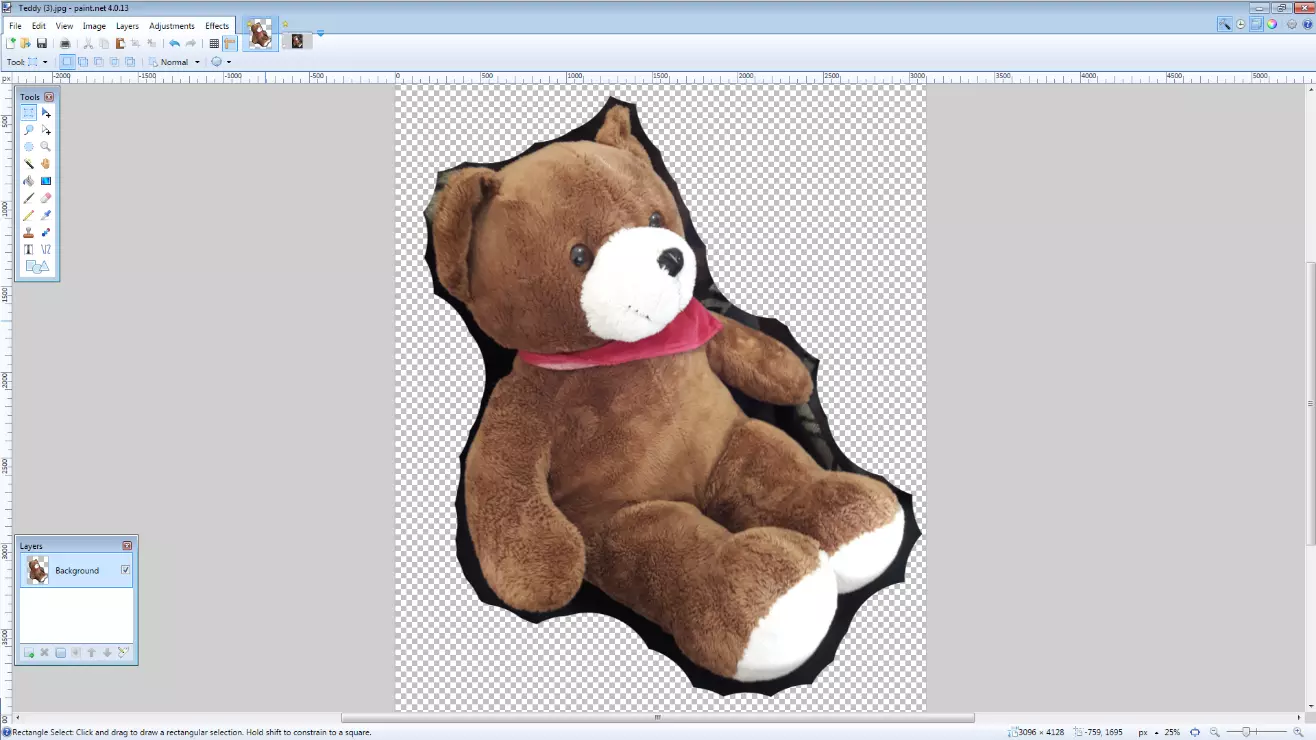
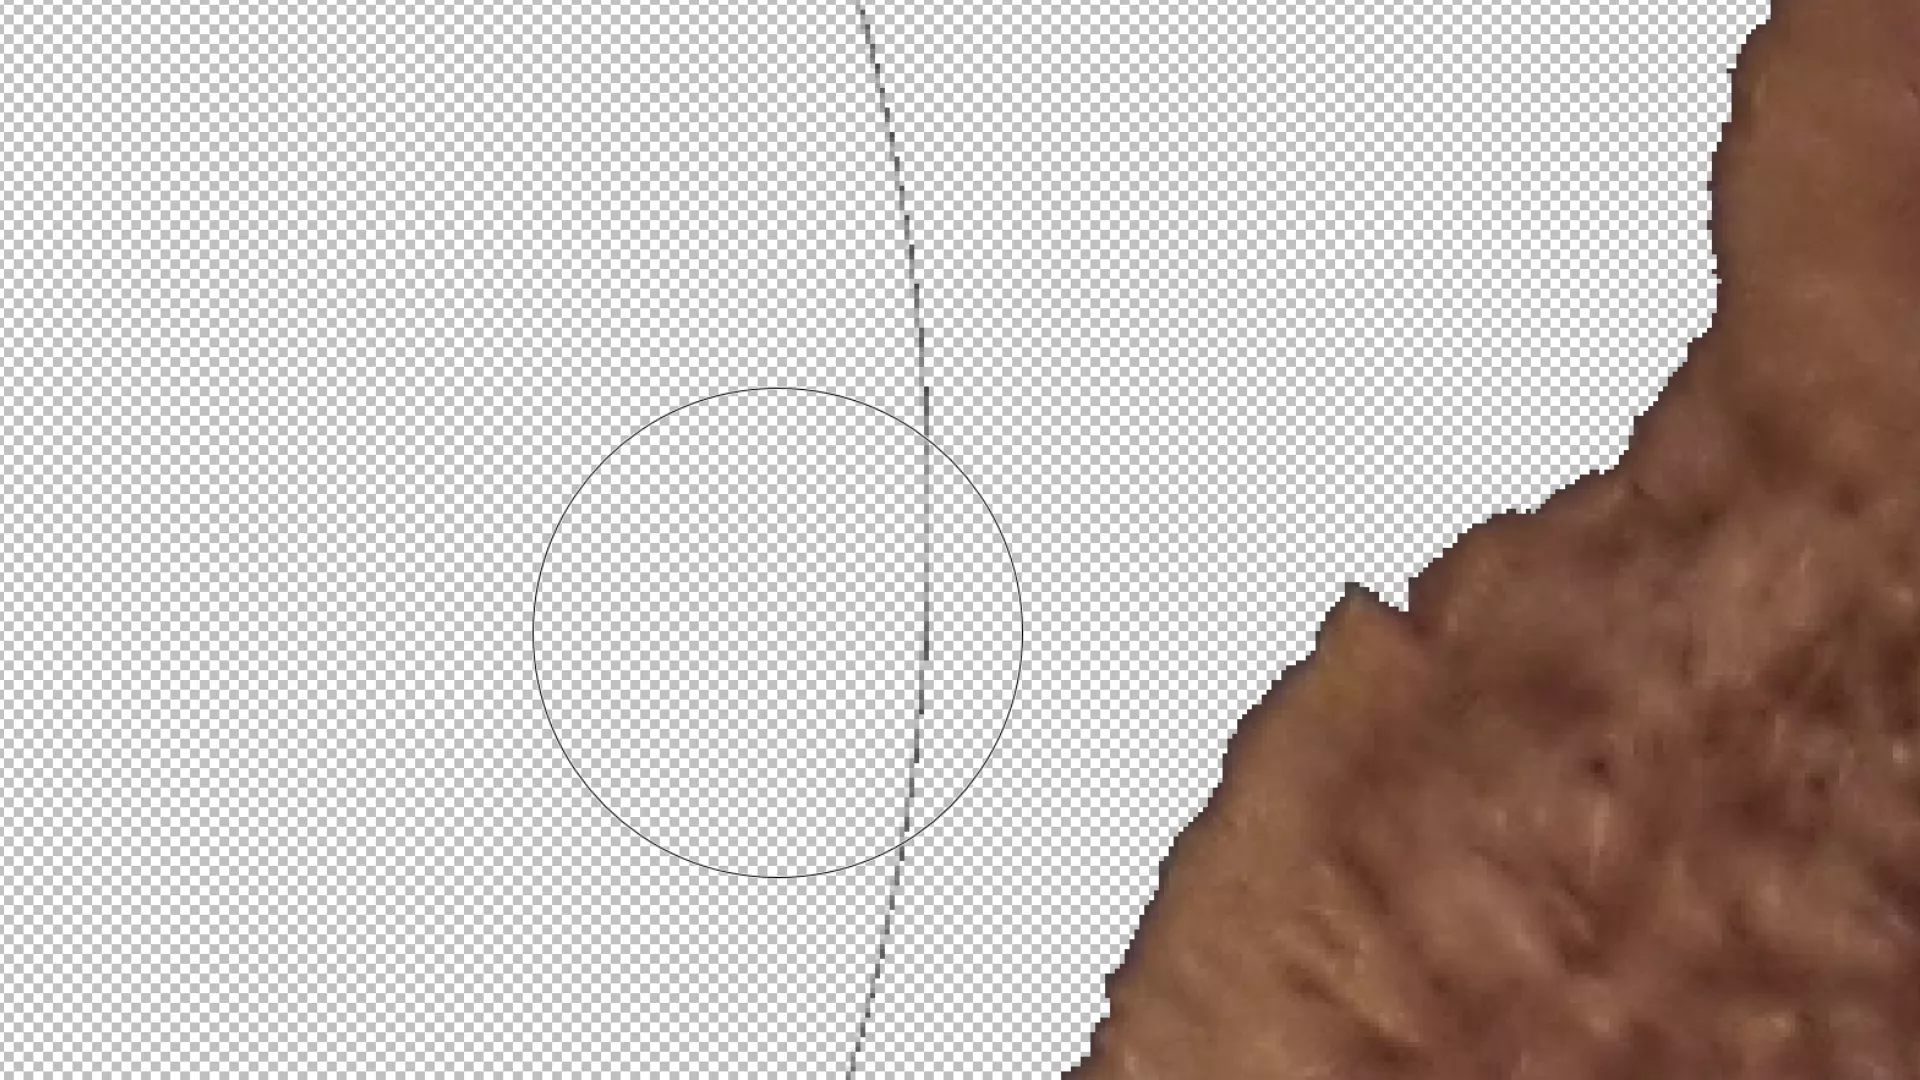
- Use the “magic wand” tool to select the other areas to delete. If the magic wand marks a range that is too large or too small, you can adjust the selection using “tolerance value” in the upper bar – a higher tolerance means that more colour-like pixels are selected and vice versa. Depending on how much the object to be cropped stands out from the background, this process may have to be repeated a few times.
Using online tools to remove image backgrounds
In addition to cutting out images with the usual graphics programs, it’s also possible to use online services that specialise in removing backgrounds. The limited range of functions makes these apps intuitively usable even for newcomers to graphics.
Clipping Magic
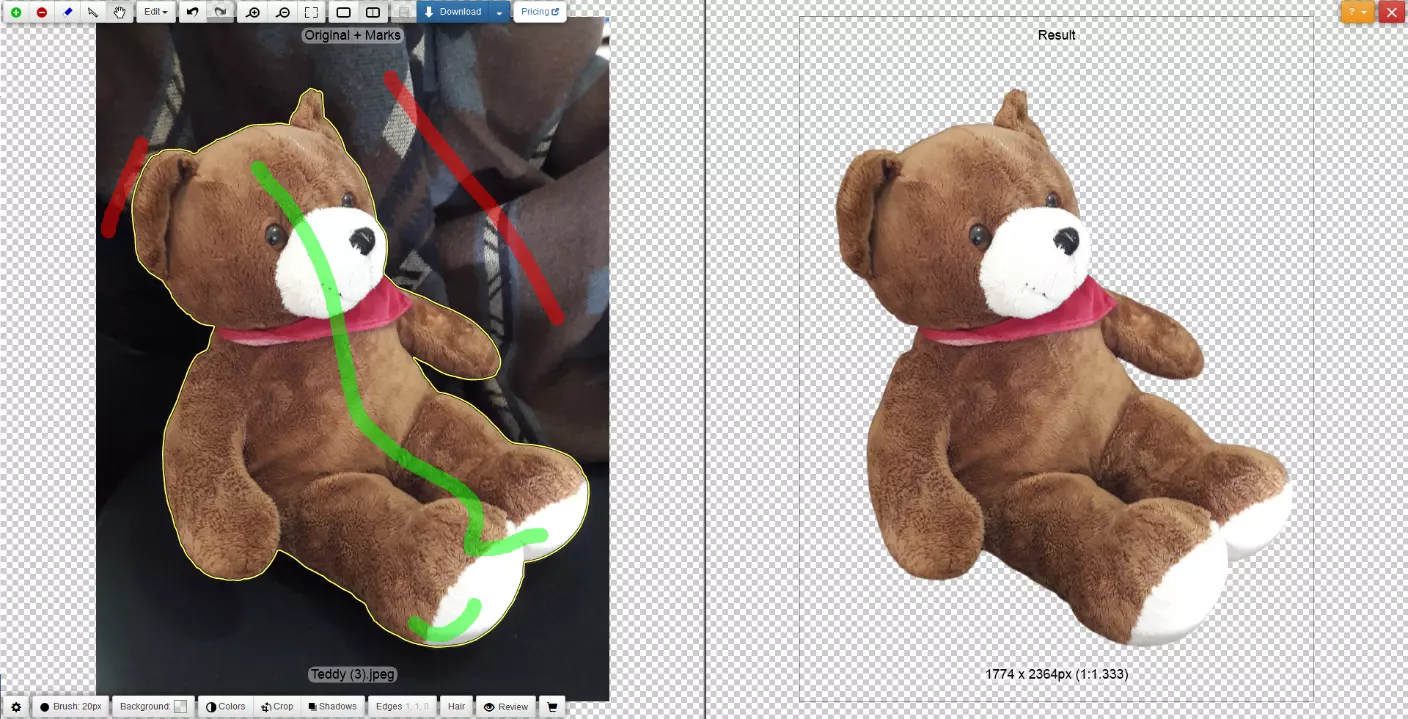
The paid online tool Clipping Magic stands out for its ease of use and excellent results. Use the green brush to highlight the image area you want to crop, and a red brush to highlight the background you want to remove. You don’t need to be too exact here, since the application can differentiate between the background and the object very well. You can preview the result directly online – to download the image with a transparent background, however, you must choose a plan with costs. The cheapest is a package of 15 downloads per month.
Icons8
The AI Background Remover from Icons8 automatically makes individual motifs transparent after you have uploaded an image. You can remove the background of up to three images (JPG or PNG) for free each day without having to register. Click on “Download” to save the cut out image on your device. If you want to increase the daily limit, you have to create an account (also free of charge) and log in with it.
Summary: what is the best way to remove backgrounds?
If you want to remove the background of a photo quickly and need good results, the free online tools presented are a good choice – but you get even better results with paid online services. The tools available online are user friendly, but having to upload your image to a server on the internet means that there’s a risk of personal data protection.
When it comes to desktop applications, Photoshop and, perhaps unexpectedly, PowerPoint come out on top. Photoshop has the most convenient tools to remove the background from detailed images. PowerPoint, on the other hand, excels with its simple and intuitive approach, and its high-quality results.
GIMP and Paint.NET are still good options if Photoshop and PowerPoint aren’t available to you, but their results are not quite as good, and these two programs are not as easy to use.
Overview of each program
| Program | Pros | Cons |
|---|---|---|
| PowerPoint | Ease of use and good results | Limited photo editing options – it’s a slideshow software after all |
| Photoshop | Biggest range of functions and tools for editing tricky photos | Very expensive and the variety of options can seem overwhelming at fist – not as beginner friendly as the others |
| GIMP | Good range of functions, as well as free | Results can be a bit messy, and the program takes some getting used to |
| Paint.NET | Free with a good range of functions | Only operates on Windows, and is a bit laborious to use |
| Clipping Magic (online) | Very good results, and simple and intuitive user interface | Downloads are not free, and you have to upload an image to external |
| Icons8 (online) | Automatic background removal, as well as free | Images are also stored on foreign servers |


