How to record a Zoom meeting
Why would you want to record a meeting on Zoom? Zoom now hosts not only everyday video chats with acquaintances, but also professional conferences and events. To make lectures, meetings, events, and workshops accessible to others later on, Zoom offers the option to record Zoom meetings and save them locally or in the cloud. Our guide will tell you how to do this.
Quick instructions: Record a Zoom meeting
- Only meeting administrators and moderators have the ability to record a Zoom meeting or authorise other attendees to start the recording.
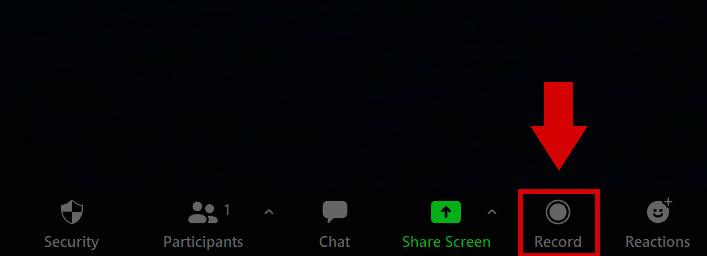
- To start recording, click ‘Record’ at the bottom of the menu bar after the meeting has started.
- In the separate tab entitled ‘Recording in progress...’ you can pause or stop the recording.
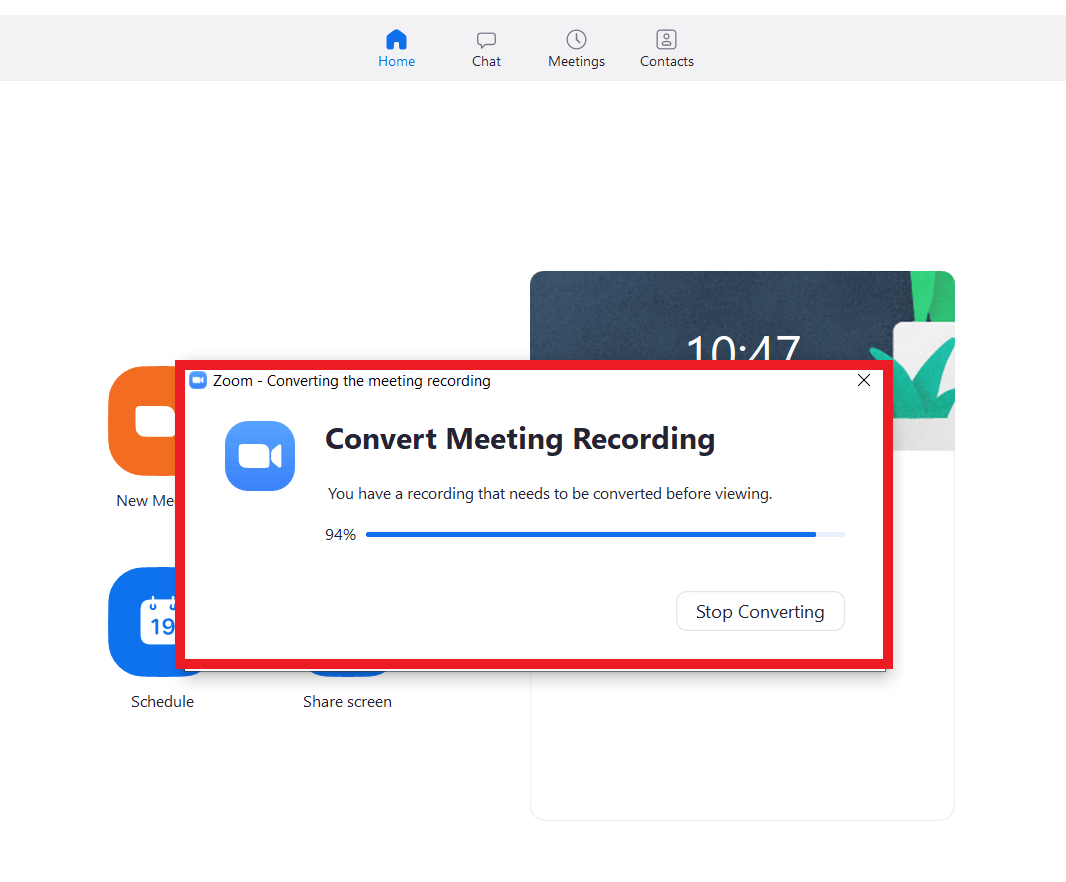
- When you stop recording, the file is automatically saved in mp4 video format locally on your PC (or in the cloud if you have a paid Zoom subscription). The local storage folder will open automatically.
To authorise another participant to record:
- In the meeting, go to ‘Participants’ in the bottom bar.
- Select the specific participant and click on ‘More’.
- Click ‘Allow recording’ to allow participants to record.
Record a Zoom meeting – advantages
Zoom, along with the Zoom alternatives - Google Meet, Skype, and Microsoft Teams - has transformed modern communication. International conferences, meetings, and seminars are increasingly taking place in front of a webcam or in the office set up you’ve created to enable you to work from home. Even webinars, virtual talks (e.g., by universities or companies), and art events now take place on Zoom. News agencies are increasingly using video conferencing software for interviews.
What is not so self-evident, however, is that those interested can participate in all events, meetings, or lectures that take place online. If you want to create important content in the form of video conferences that can be accessed later, take advantage of the fact that Zoom allows meetings to be recorded and saved. The recorded videos can be stored locally with the free Zoom subscription or saved in the cloud with the paid Zoom subscription that comes with significantly more storage volume.
Record a Zoom meeting: detailed instructions
Follow the steps below to start and save a Zoom recording. Note that there are two recording options with Zoom:
- ‘Local recording’ in the free basic Zoom subscription and
- ‘Cloud recording’ for paying Zoom subscribers.
Here we explain both options.
Only the administrator or moderator of the meeting has the permission to record a Zoom meeting. If attendees who join a Zoom meeting want to start recording, they have to get permission from the moderator.
Record a Zoom meeting locally (Zoom basic version)
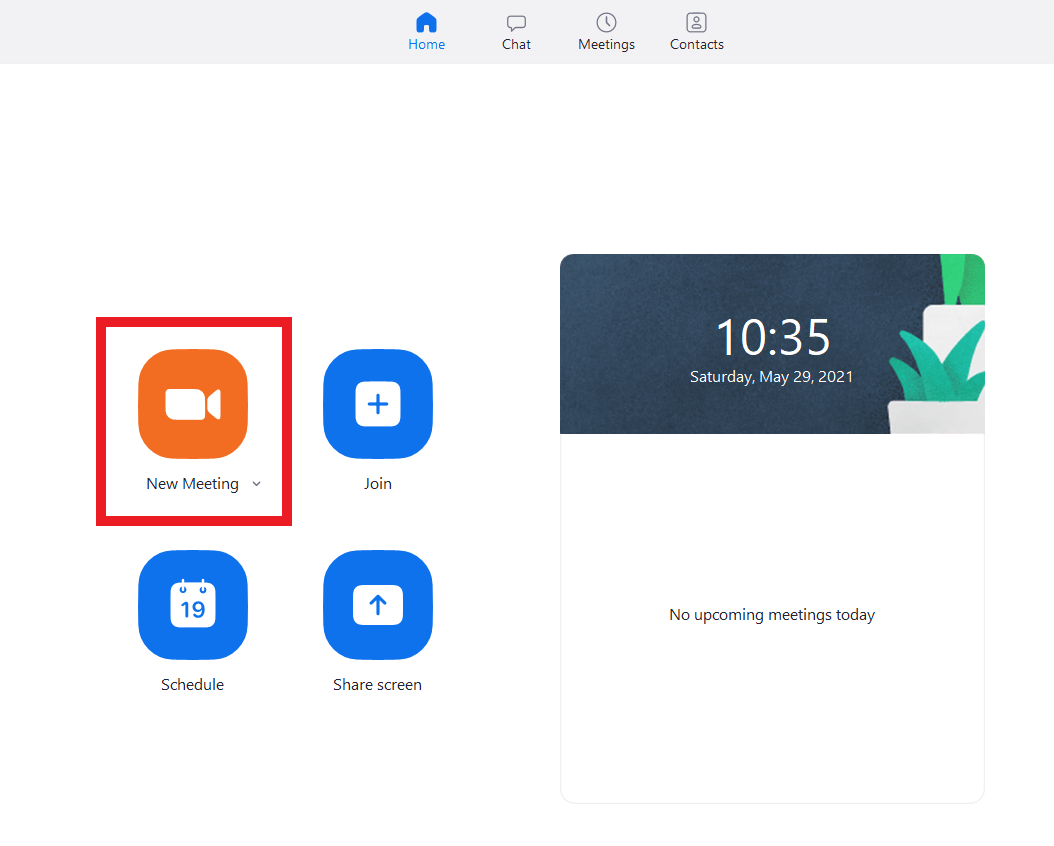
Step 1: Log in to the Zoom desktop app and create a Zoom meeting.
Step 3: If your computer sound is deactivated, Zoom may automatically indicate that it is recording without sound. If you want to record the sound, give Zoom permission.
Step 4: During recording, a menu bar will open that displays the message ‘Recording...’. Here you can pause or stop the recording.
Record a Zoom meeting in the cloud (paid Zoom subscriptions)
Step 1: Log into your account on the Zoom Web Portal.
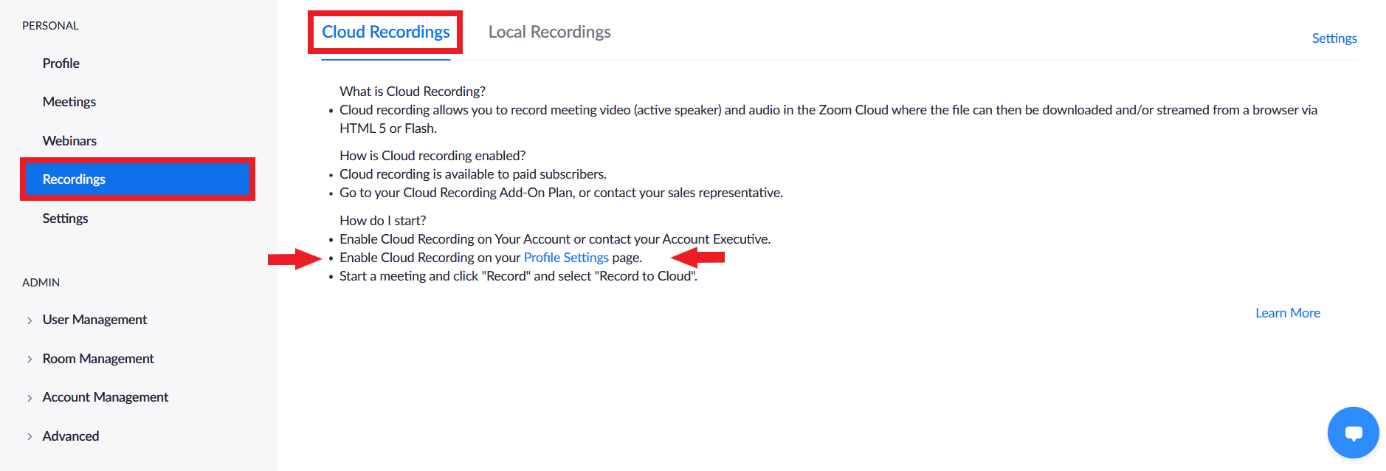
Step 2: Select ‘Recordings’ in the left sidebar and then click on the ‘Cloud Recordings’ tab. If you have not already done so, activate recording in the cloud by clicking on ‘Profile Settings’ and navigating to the ‘Cloud Recordings’ section.
Step 3: Now start a meeting, go to ‘Record’ in the bottom menu bar and select ‘Record to the Cloud’.
Step 4: In the recording menu, you can pause and stop the recording. When you stop recording, it is automatically saved until the end of the meeting.
Step 5: To view, download, share, or link to your saved cloud recording, log back into the Zoom web portal, go to ‘Recordings’, and select the cloud recording in question.
With IONOS’s free Online Video Chat, you can enjoy all the benefits of video conferencing software. There’s no registration or installation involved, and you can use it with up to 24 participants.


