

How to set up a file server on Windows Server 2025 step by step

Windows file servers can generally be set up quickly in Windows Server 2025. However, it is worth taking the time to plan before you start the actual configuration. This article first explains the technical requirements for a Windows file server and then shows you how to set it up in a step-by-step guide.
What are the technical requirements for setting up a file server on Windows Server 2025?
Before setting up the Windows File Server, make sure the server is technically ready. This includes the operating system, storage, network, user management, and the required security level. The following checklist gives you a practical overview of the key requirements:
✓ Install Windows Server 2025
✓ Sufficient storage space for the planned shares
✓ Stable network connection and static IP address
✓ User accounts or groups for access rights
✓ Administrative rights on the server
- Enterprise hardware
- Configurable hardware equipment
- ISO-certified data centres
Hardware requirements
The hardware requirements depend mainly on the number of users accessing the Windows File Server and the amount of data you need to store. For typical use cases, you can use the following reference values:
| Environment | CPU | RAM | Storage |
|---|---|---|---|
| Small team (up to approx. 10 users) | 2–4 cores | 4–8 GB | SSD |
| Medium environment (10–50 users) | 4–8 cores | 16–32 GB | SSD or RAID |
| Large file storage (50+ users) | 8+ cores | 32+ GB | RAID or storage system |
As a general rule, computing power is not the main priority for file servers. What matters most is storage performance, reliable storage capacity, and sufficient network bandwidth.
Network requirements
To allow users on the network to access the Windows File Server, several network components need to be configured correctly, including:
- Static IP address for the server
- Working DNS name resolution
- Network access between server and clients
- SMB communication allowed in the network
- Appropriate firewall rules for file and print services
The right Windows Server edition
For a typical Windows File Server on Windows Server 2025, the Standard edition is sufficient in many cases. It includes the core features needed for file shares, user permissions, and storage management.
If you plan to use extensive virtualisation, large cluster environments, or additional data centre features, the Datacenter edition may be the better option. It provides advanced functions for virtualisation, storage, and high availability.
Which server is best suited?
Before setting up a Windows File Server on Windows Server 2025, decide which server infrastructure the operating system should run on. The right choice depends on the number of users, the amount of data, and your performance requirements.
The following rules of thumb can help with an initial assessment:
- Few users and small data volumes: VPS
- Multiple teams or many simultaneous accesses: Dedicated server
- Very large amounts of data or high storage load: Bare metal server
- Maximum failover reliability required: Cluster solution
VPS
For small teams, development environments, or test scenarios, a Virtual Private Server (VPS) may be sufficient. This option works well when only a few users access the Windows File Server at the same time and the amount of stored data remains manageable.
Dedicated server
For a production Windows File Server in a business environment, a Dedicated Server is often the best choice. Because the hardware resources are used exclusively, it can handle larger data volumes and multiple simultaneous users reliably. Dedicated servers are especially suitable for:
- Shared project folders
- Central document repositories
- User directories
- Internal file archives
Bare metal server
If very large numbers of files are stored or many users access the Windows File Server at the same time, a Bare Metal Server is a good choice. These servers run directly on the hardware without a virtualisation layer, providing maximum storage performance.
Alternatively, you can run a Windows File Server in a virtualised environment. In this setup, the server runs inside a virtual machine, making it easier to manage multiple server services on the same hardware. A typical example is a file server with Proxmox.
Multiple servers or clusters
If the Windows File Server requires particularly high availability, a single server is often not enough. In these cases, server clustering can be used. Windows Server distinguishes between:
- File Server for general use for traditional user shares
- Scale-Out File Server for highly available storage scenarios, such as Hyper-V or databases
How to set up a file server on Windows Server 2025 step by step
The following example sets up an SMB (Server Message Block) Windows File Server with a standard share. The instructions follow the management structure of Windows Server 2025 and show you how to create a file share in Server Manager step by step.
Step 1: Prepare the data drive and folder structure
Before creating the share, first decide where the files should be stored. For a production Windows File Server, it is best not to place shares on the system drive. Use a separate data drive instead, such as D. Then create the required folder structure there, for example:
D:\shares
D:\shares\project
D:\shares\sales
D:\shares\accounting
A clear folder structure makes it easier to manage permissions, backups, and ongoing administration later on.
Step 2: Add the file server role
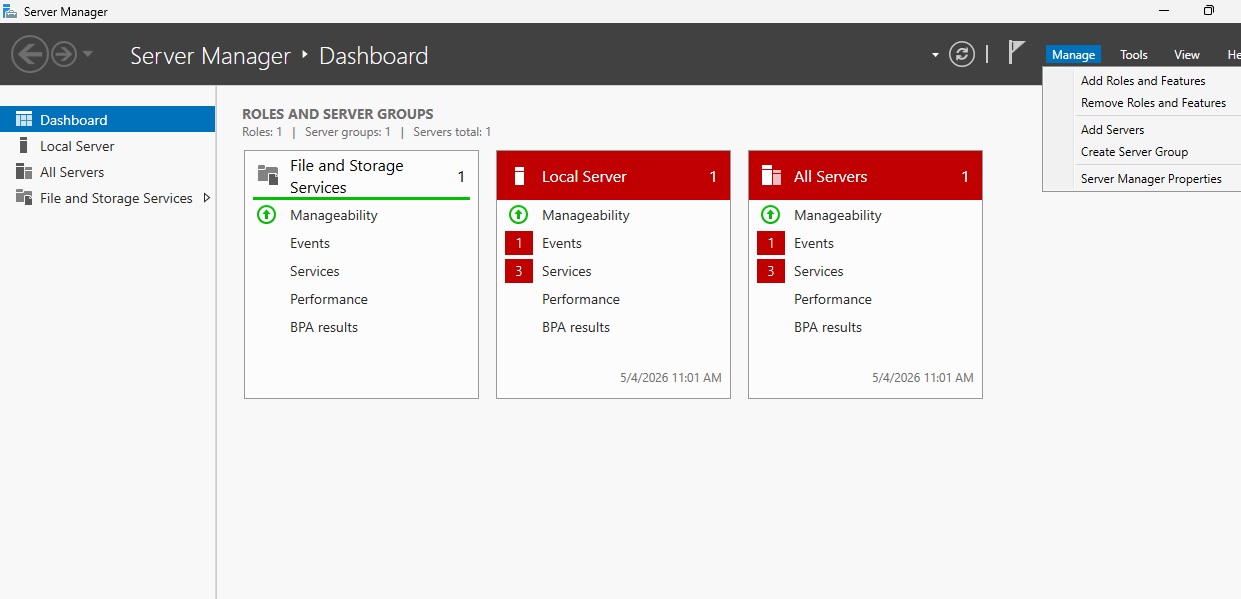
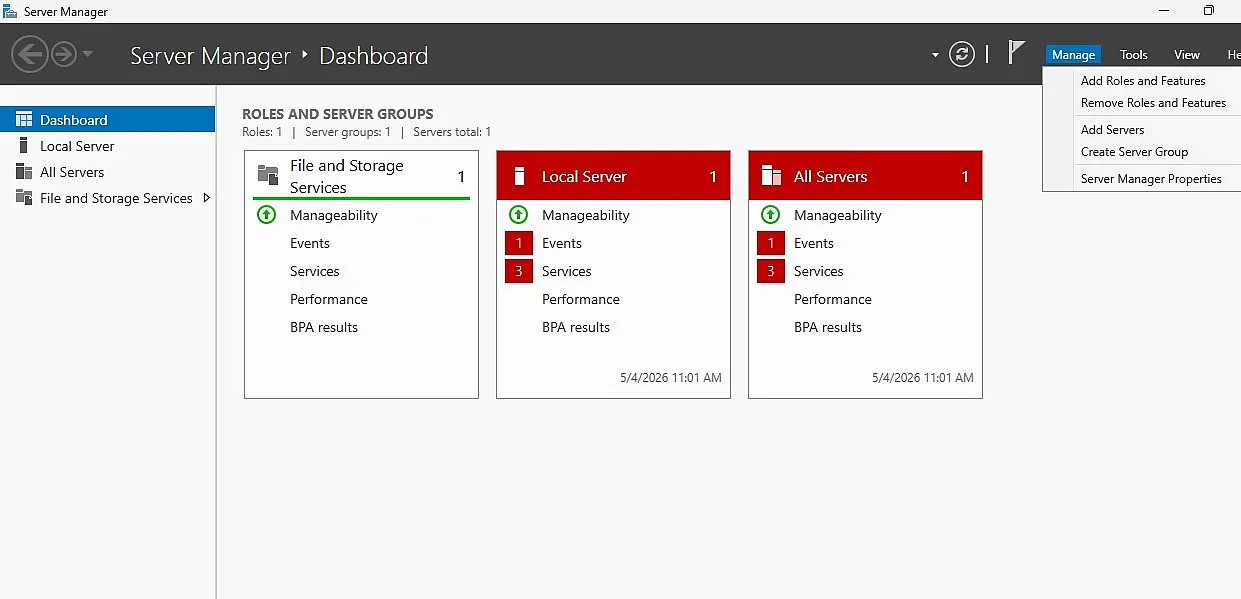
- Open Server Manager and, under ‘Manage’, select the ‘Add Roles and Features’ option.
- In the wizard, select a role-based installation and choose the target server.
- Then enable the file server role. To do this, under ‘File and Storage Services’, add the ‘File and iSCSI Services’ option.
- Click ‘Install’.
Step 3: Create a new SMB share
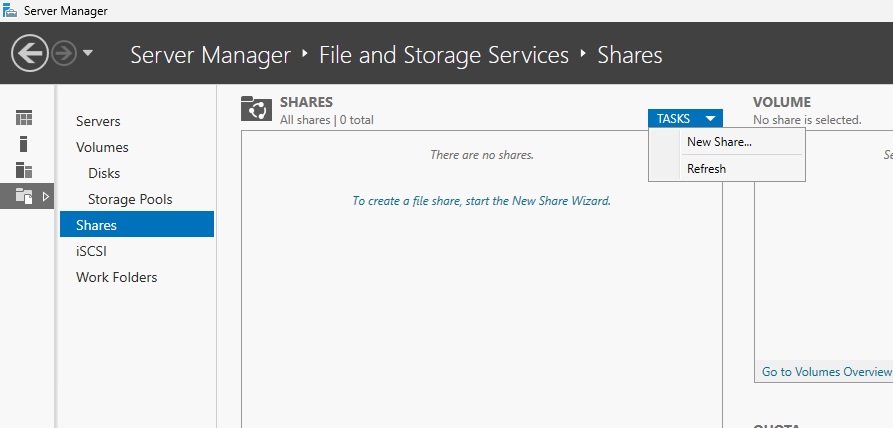
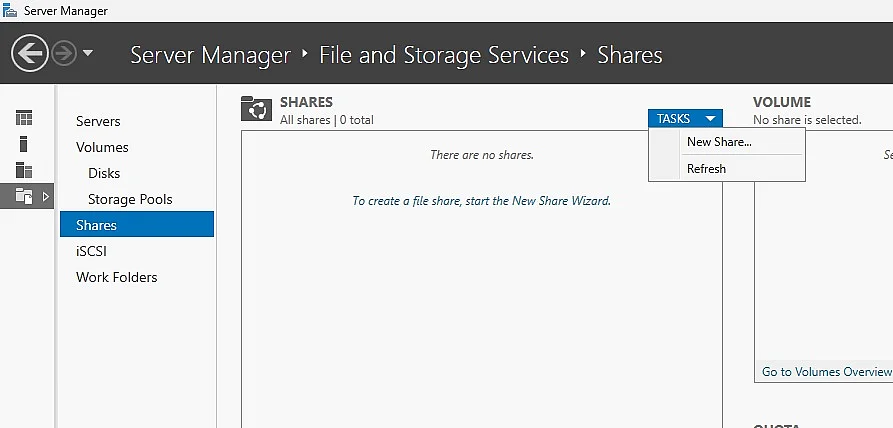
- In Server Manager, go to ‘File and Storage Services’ and select ‘Shares’.
- There, click ‘Tasks’ → ‘New Share’ to create a new share.
- For a Windows File Server, select ‘SMB Share – Quick’ in the wizard. This option is suitable for most standard shares in small and medium-sized environments.
Step 4: Select storage location and share
In the next step, select the drive and folder you want to share. Navigate to the directory you created earlier, for example D:\shares\project. Make sure you select the correct folder, as the share is created directly from this path.
Step 5: Assign a share name
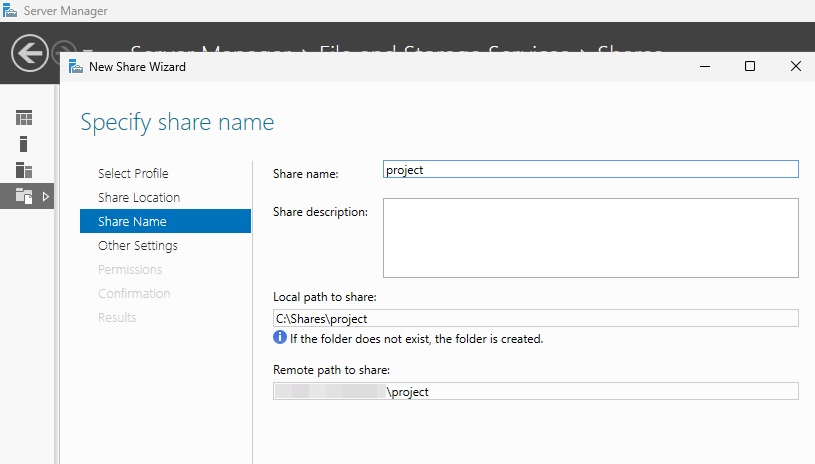
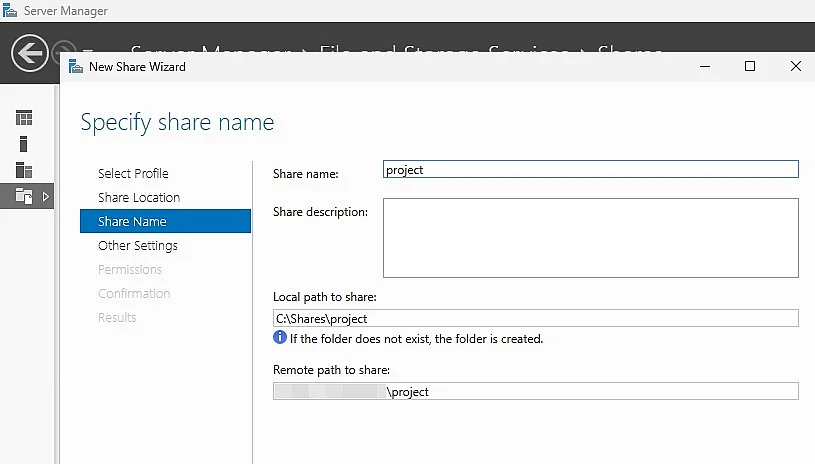
Now assign a unique name to the share. This name will later be used on the network, for example \\fileserver\project. Choose a short, clear name so users can easily identify the share.
Step 6: Configure share settings
In the ‘Other settings’ section, you can enable additional options for the share. The following settings are useful in many environments:
- Enable access-based enumeration so users only see folders they are allowed to access.
- Encrypt data access if SMB access should also be encrypted.
You can leave the other special options unchanged for now.
Step 7: Configure permissions
Next, define which users or groups should have access to the share. Make sure the share permissions and NTFS (New Technology File System) permissions work together clearly. You can use this basic structure as a guide:
- Administrators: Full control
- Responsible user group: Modify or Read
- No broad default permissions
For example, if only one project team should access the folder, assign the permissions to a suitable user group rather than to individual user accounts.
Step 8: Create the share
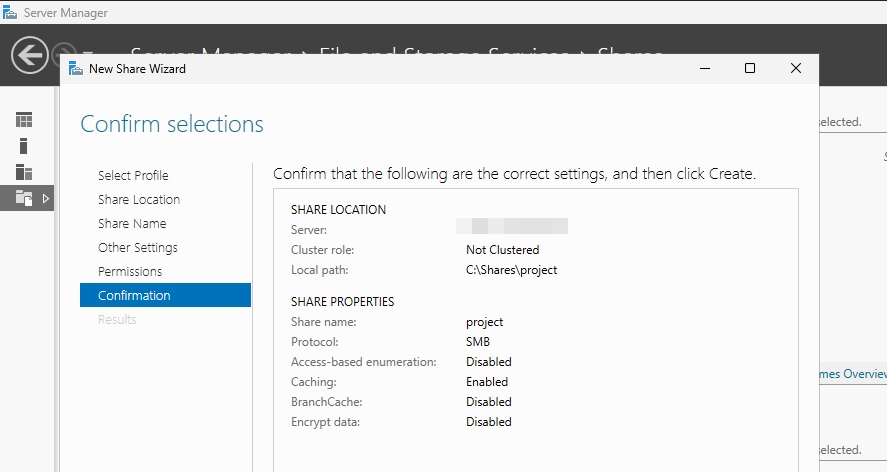
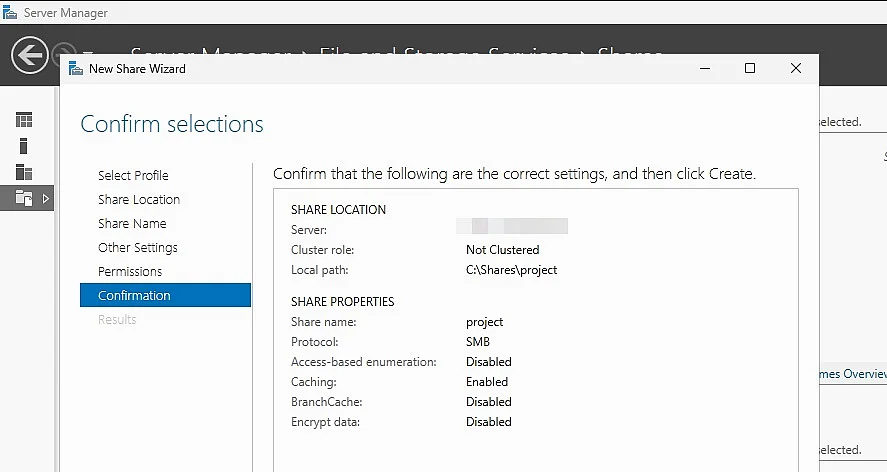
Review the summary in the wizard and click ‘Create’ to set up the share. Once the process is complete, the new SMB share should appear in the Server Manager share overview. This completes the basic configuration.
Step 9: Test the share
Then test whether the share is accessible on the network. To do this, open File Explorer on a client or directly on the server and enter the network path, for example:
\\SERVERNAME\projectOr
\\fileserver\projectIf access works, the Windows File Server has been set up successfully. If the folder is not accessible, check the following:
- DNS resolution
- Network connection
- Assigned permissions
Step 10: Optionally map the share as a network drive
To make the share easier to access in everyday work, you can map the folder as a network drive. This can be done manually in File Explorer or centrally through Group Policy in a domain environment.
Manual mapping is usually enough for smaller environments. In larger networks, central assignment is generally the better option.


Step 11: Configure quotas or storage optimisation (optional)
If the Windows File Server is used in a production environment, you can add more features in the next step. These include:
- Storage quotas to limit storage space per folder or user
- Data Deduplication to reduce redundant data on the volume
These features are not strictly required, but they can make a Windows File Server much more efficient to operate.
Reviewer

Christian Heldmaier
Christian Heldmaier is an experienced online marketing and SEO specialist from Karlsruhe. He has been working as an SEO Manager at IONOS since July 2020.