How to do an HP BIOS update
Updating BIOS is important for preventing hardware problems and keeping software up to date. HP BIOS updates are simple to do, even for beginners.
- Free website protection with SSL Wildcard included
- Free private registration for greater privacy
- Free Domain Connect for easy DNS setup
Step 1: Prepare for the HP BIOS update
Before you start the HP BIOS update, you should make sure that your computer is connected to a stable power source for the entire process. Losing power during the update can have serious consequences. It’s also a good idea to back up important data beforehand so that you can restore your system in the unlikely event of an error.
The first step is to check the current BIOS version to find out whether you need to do an HP BIOS update at all. To do so, start your computer and press [Esc] or [F10] during startup. That will take you to the BIOS menu, where you can find the current BIOS version. Make a note of it.
Depending on the exact hardware you have, you might need to use other keys to open the BIOS. You can find that out with a quick Google search using the name of your motherboard.
Alternatively, you can find the BIOS version in Windows system information. To do so, press [Windows] + [R] and then enter msinfo32. In the system information that opens, you’ll find the current version under ‘BIOS Version/Date’.
Step 2: Download the newest HP BIOS version
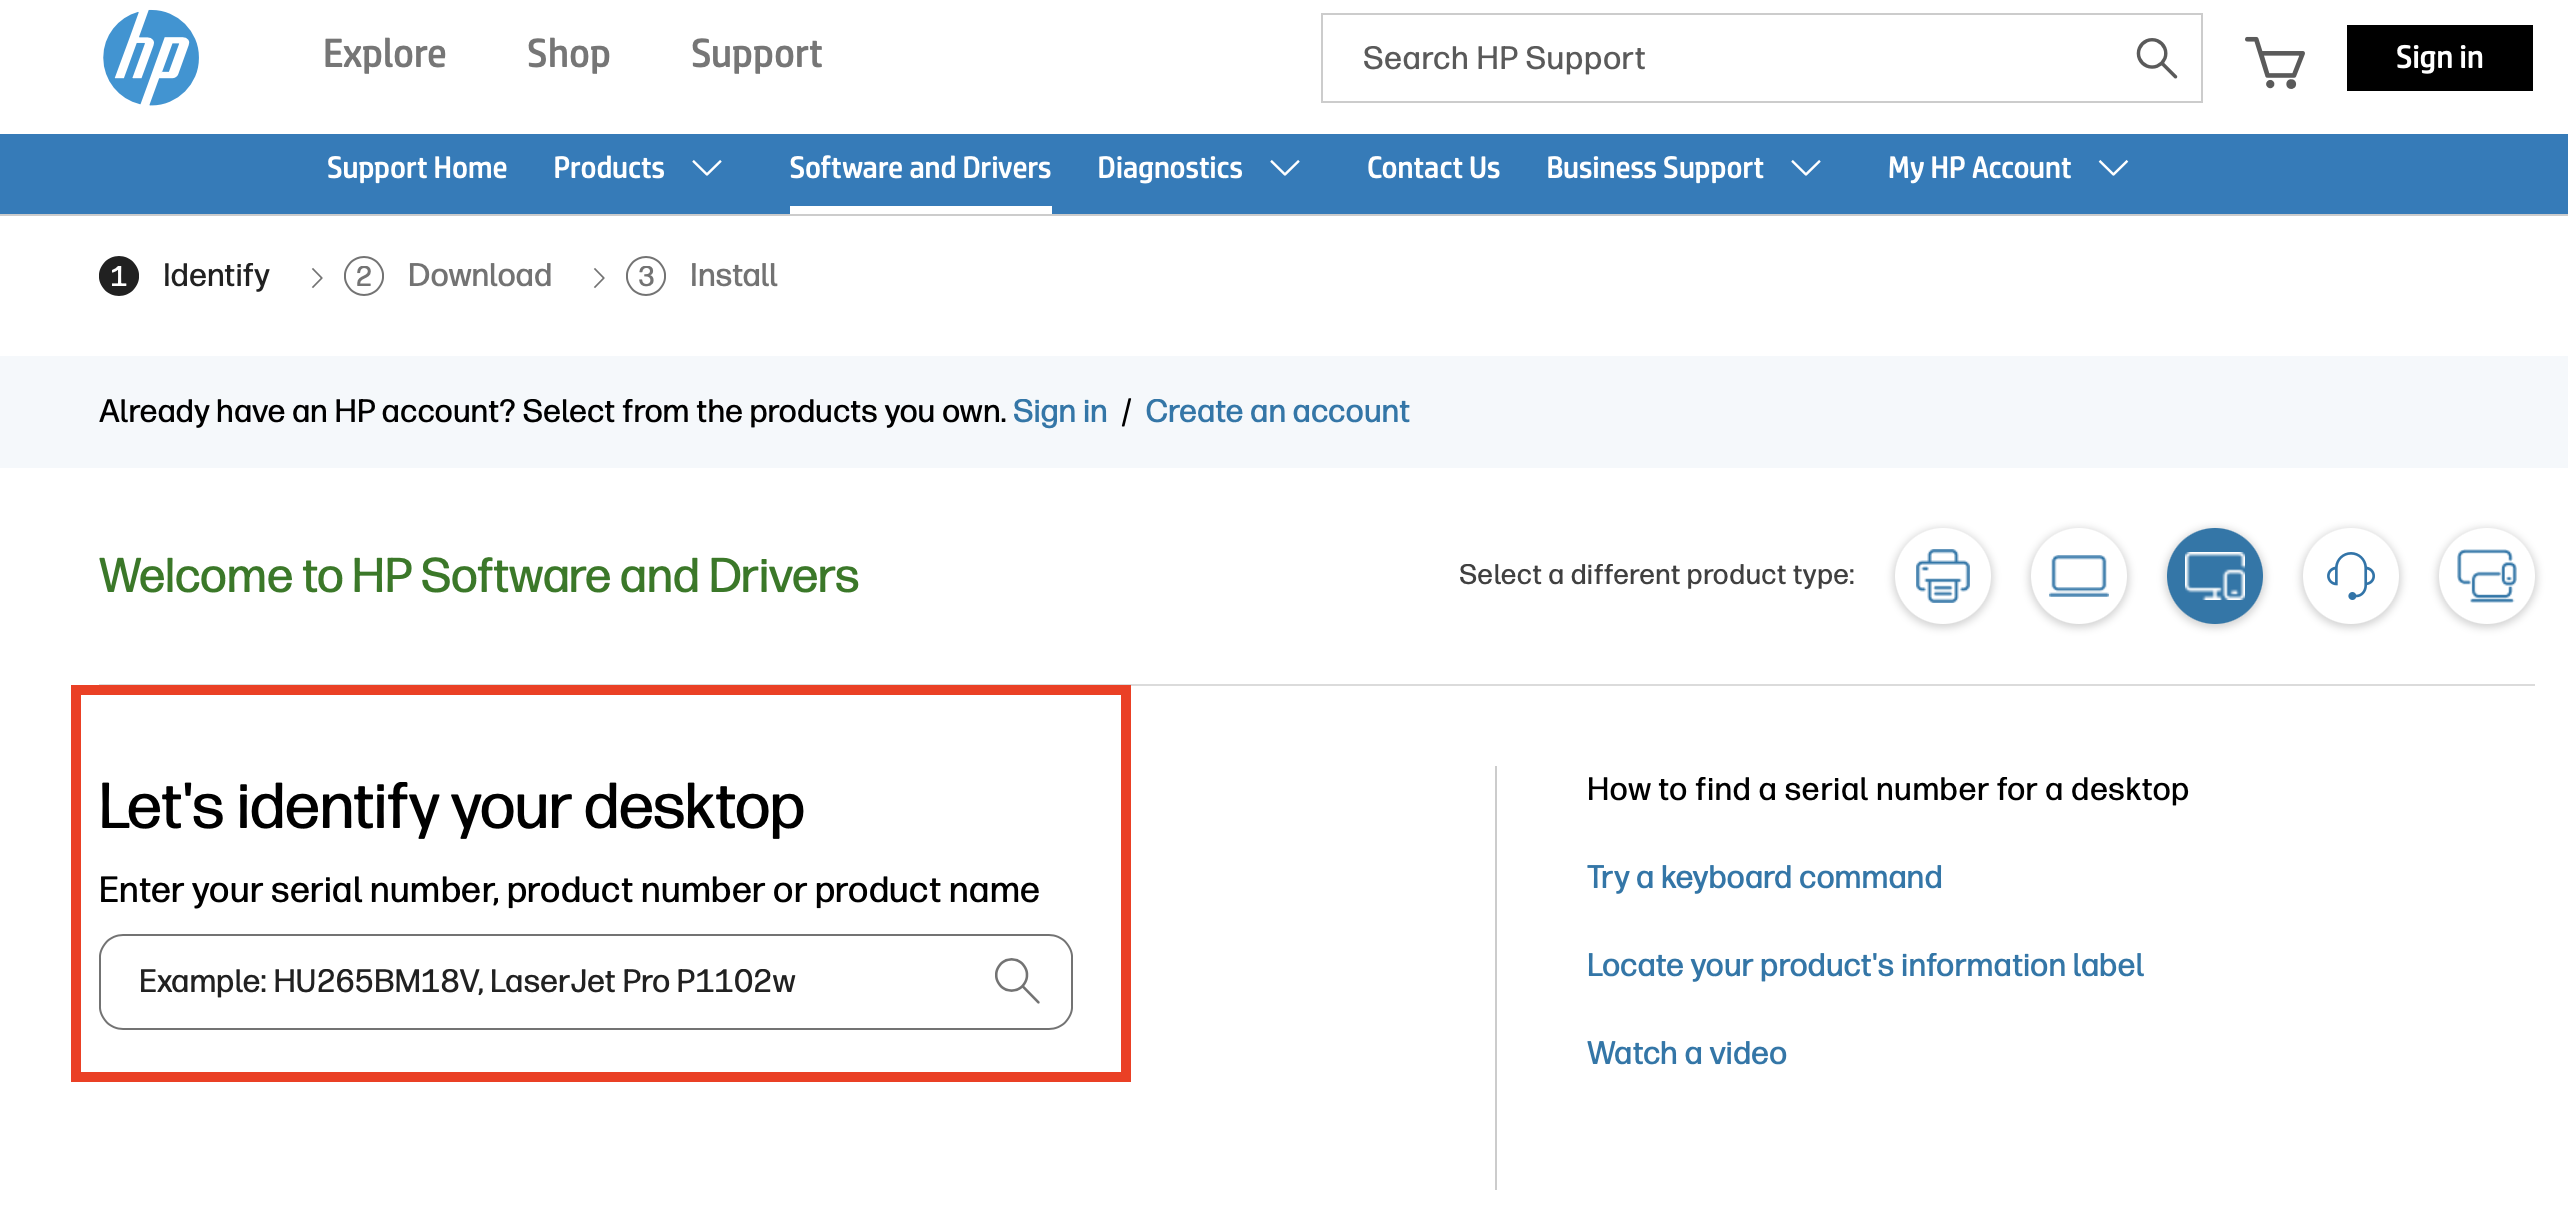
Open your browser, go to the HP support page and click on ‘Software and Drivers’.

Select the product type for your HP device and then enter the product number or model name. That will allow you to find the relevant driver and BIOS version for your model.

Once you’ve found the product, you can specify which operating system you have installed. Then you’ll see a list of the newest BIOS updates for the device under ‘BIOS’ or ‘Firmware’. Compare the version displayed on this page with the version you noted above from your BIOS. If the version on the site is newer, download it by clicking ‘Download’.

Step 3: Open the HP BIOS update
Double click the file you downloaded to open it and start the installation program. Follow the instructions closely. In most cases, the tool will either start the update in your operating system right away or the next time you restart in BIOS. Confirm the security prompts and continue to follow the instructions in the installation program.
Step 4: Perform the HP BIOS update
After you’ve initiated the update, your computer will automatically restart. While this is happening, you should not under any circumstances turn off or disrupt the computer. That could lead to irreparable damage. Let the update run, even if the screen goes black for a few minutes – that’s normal.
Step 5: Confirm the update
When the update is complete, the computer will restart again. To make sure that the update was correctly installed, check the BIOS version again using the instructions in Step 1 above. If the version displayed to you is the same one you downloaded from the HP website, the HP BIOS update was successful.
Updating the BIOS is necessary no matter what kind of motherboard you have. It will help prevent hardware issues and maintain compatibility. If you have a motherboard from a different manufacturer, take a look at our other step-by-step guides for updating BIOS:

