

Password protecting a Mac folder – here’s how

To protect documents, pictures, and any other files containing sensitive data from unauthorised access, you can lock or password protect a Mac folder. We’ll explain how this works with the help of our step-by-step guide including helpful screenshots.
A step-by-step guide for how to lock a folder on a Mac.
To password protect a Mac folder, you must first create an image of that folder and then protect it with a password.
The image referred to in this context is an Apple Disk Image file not a screenshot. This file behaves like a volume or a device connected to the Mac and can be recognised by its .dmg extension.
The following steps are required to lock a folder in macOS:
Step 1: First, create a folder (on your desktop or anywhere else on your Mac) that contains all the files you want to lock.
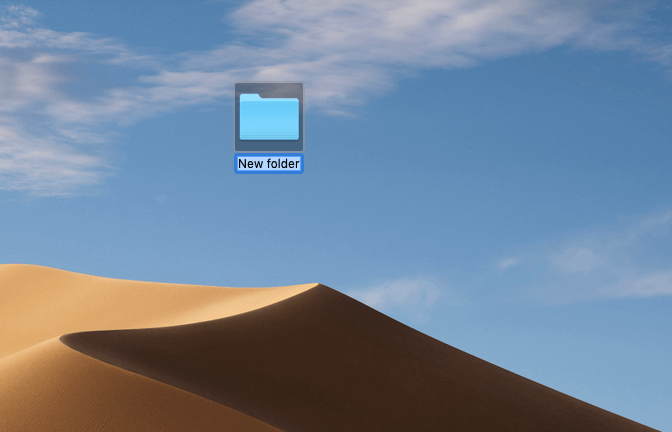 gowithstockShutterstock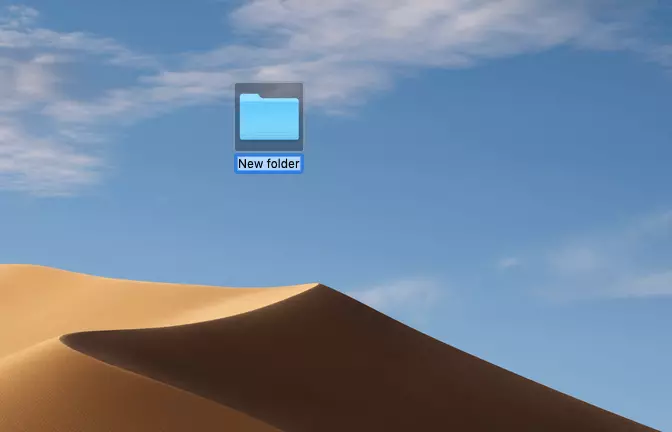
Step 2: Open the Disk Utility app. The fastest way to do this is to search for “Disk Utility” in Spotlight Search:
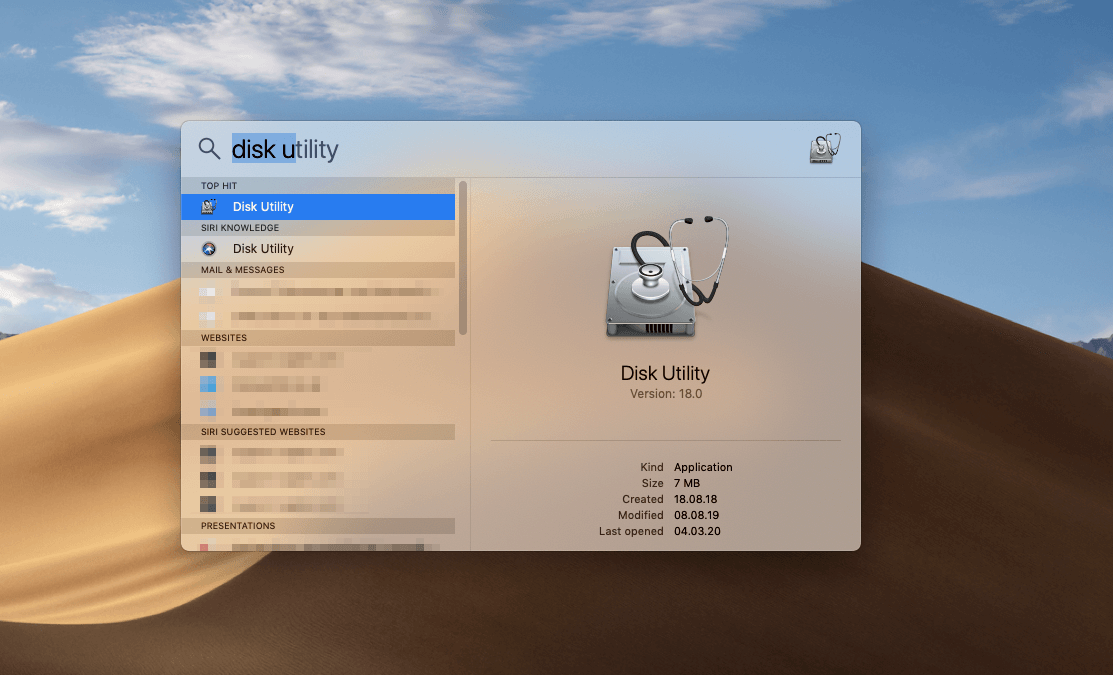
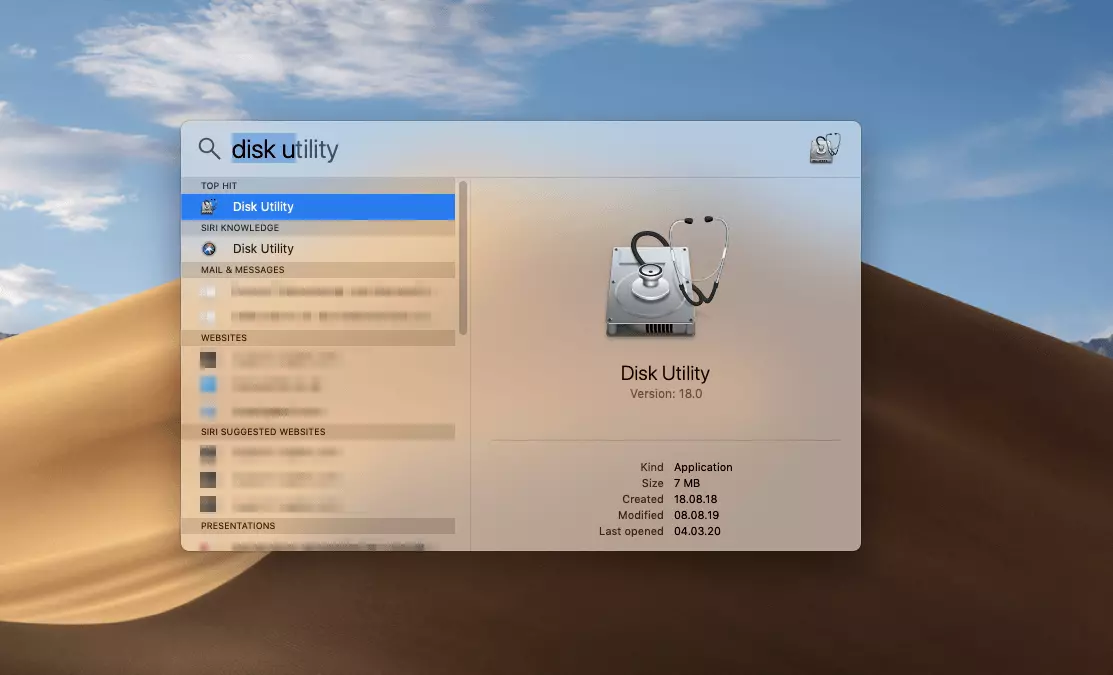
Finally, press the Enter key to open the program.
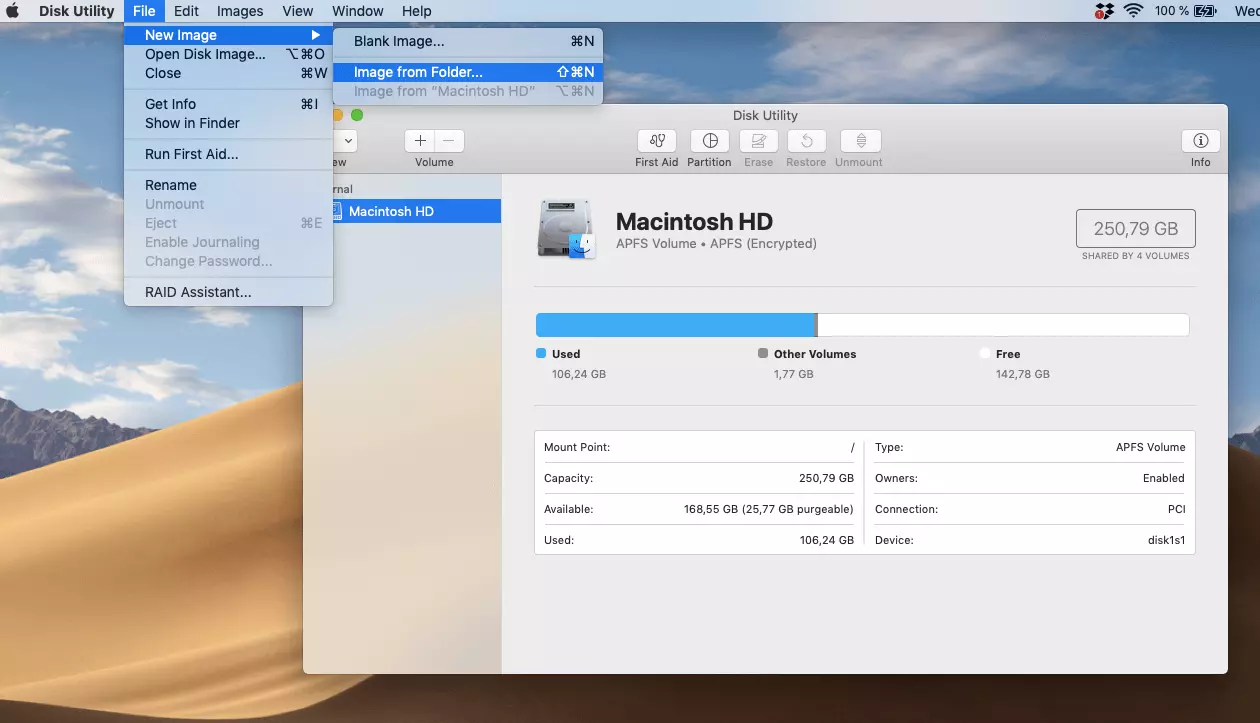
Step 3: Select “File” from the upper menu bar, followed by “New Image” and finally “Image from Folder…”. Using the right Mac shortcut will help you to perform this action a bit faster.
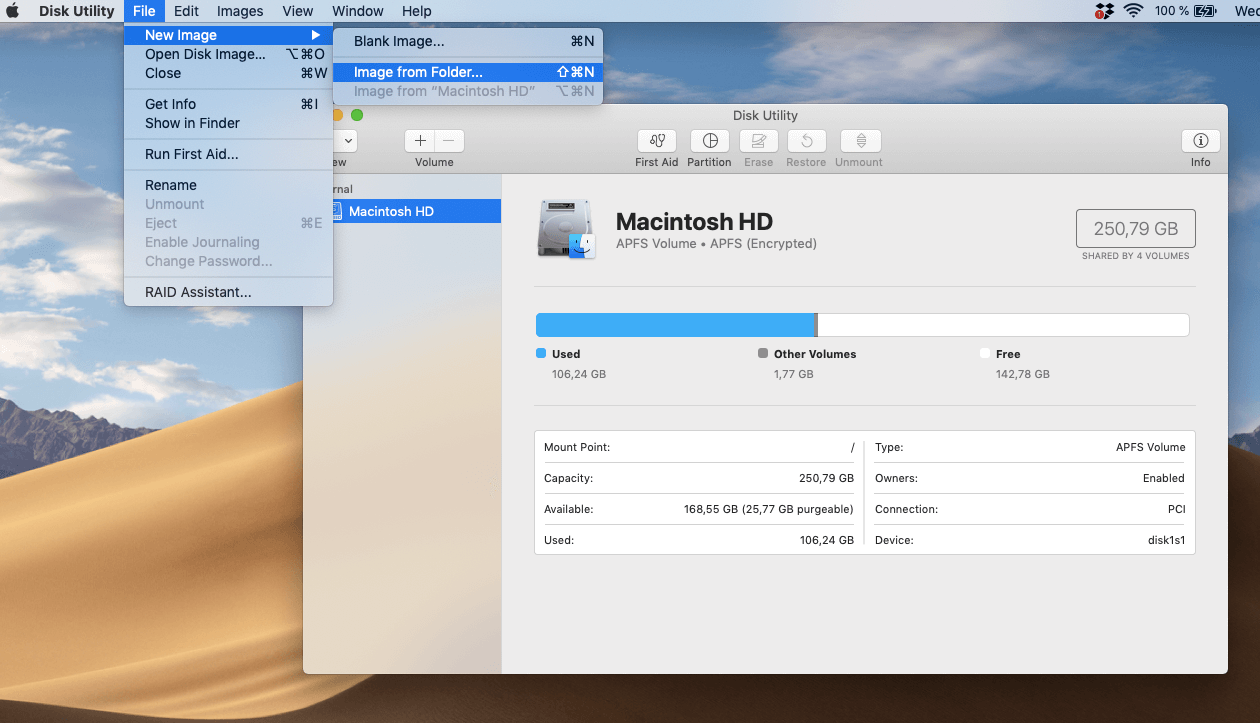
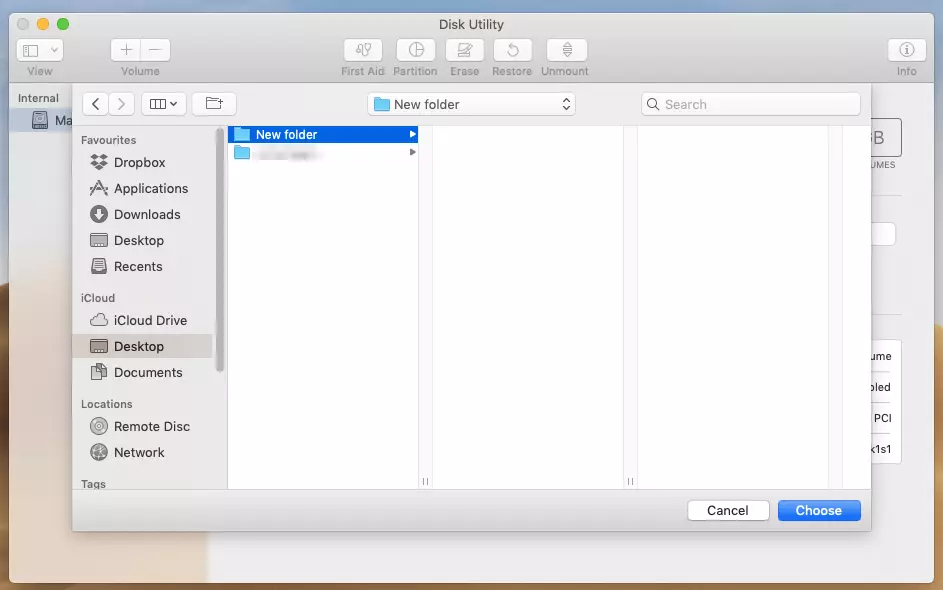
Step 4: In the window that opens, select the required folder:
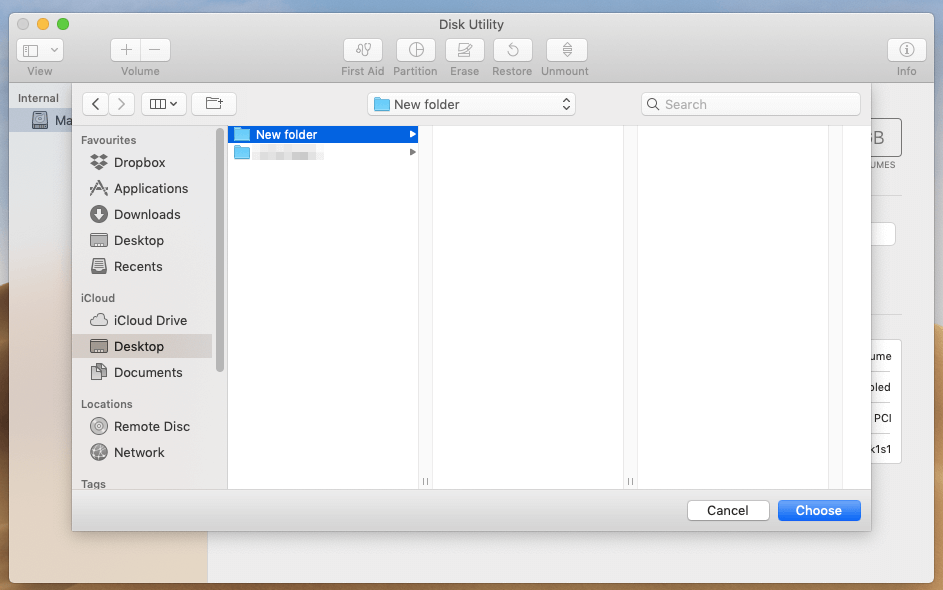
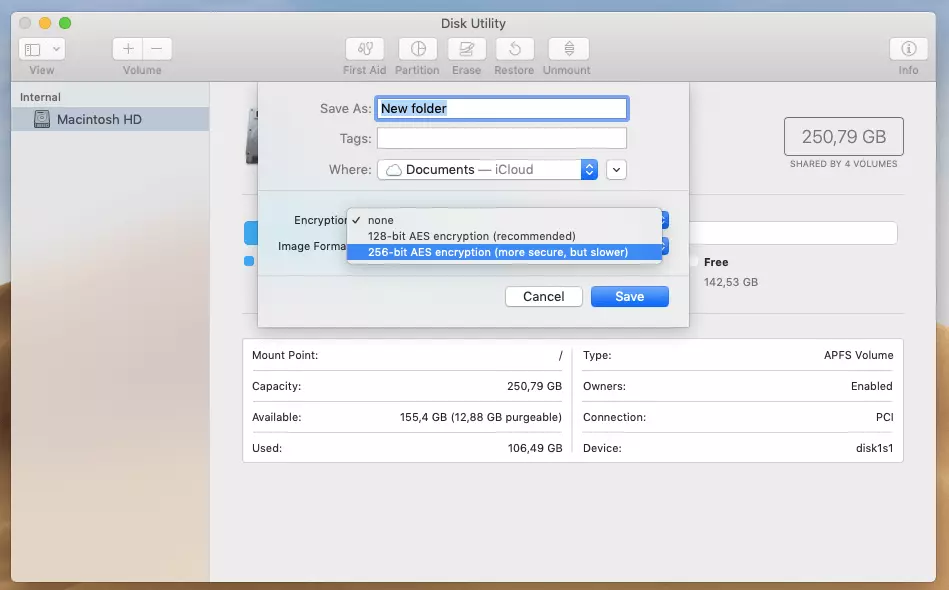
Step 5: A window will open which allows you to enter the new file name, add tags (optional), and choose where you want to save it. The most important part of this step is to choose which level of encryption you want. Select 256-bit AES encryption. This is currently the most secure method - not only for locking a Mac folder. It doesn’t take much longer than 128-bit AES encryption.
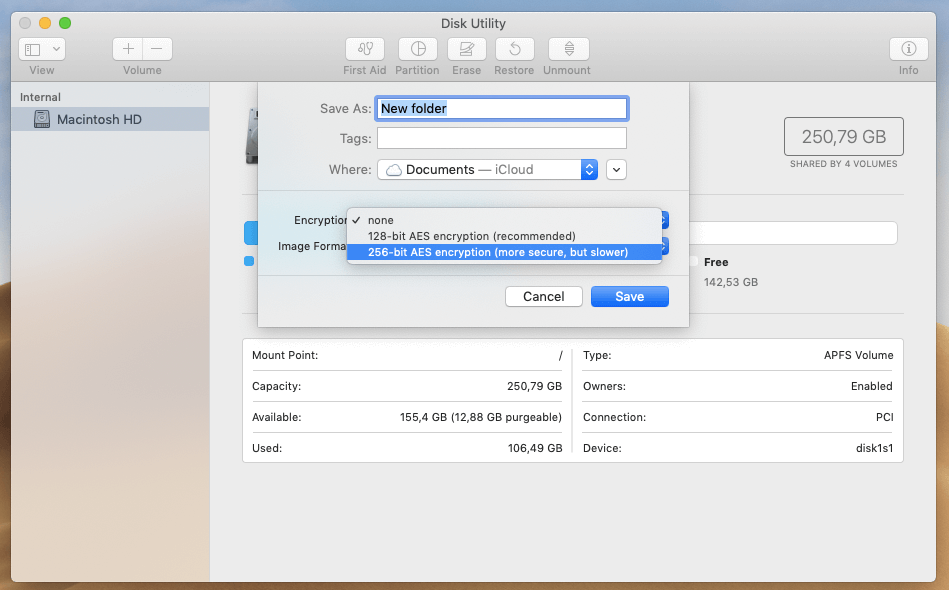
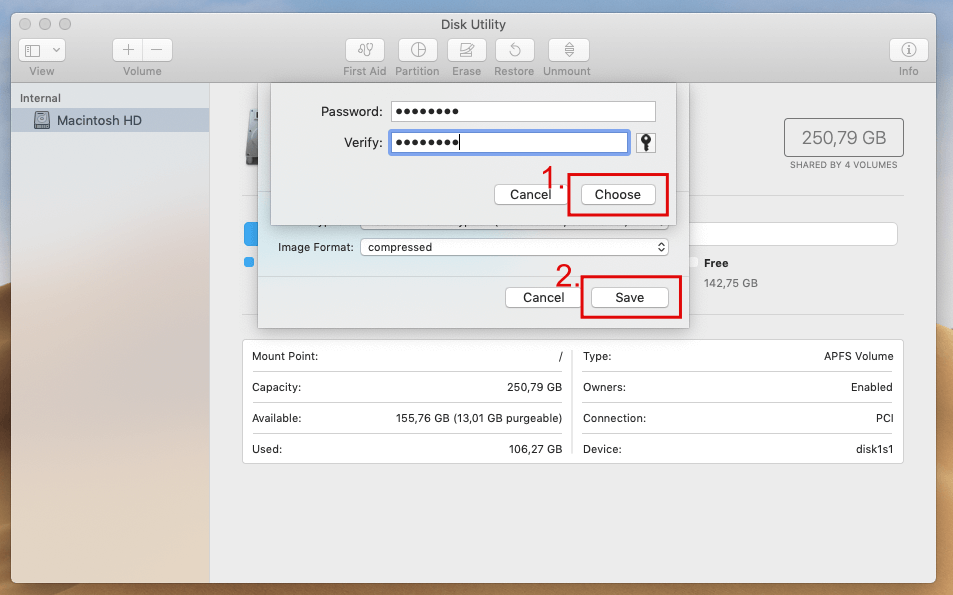
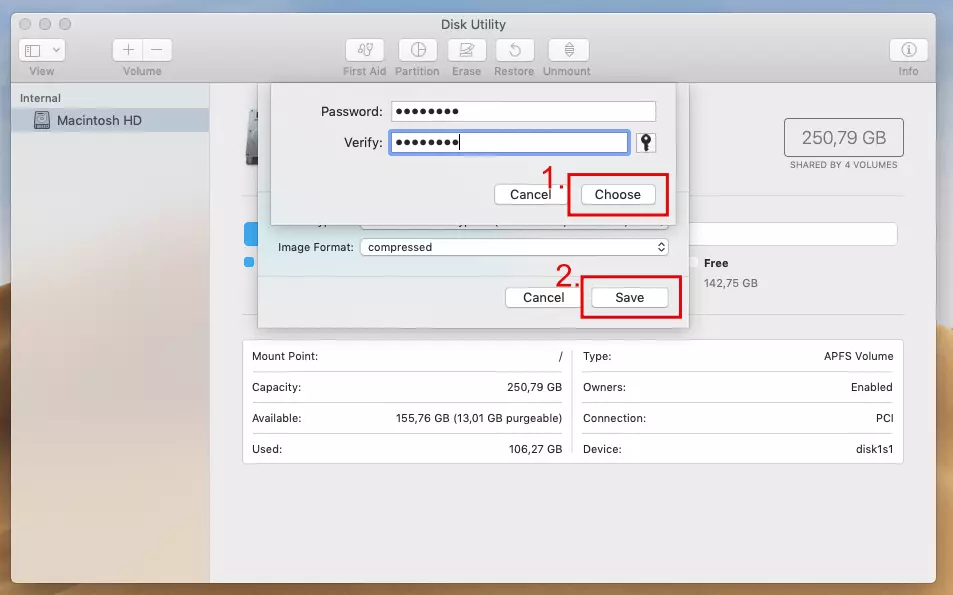
Step 6: Another window will open in which you can set a password for the folder or image file.
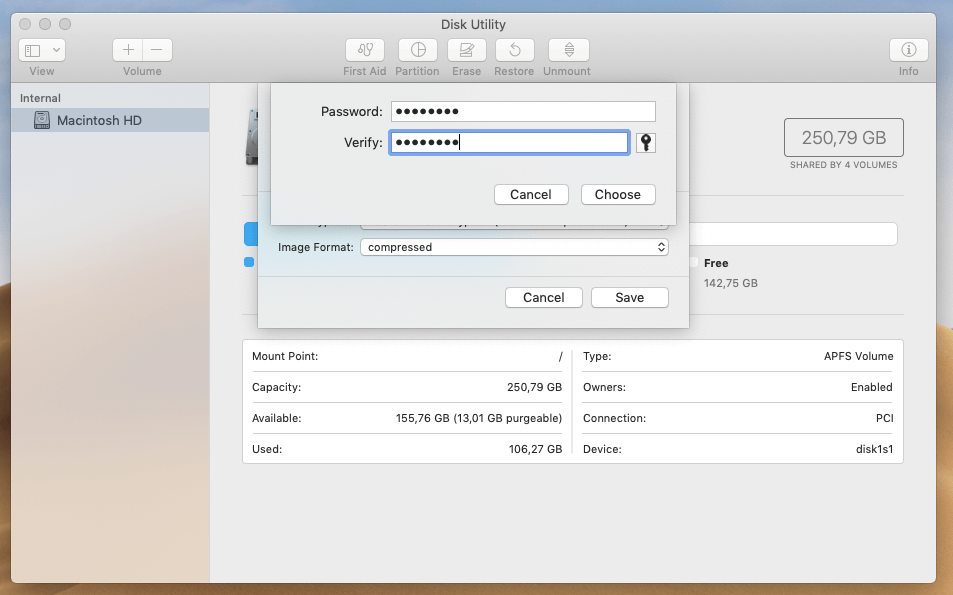
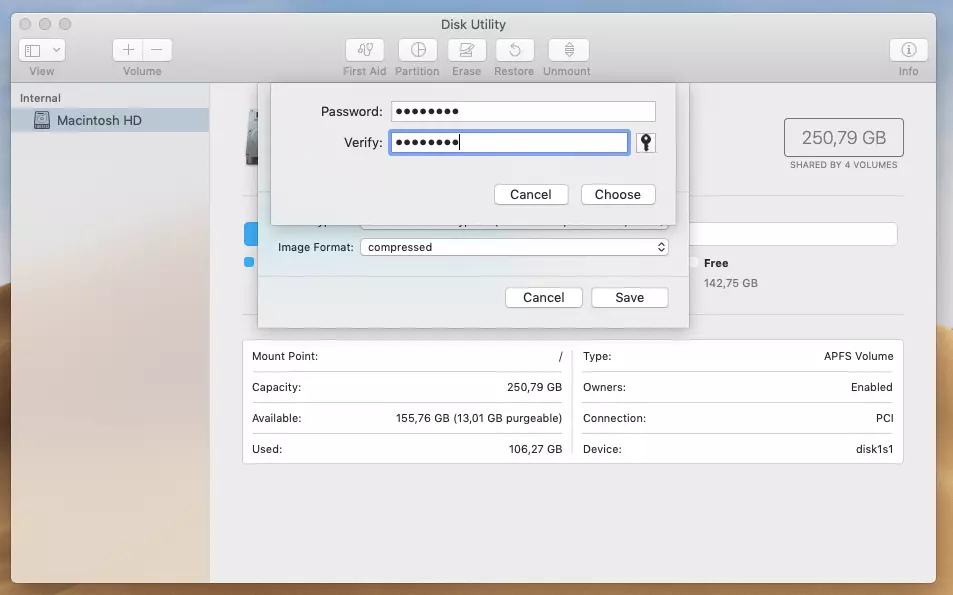
To password protect a Mac folder, choose a secure password that is at least eight characters long and contains a combination of lowercase and uppercase letters, numbers, and special characters. Avoid using words or dates that can easily be associated with you - such as your last name, a date of birth, or post code.
Step 7: Confirm your password by clicking “Choose” and then “Save” in to create your password-protected folder using the Disk Utility.
Step 8: Once the process is complete, you can confirm by clicking on “Done”. The password protected folder can now be found where you chose to save it.
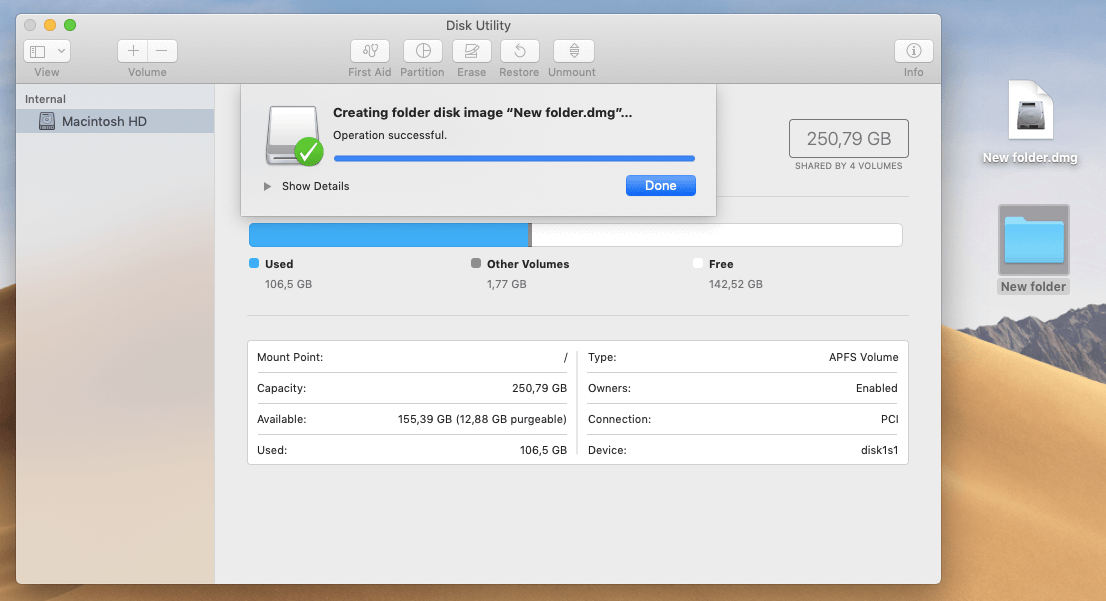
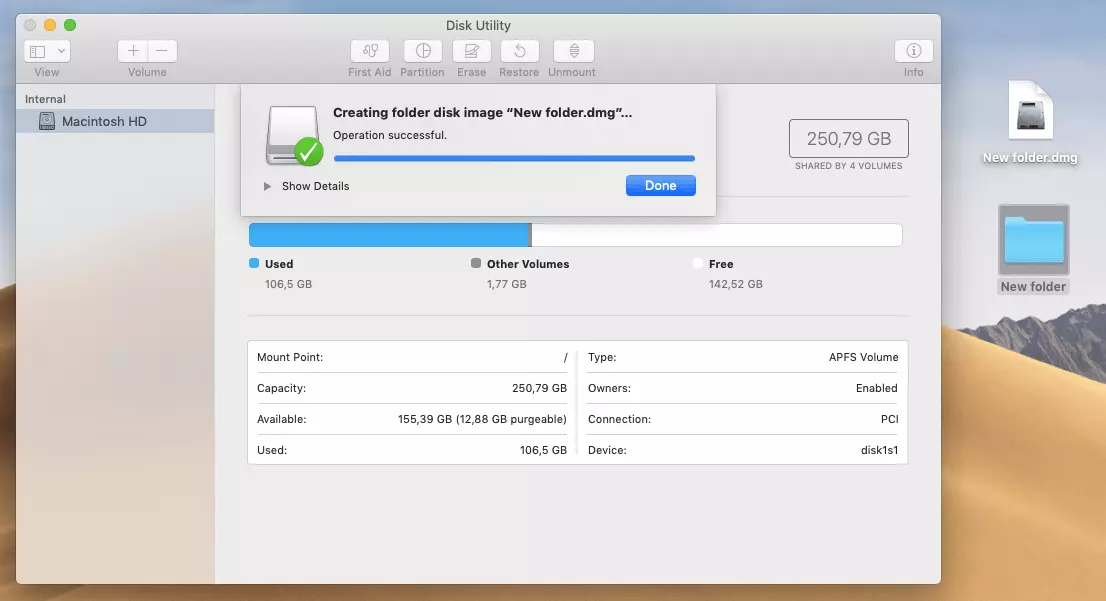
Important! After you’ve completed these steps, delete the original folder because it is not locked. Your files will still be in the password protected folder.
Working with a password protected Mac folder
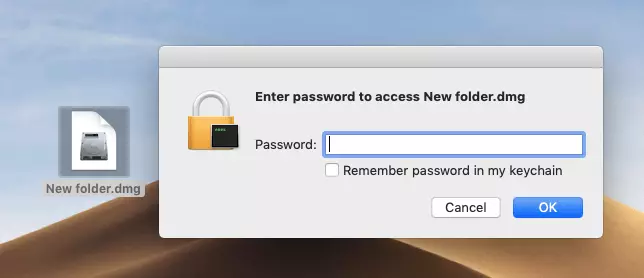
To access the data in your newly created locked folder, double click on it and enter the password.
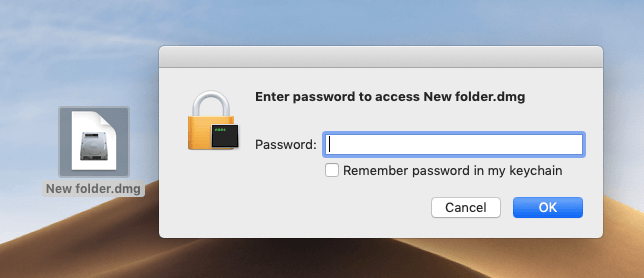
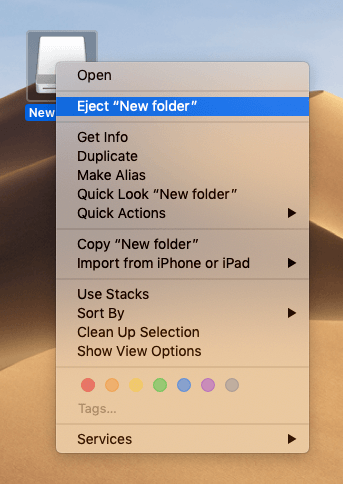
If you no longer need the password protected folder, be sure to eject the .dmg file. Otherwise the data can be retrieved without a password. Ejecting the file is easy: just drag it to the trash bin.
Reviewer

Christian Heldmaier
Christian Heldmaier is an experienced online marketing and SEO specialist from Karlsruhe. He has been working as an SEO Manager at IONOS since July 2020.