

How to split a screen on Mac

macOS provides a range of features that are not available in other operating systems. One of the most useful Mac functions is the split view command that enables users to split the screen in two. The feature comes in handy when, for example, chatting with a business partner on FaceTime while entering information discussed in a document at the same time. We’ll show you how to split your screen on Mac and which shortcuts are available.
Mac screen after start-up
Once you turn on your Mac and log in, the desktop background will be visible. If the computer is “awakened” after sleep mode, any apps you used the last time will still be active unless you closed them down before putting your Mac to sleep. The function to split the screen is available as of OS X El Capitan. To begin, confirm that “Displays have separate Spaces” is selected in System Preferences > Mission Control.
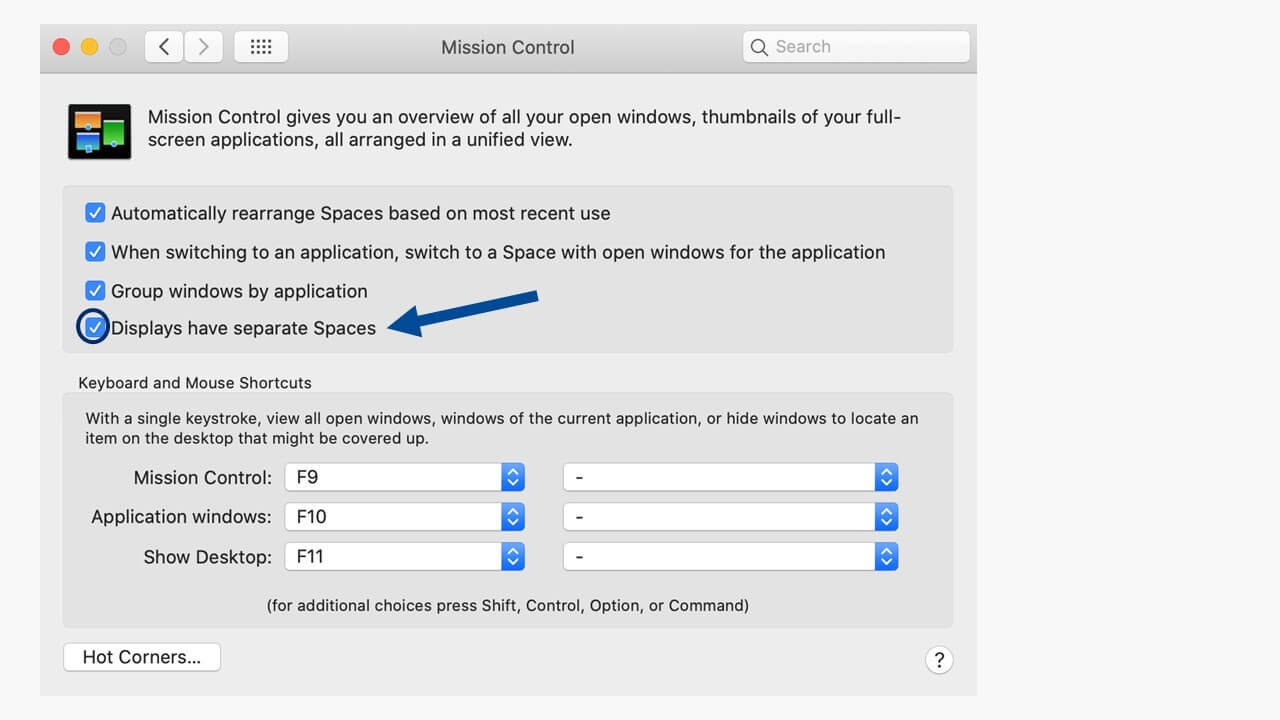
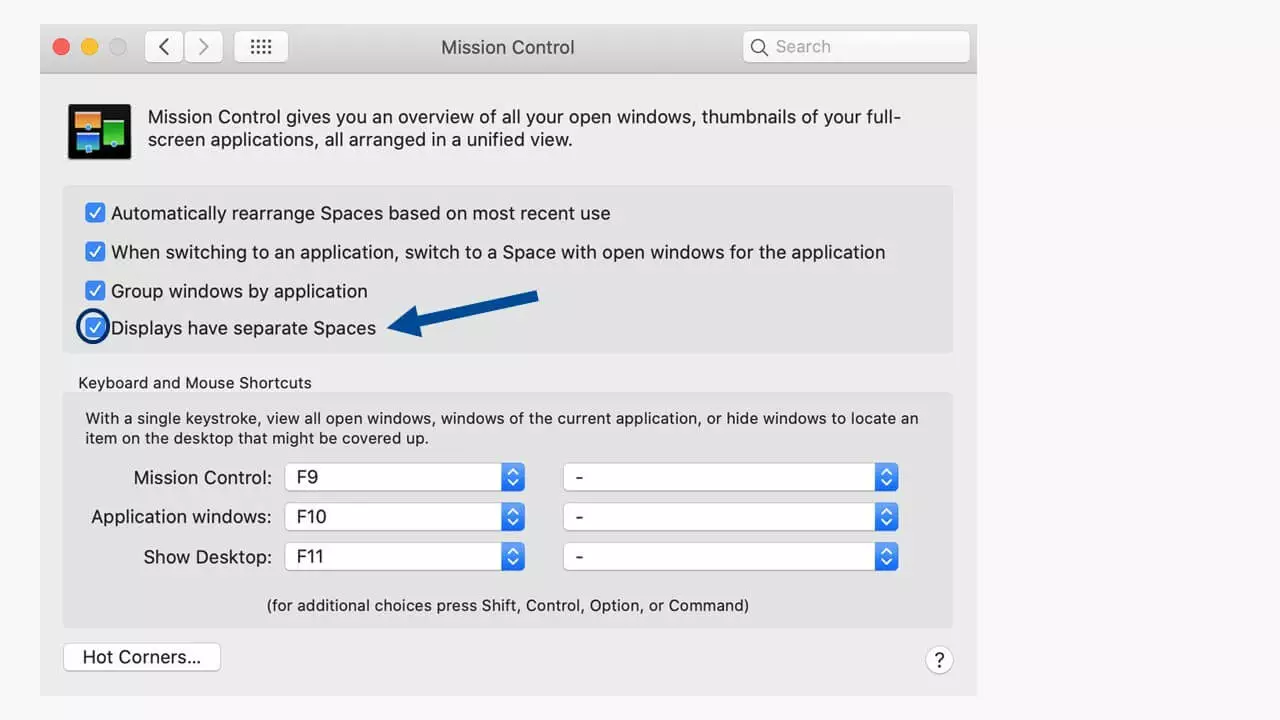
Now you can activate the desired apps for work or rearrange apps on your display. But in order to split the view in Mac, at least two applications need to be active.
Splitting two programs on Mac screen
Where an application is visible in full-screen mode, you can add a second program by:
- Ending the full-screen mode of the program by clicking on the green menu point on the top left (below the menu bar) with your computer mouse
- Or using the shortcut [ctrl] + [cmd] +[F]
- Or launching Mission Control. Depending on your Mac model this can be done by a) touch gestures (stroking three fingers upwards on the trackpad) or b) using the key combination [ctrl] + [upwards arrow].
The [cmd] key is called command key or “Apple key”. Where a Mac is operated using a Windows keyboard, the corresponding key will be the Windows key.
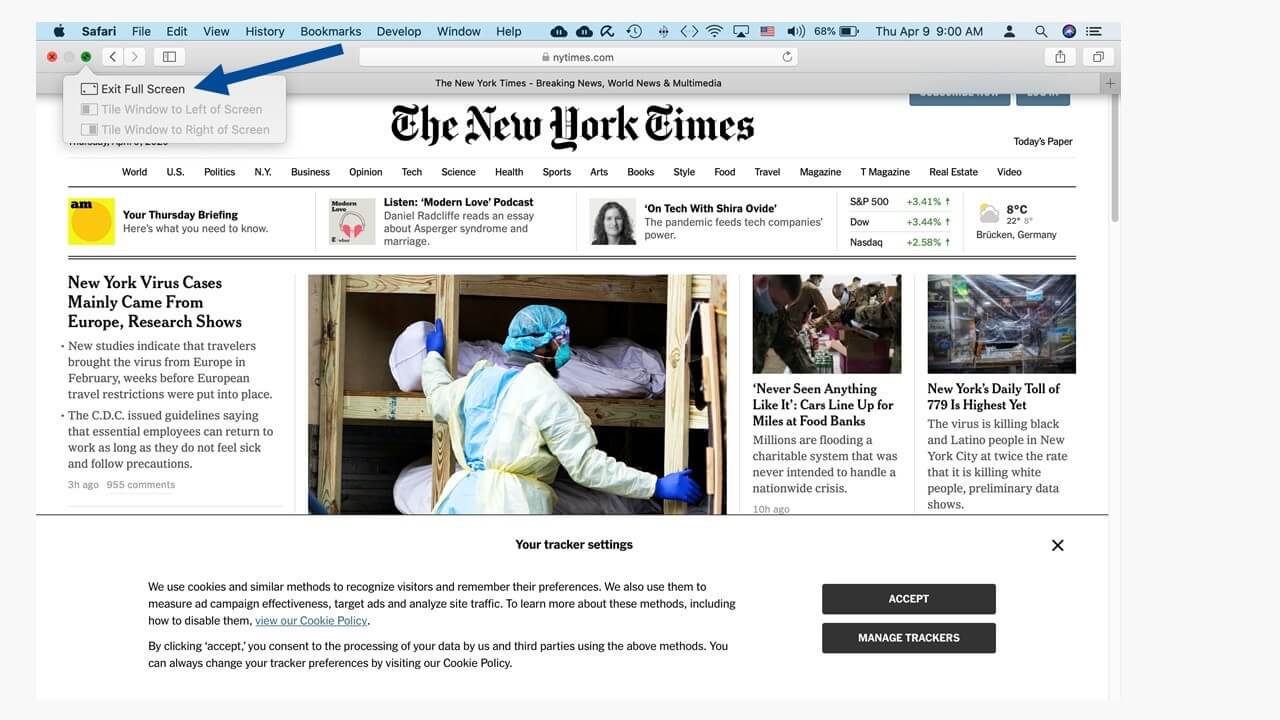
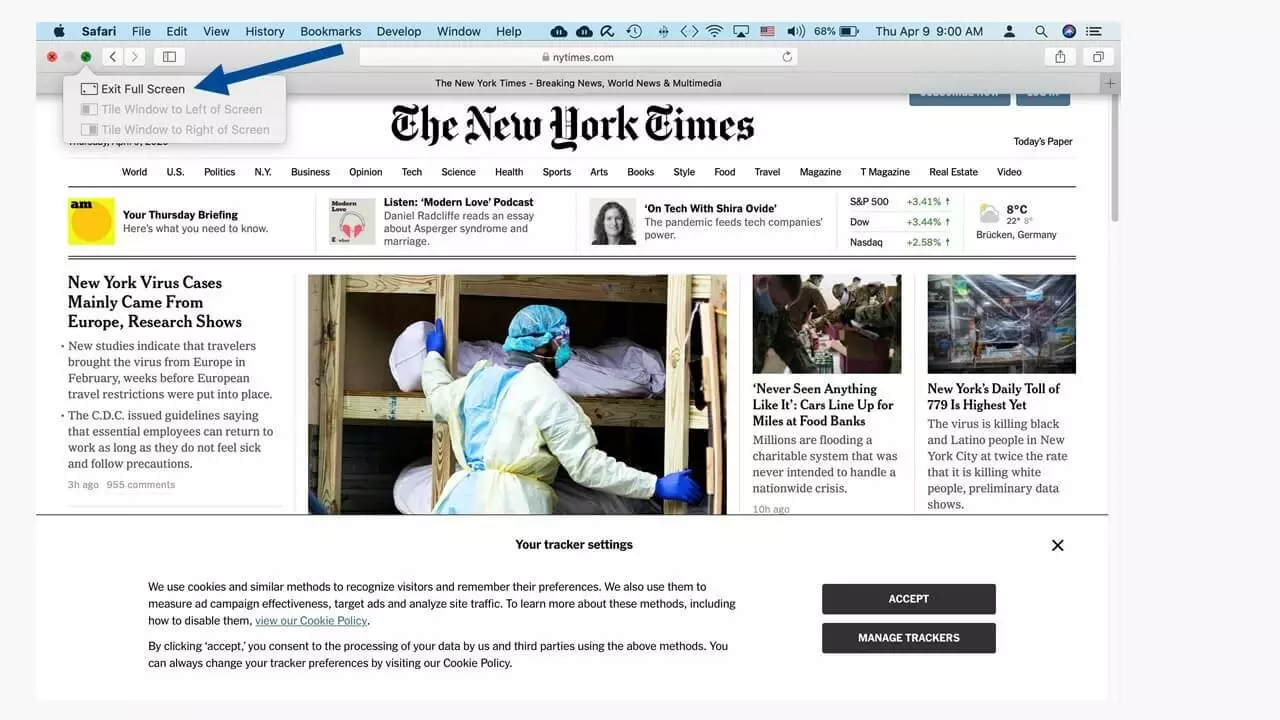
As soon as full-screen mode is deactivated, the menu options “Tile window to left of screen” and “Tile window to right of screen” are now activated, i.e. no longer greyed out. Now, you can choose where to place the active window such as an open web browser.
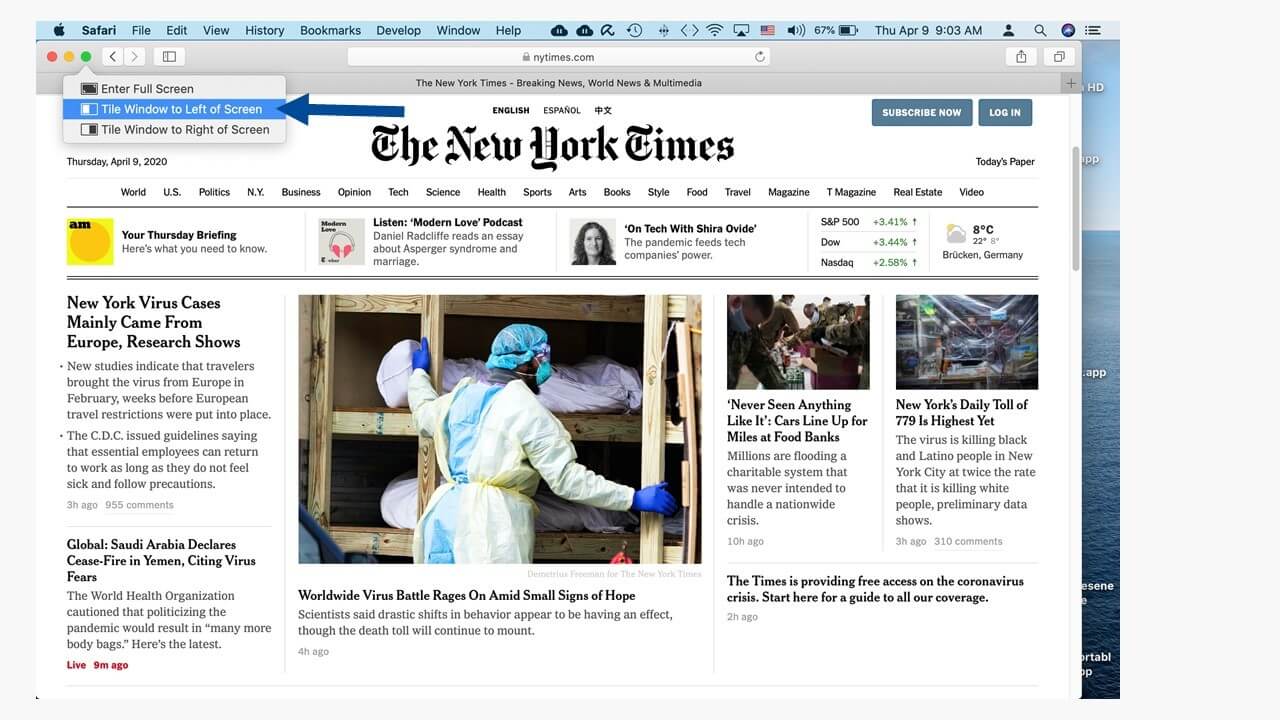
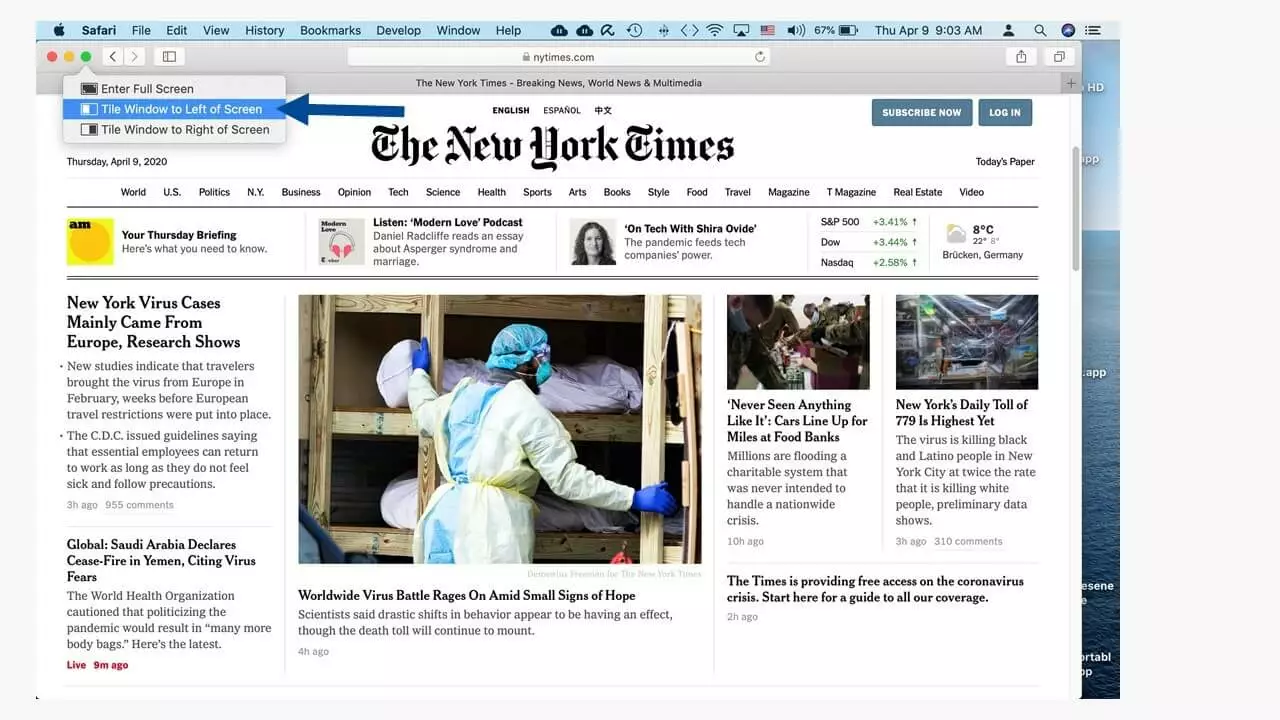
The currently opened app will be minimised to the left side of the display and the right side of the desktop becomes available to launch another app.
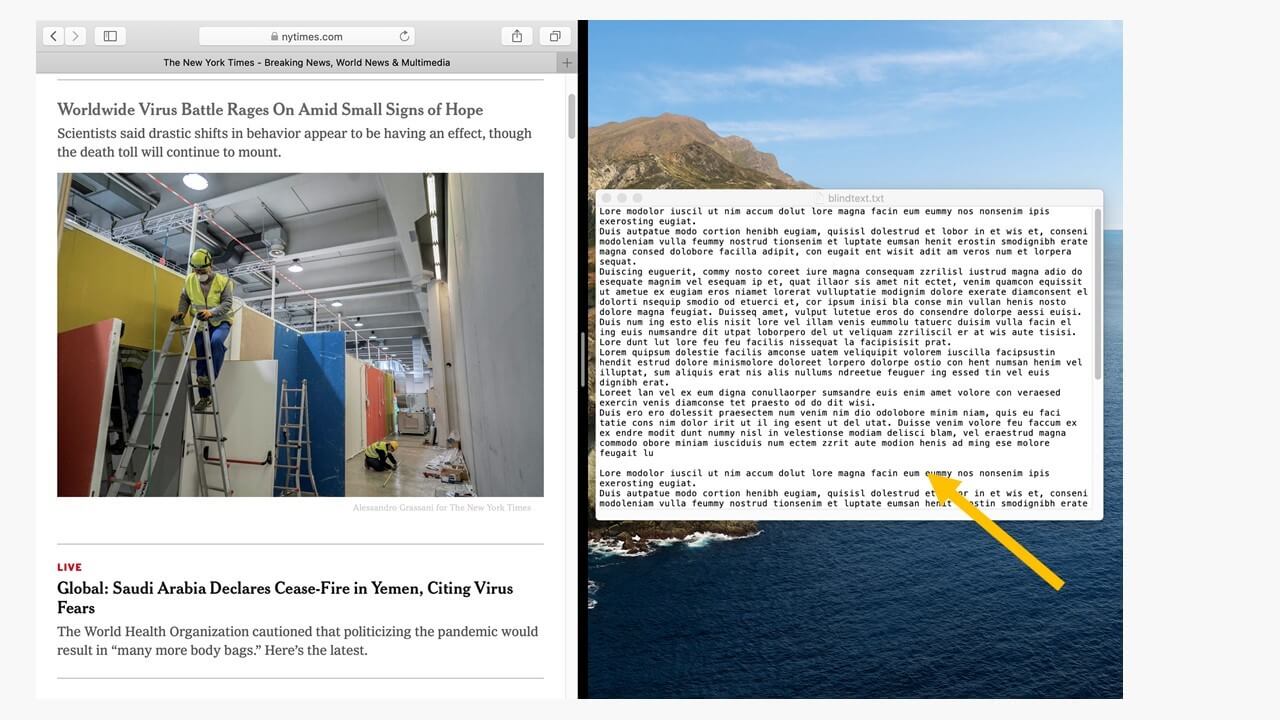
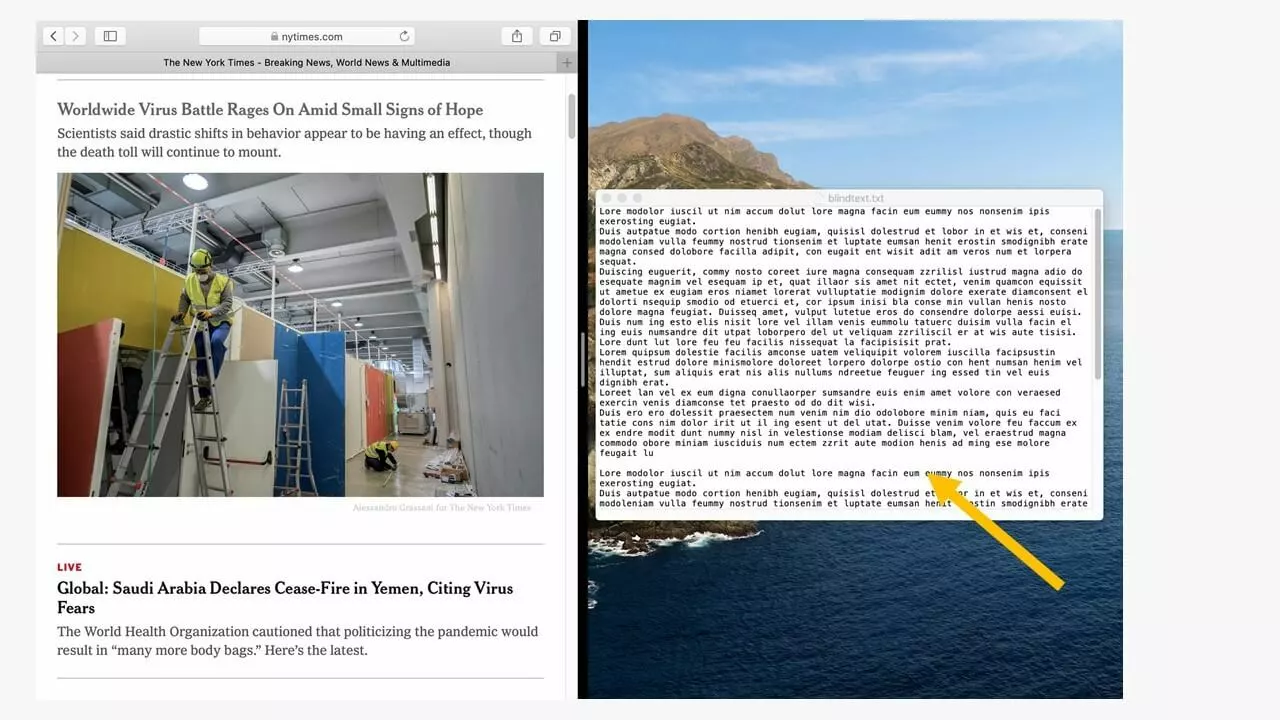
With just one click on the second program on the desktop, it switches into full view on the right side of the desktop. If other apps are open, they are also viewable in this manner.
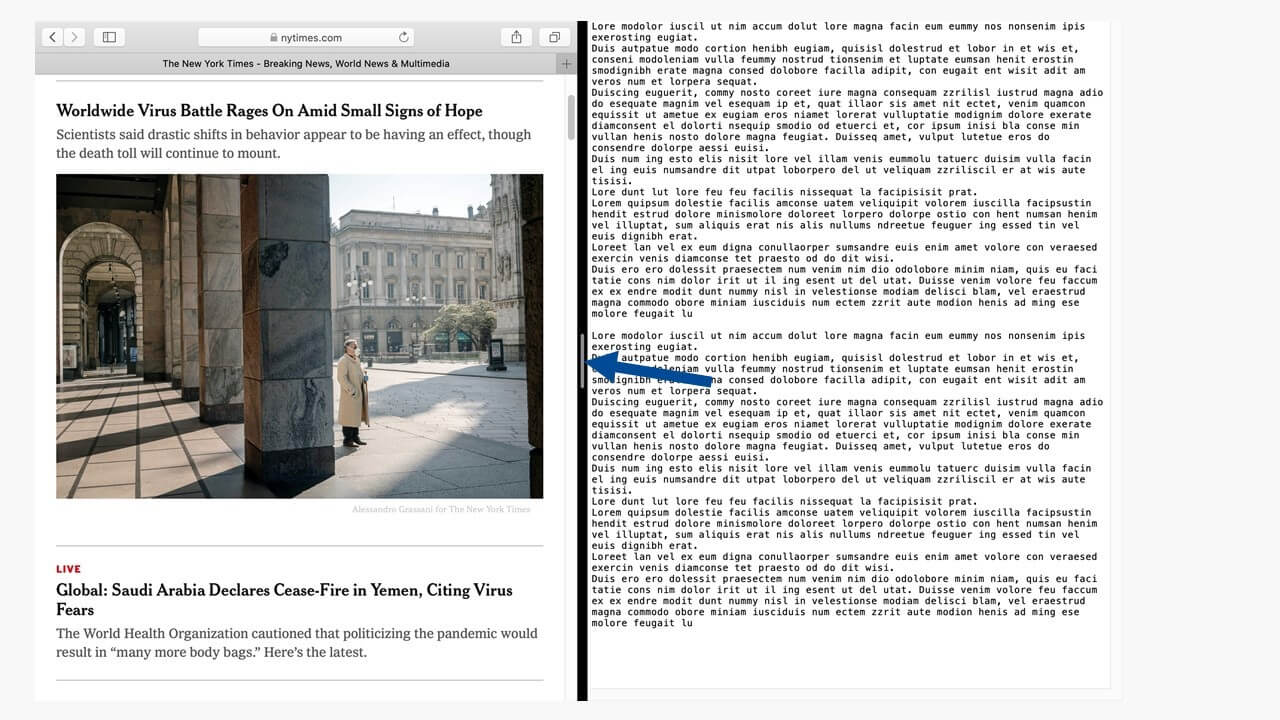
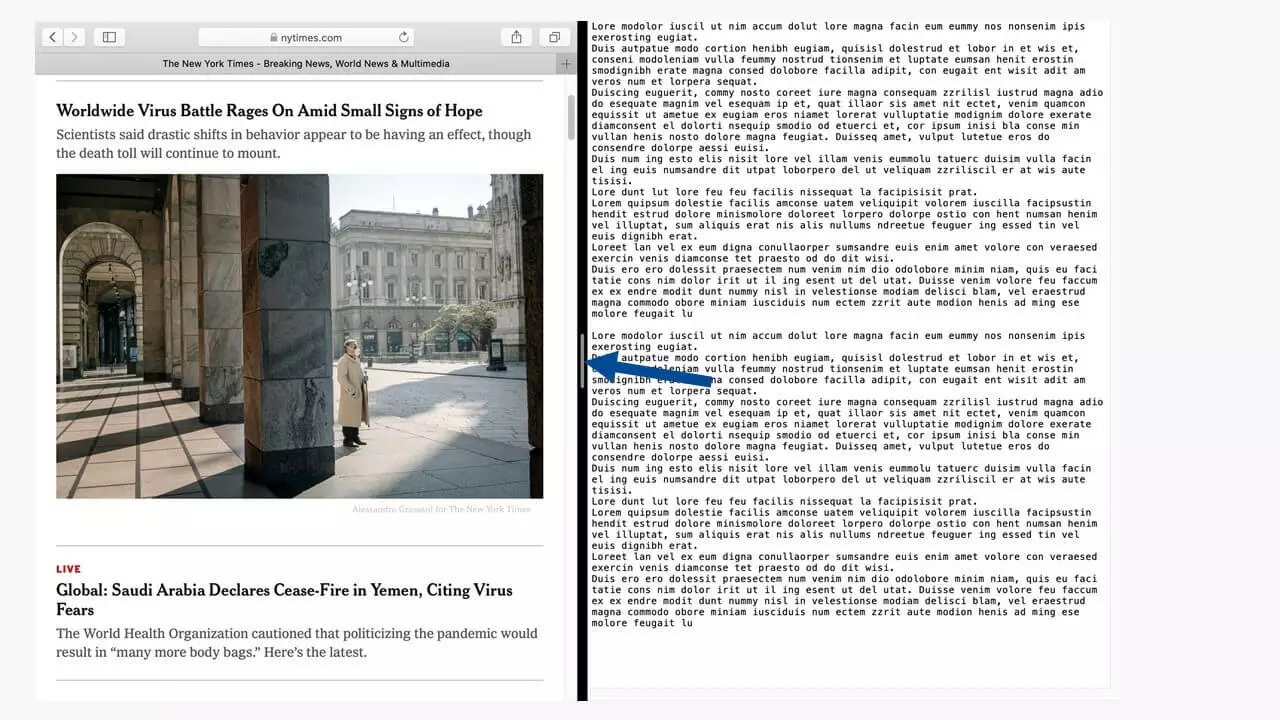
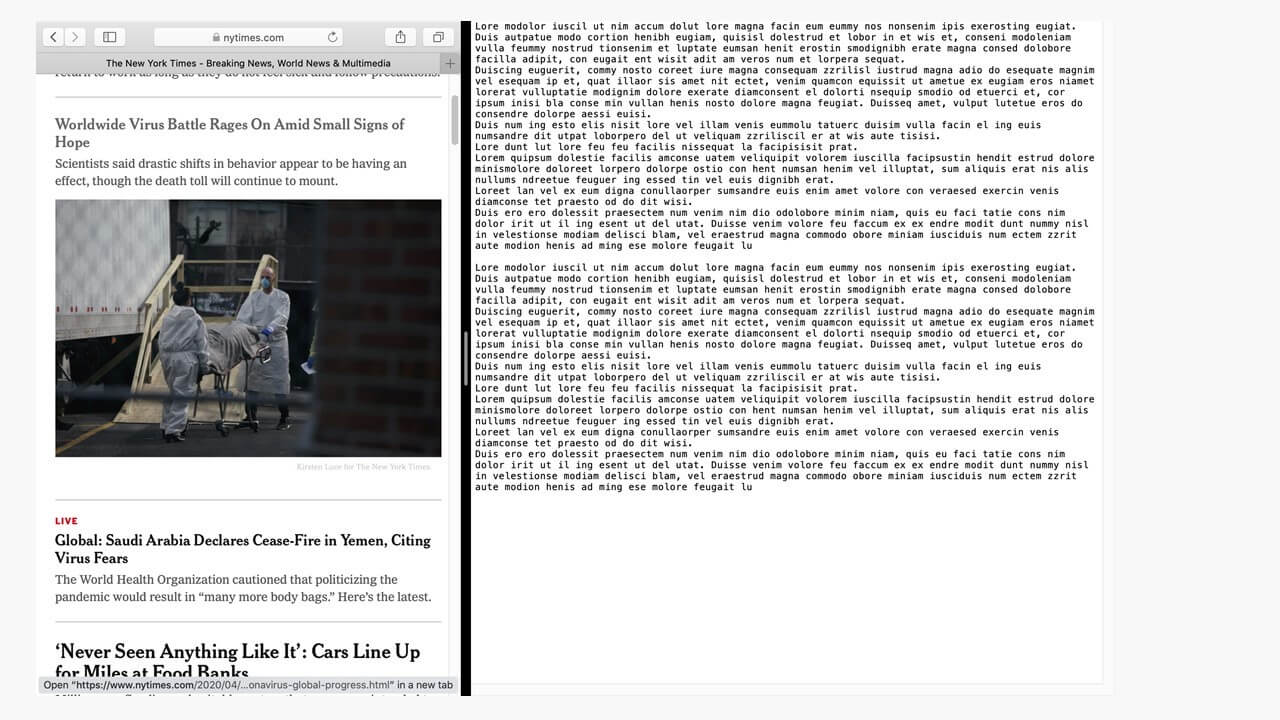
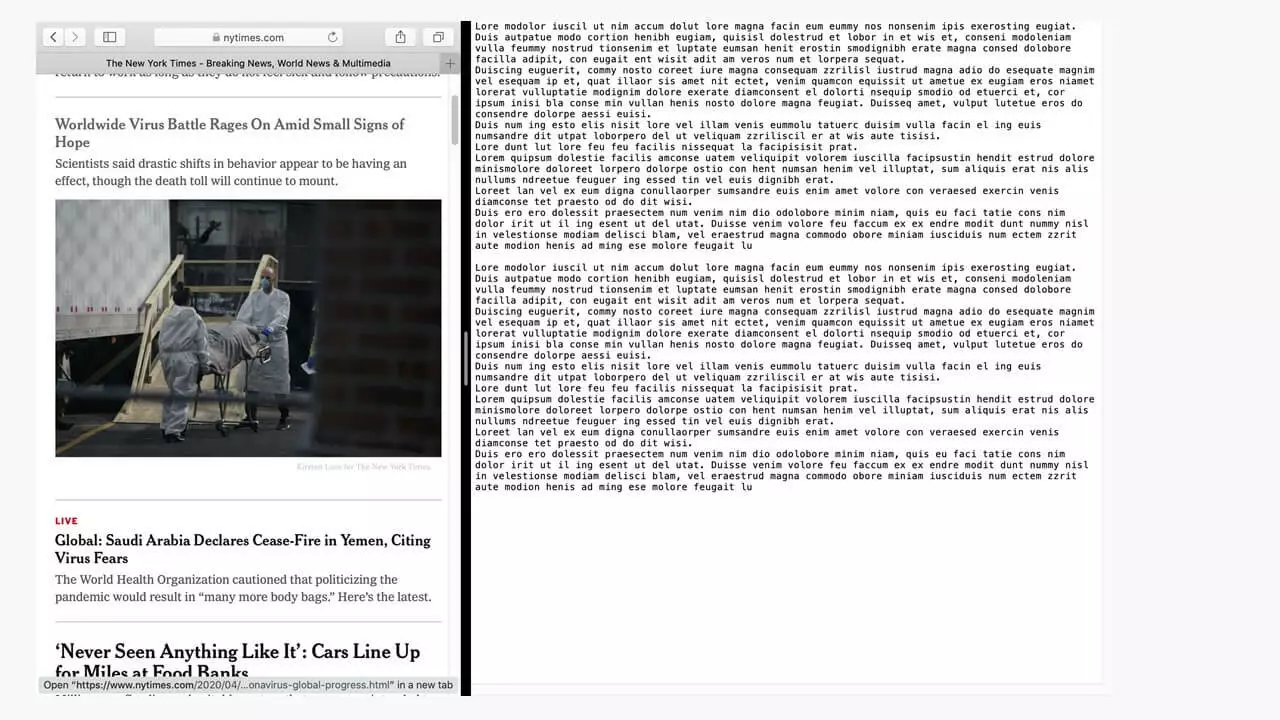
The screen is now split into two equally sized sections. Both apps are active, and you can choose whichever one you wish to work in. The menu bars of both apps are located in the upper edge of the screen as usual. The Dock can be found in the same place where it was originally placed (usually at the bottom of the screen). The split screen is visualised by a black border which contains a grey line signifying that the border can be adjusted.
Additional functions on a shared Mac screen
Moving app contents around on a screen can be useful if, for example, you want to keep Messenger or mail apps open while working on a document on the other side of the screen. When hovering on the border with a computer mouse, the grey line is highlighted and users can now move the black line left or right. This results in the corresponding half of the screen being minimised while retaining the functionality of the program.
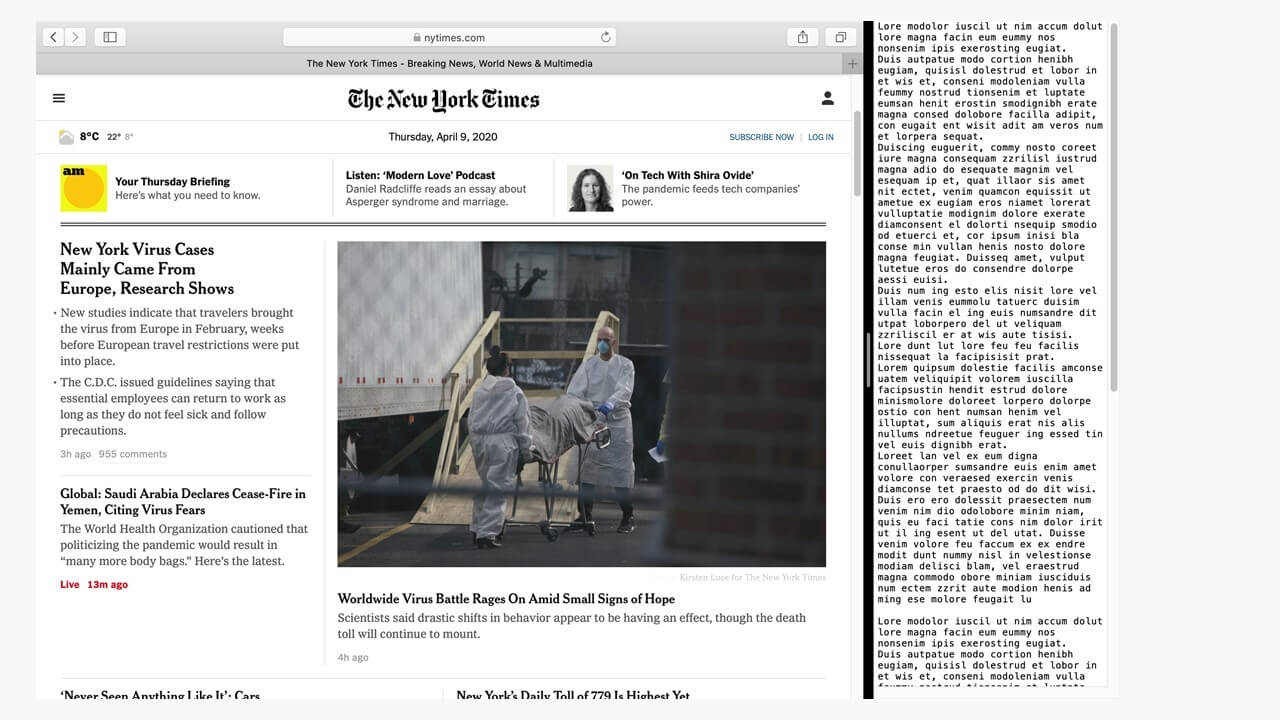
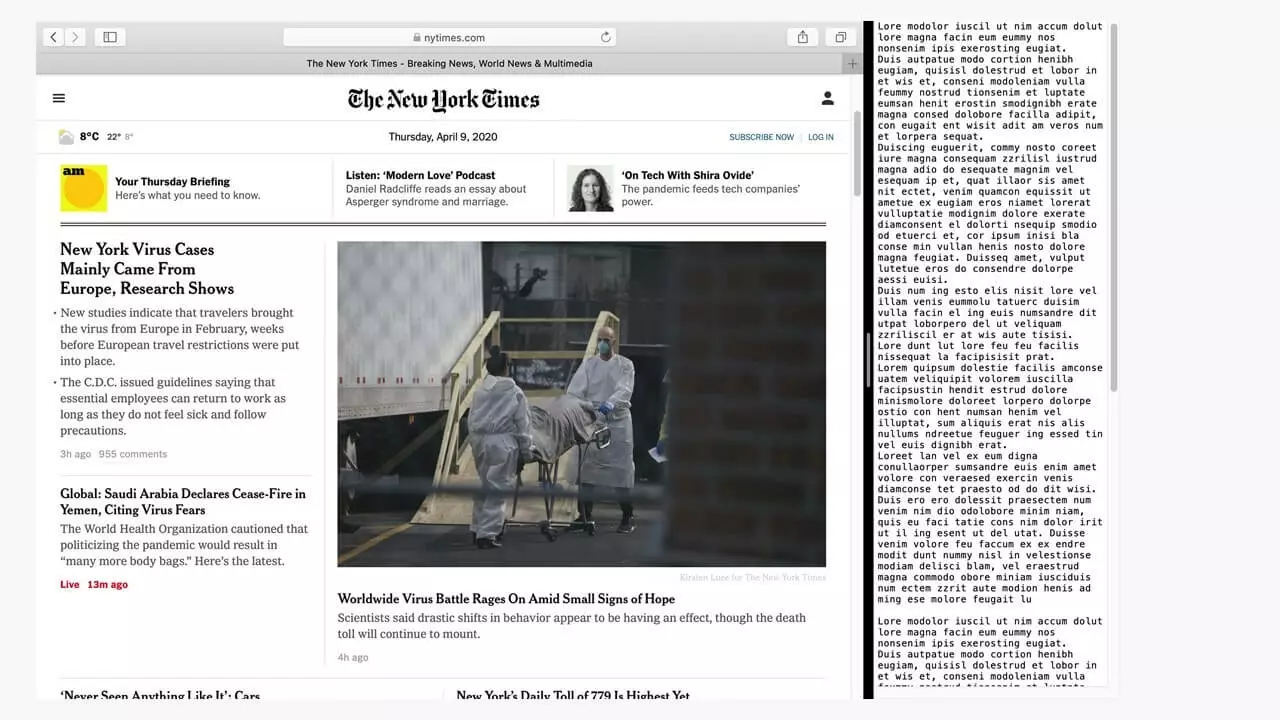
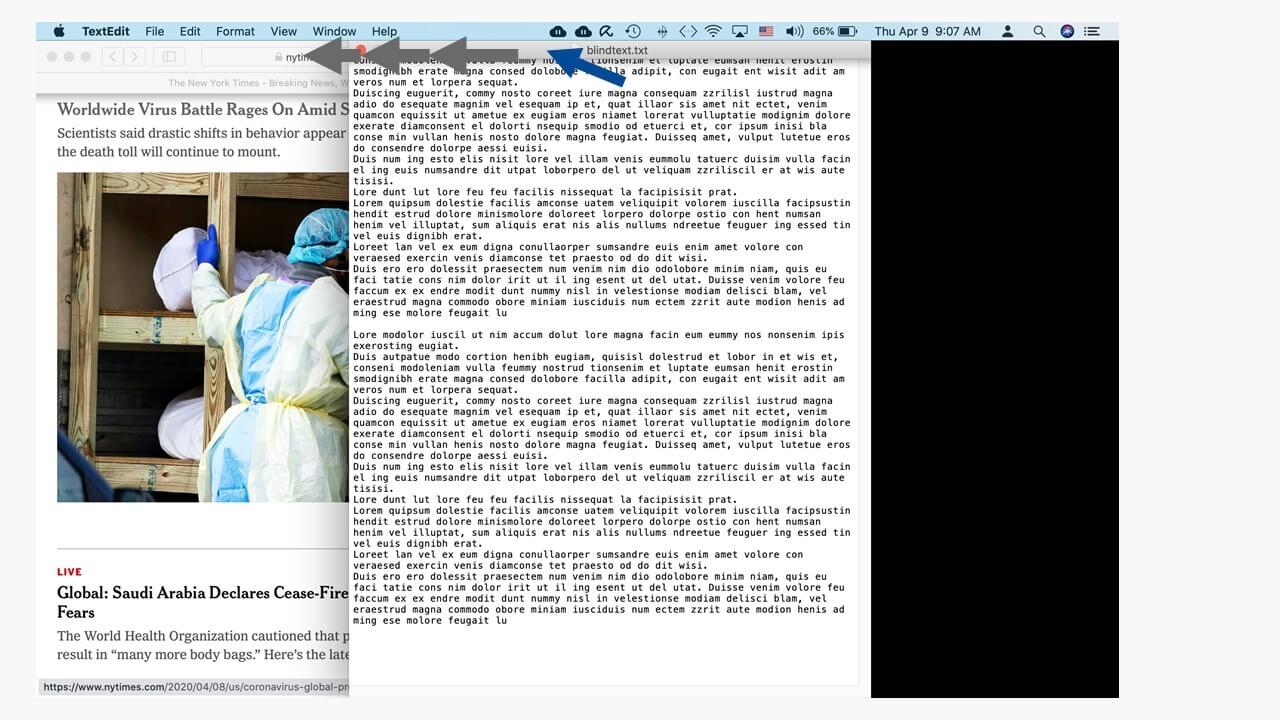
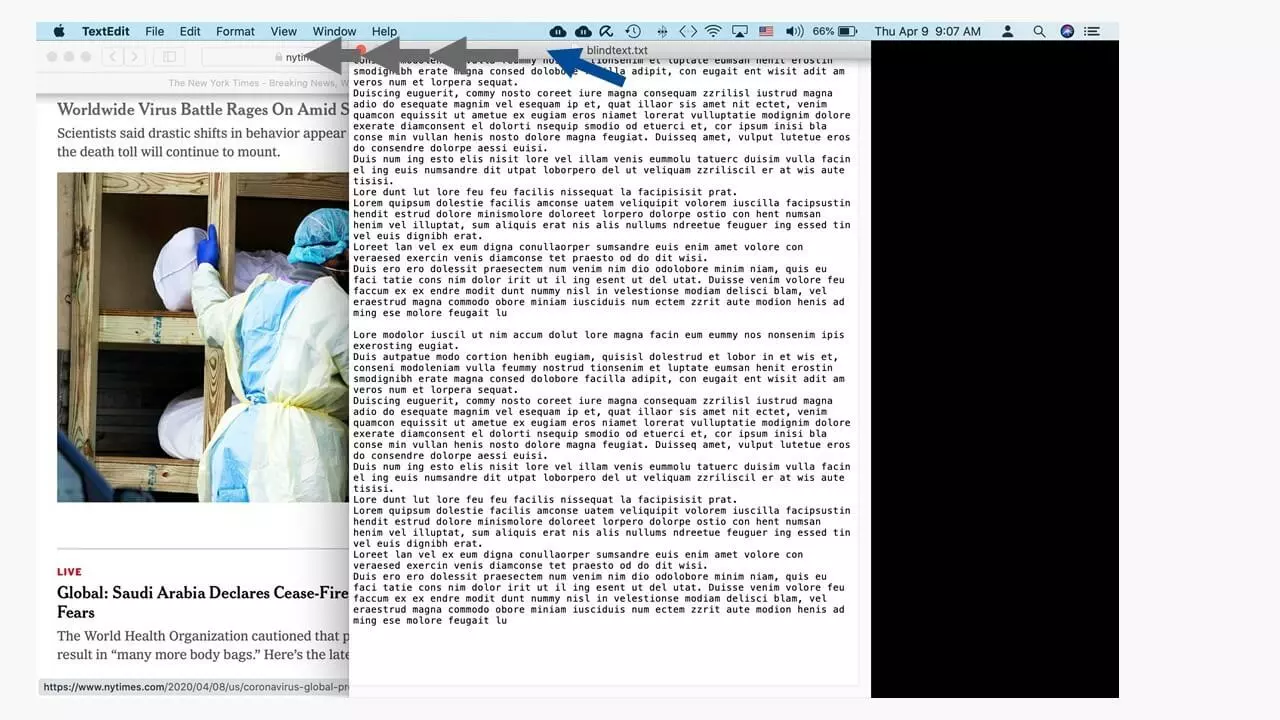
Should you require one of the applications to be moved to the opposite side of the screen, simply click and hold the symbol menu in the program window and pull the app to the other side of the screen. This will result in the apps swapping positions.
To exit a split screen:
- End full-screen mode by clicking the green menu point using your mouse
- Or using the key combination [ctrl] + [cmd] + [F]
- Or using Mission Control to select a different desktop.
Depending on your Mac model, Mission Control can be easily accessed by pressing the [F3] key or via the Mission Control key on Mac keyboards. Here are the most important Mac split screen shortcuts for efficient working:
| Function | Key combination (Shortcut) |
|---|---|
| To swap from Mac split screen to a different program | [cmd] + tab key |
| Display and hide Dock | [cmd] + [alt] + [D] |
| Close windows (separately, one after another) | [cmd] + [W] |
| Activate Mission Control | [F3] or Mission Control key |
| Full-screen mode on/off | [ctrl] + [cmd] + [F] |
| Quickly find an app without searching for it in the Dock (useful to find documents and files) | [cmd] + space bar |
| Display and hide Launchpad | [F4] or Launchpad key |
Shortcuts using key combinations ease the workload on a Mac and increase the operating speed for repeated tasks. Find out more about the most important Mac shortcuts in our dedicated Digital Guide.
Using Windows? Here’s how to split your screen under Windows 10.
Reviewer

Christian Heldmaier
Christian Heldmaier is an experienced online marketing and SEO specialist from Karlsruhe. He has been working as an SEO Manager at IONOS since July 2020.