How to enable SSH with OpenSSH on Ubuntu 24.04
If you didn’t enable the OpenSSH server during the Ubuntu 24.04 installation, don’t worry! You can easily activate it later. Simply install OpenSSH via the Terminal and adjust the SSH configuration to suit your security requirements.
Try out your VPS for 30 days. If you're not satisfied, we'll fully reimburse you.
How to enable SSH on Ubuntu 24.04 step by step
The SSH protocol is now a standard for secure access to remote servers or computers. It not only ensures encrypted data transmission but also protects against unauthorised access and tampering. In modern Linux systems like Ubuntu 24.04, the open-source solution OpenSSH is typically used for this purpose.
When setting up a server with Ubuntu, you can enable SSH during the initial setup, so you won’t need to install it later.
OpenSSH not only enables remote access but also allows secure file transfer via SFTP and SCP. Since the SSH service is not automatically active in Ubuntu after installation, it needs to be set up first. Creating your own SSH keys on Ubuntu can also be done in a few steps.
Learn how to set up OpenSSH on Ubuntu 24.04 and discover the available configuration options in this step-by-step guide.
Step 1: Open terminal
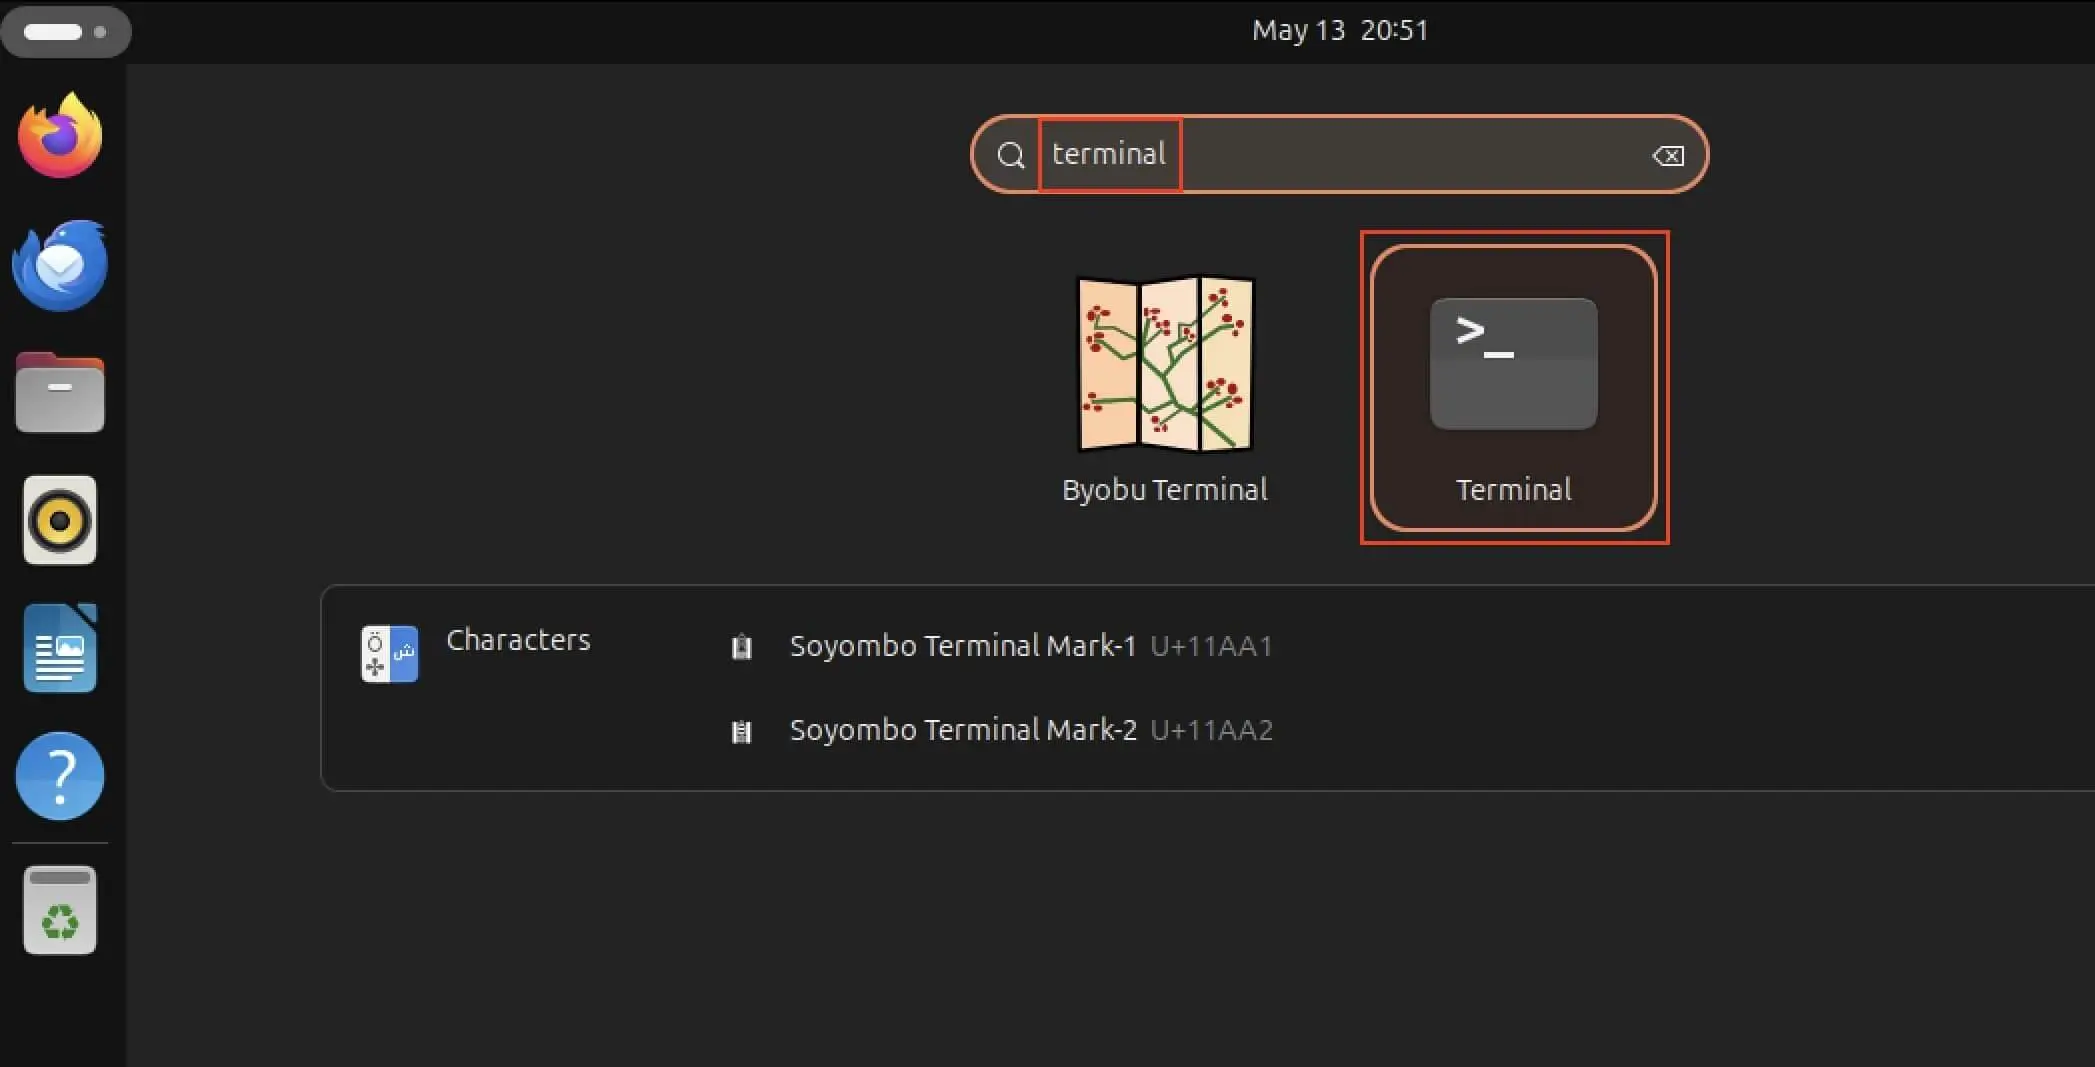
First, open the command line tool of your Linux distribution. There are several ways to do this. Either by right-clicking on the desktop > Open in Terminal and using the shortcut [Ctrl] + [Alt] + [t], or by opening the applications menu and using the search function. Just type ‘Terminal’ in the search field.

Step 2: Install the Ubuntu SSH service
Next, install OpenSSH. To do this, the Ubuntu package manager apt is used with the sudo command as the root user. The following terminal command starts the installation:
sudo apt install openssh-server
Since you are acting as a superuser, you need to enter your password before the installation and confirm this entry by pressing Enter.
Step 3: Verify success
Once the installation is complete, confirm its success by checking the status of your SSH daemon. Do so easily via the terminal using the following command:
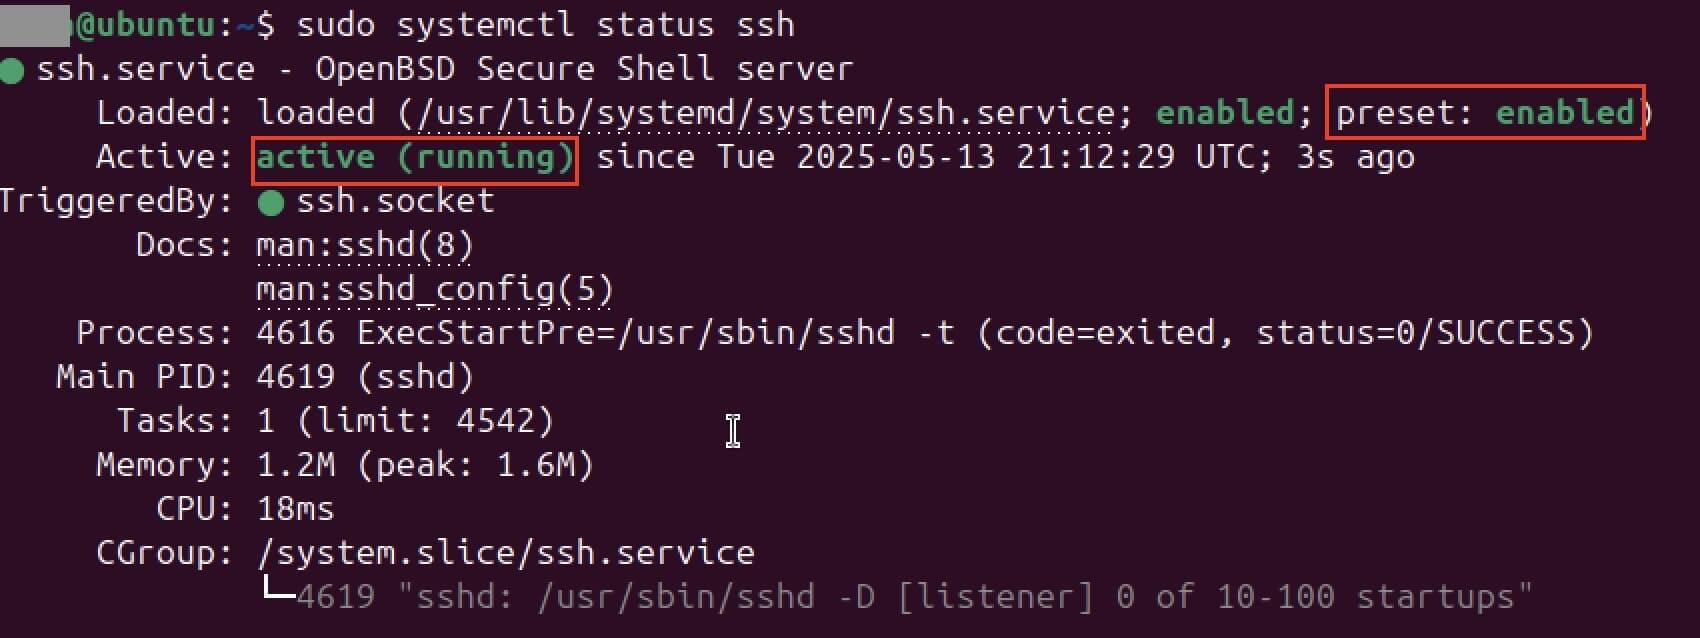
sudo systemctl status sshNow look at the output of this command. You should find the following entries:
- “active (running)”: This status indicates that the Ubuntu SSH service is currently running.
- “preset: enabled”: Look at the ‘Loaded’ line and search for the entry ‘preset: enabled.’ It indicates that SSH will be available at every system restart.

If the status shows that your SSH service is currently inactive, you need to change this manually. You can also use the terminal for this. Enter the following commands to enable SSH:
sudo systemctl enable ssh
sudo systemctl start sshTo exit the SSH service status display and return to the command prompt, simply press the q key for ‘quit.’
Step 4: Open SSH port
For remote access via SSH to your Ubuntu 24.04 system to work, the system must also be ‘accessible from external sources’. More specifically: The correct network port must be open. By default, SSH runs over port 22. As long as this is blocked by the firewall, every connection request will be unsuccessful.
Ubuntu uses a tool called UFW (Uncomplicated Firewall) to control the internal firewall. To ensure SSH connections are not blocked and you don’t have to fix SSH errors later, you need to set up an explicit allowance for port 22. Only once this rule is set can remote access be successfully established with tools like PuTTY or other SSH clients. The command to set up this allowance is as follows:
sudo ufw allow ssh
Step 5: Make configuration changes
The default OpenSSH settings already provide a solid foundation for secure remote access on Ubuntu 24.04. However, if you have specific requirements for security or network structure, you can customise the SSH server’s behaviour. For instance, you can change the default port 22, selectively enable or disable IP addresses, or disable connection forwarding (TCP forwarding) depending on what your environment requires.
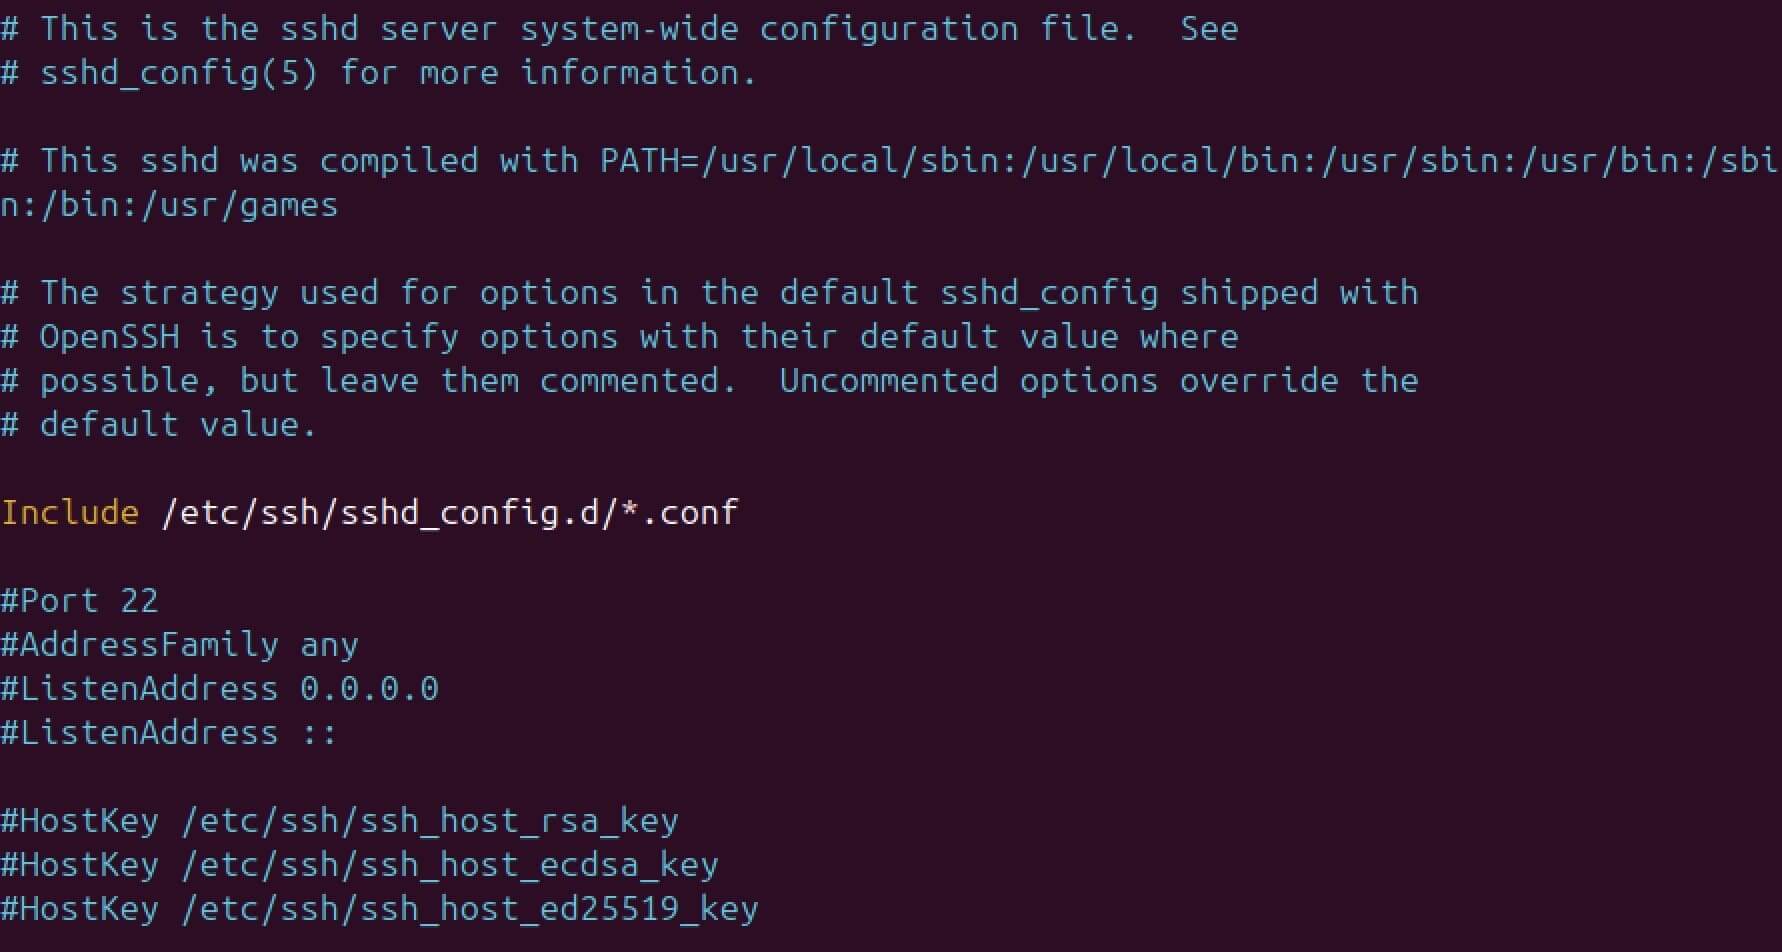
All relevant options can be found in the central configuration file sshd_config, which is used to manage the SSH daemon. To edit this file, simply open it with an editor of your choice. We’ve chosen the vim editor, so the command is as follows:
sudo vim /etc/ssh/sshd_config
Now make the desired changes to the configuration file – such as adjusting ports, restricting allowed protocols, or setting secure authentication methods. Be sure to save your changes before closing the editor.
To apply the new settings, restart the SSH service. You can do this with the following command in the terminal:
sudo service ssh restartConfiguring SSH is particularly useful if you want to run an FTP server on Ubuntu. This setup lays the groundwork for using SFTP – the secure alternative to traditional FTP, with encryption and data protection already built in.


