

Plesk file sharing: basics and tutorial

Plesk is one of the multi-sided solutions for server administration. Hosting service providers, IT specialists, developers, or content managers all profit from the management of web, DNS, mail, and other server services – as well as from the clear user interface of the control panel. Plesk enables control of individual services via a single interface, and so enormously reduces the administrational effort required. For example, if you create a WordPress project with the management tool, all queries are automatically forwarded to the desired server – which in turn automatically adds a virtual host.
Plesk also has an available file sharing function that makes it possible to implement the advantages of online storage on your own server. Find out in this guide what exactly is hiding behind this feature and which steps are required to be able to operate Plesk file sharing.
- KVM based dev servers for developers
- Scalable to enterprise cloud level
- Pay-as-you-go, per-minute billing
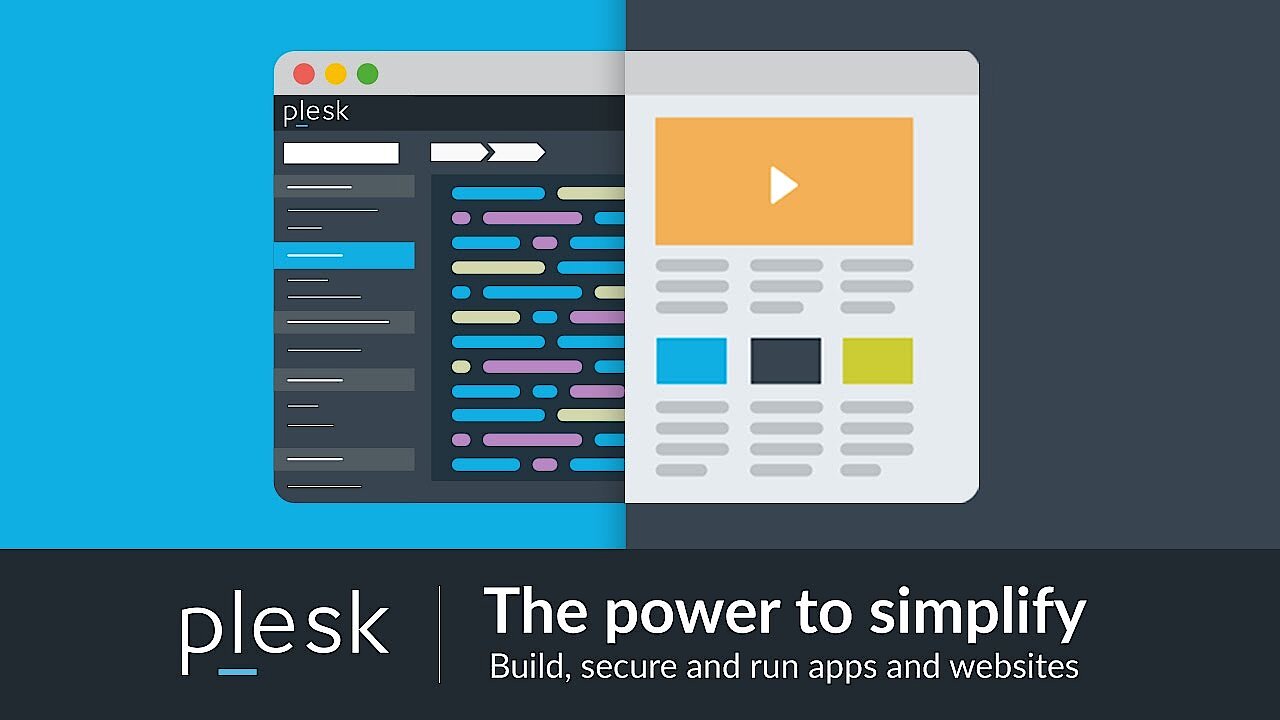
What is Plesk?
Plesk Onyx (previously Parellels Plesk) is a cross-platform management software for running, automating, and developing applications, websites, or hosting structures. Since the early 2000s, the program has simplified daily tasks for system administrators, small and medium-sized businesses, and infrastructure providers. It doesn’t matter whether you want to control entire server functions, set up new user profiles, or create domains – Plesk provides the perfect basis. Using an interface accessed by the internet browser of your choice, any number of web services can be operated, controlled, and made available to user groups.
The Plesk developers place particular emphasis on security: In addition to the integrated SSL/TLS encryption, features such as the KernelCare tool (protection and updates for the system core), the Datagrid VCTR scanner (vulnerability check and software update), or the Google Authenticator (login protection via 2-factor authentication) ensure the protection of all managed services. It’s no coincidence that the management software runs on more than 377,000 servers worldwide, hosting more than 11 million websites and 19 million e-mail inboxes. Around half of the top 100 service providers rely on the merits of the Onyx product, which is available in more than 30 languages and 140 countries.
 To display this video, third-party cookies are required. You can access and change your cookie settings here.
 How Plesk supports administrators and users
Regardless of whether a hosting provider supplies web infrastructure on a large scale or whether an SME administrator is responsible for the functionality of in-house services: Both building the structures and managing them take considerable effort. Plesk acts as a supporting connection between the responsible organiser of the infrastructure and the users. The management software automates various processes and helps administrators keep all programs up to date and regulate the distribution and utilisation of hardware resources. Detailed profiles can be also created through user management which grant users different permissions. Users of the services profit in various ways, primarily by the simple access to necessary components. Through the web interface, the desired applications can be configured and managed – for example, you can install popular CMS such as WordPress, Drupal, or Joomla! with just one click. Developers find interfaces for services like Docker or Git and can back up their projects at any time on a local directory or via GitHub, Bitbucket, or Travis and Co.
Plesk makes it possible to organise the access to managed infrastructure with the help of service packages and subscriptions. A service package is characterised by a definable combination of available hardware resources and services. The user then subscribes to the respective package and receives access to the specified components – such as, for example, storage space, traffic, or particular applications.
How does Plesk file sharing work?
The file sharing function of Plex Onyx makes it possible to save data on your own server and retrieve it the same way you would from cloud services like Dropbox, OneDrive, or Google Drive. In addition, the uploaded files can be made available to selected user groups so that they can also access them. But the upload is only possible for administrators and additional users created under subscriptions belonging to the administrator. Third parties, such as customers, can only download files via provided download links. The advantages of Plesk filing sharing are obvious:
- Transfer files that are too big for e-mail
- Availability of files to a public audience or coworkers
- Access to files possible via various devices
- Full control of your own files without requiring an external cloud service
Publicly-shared files are always shared with all users who have access to file sharing through their subscriptions. In this case, no authorisation is required for downloading via direct link. If content should only be available to particular user groups, then the corresponding files can be given a password.
Plesk tutorial: how to use file sharing
To set up Plesk file sharing, you need the current version of Plesk as well as a server on which you can install it. A requirement for installation and setup is that you also have root permissions for the server, as well as at least the following hardware conditions:
| Linux | Windows |
|---|---|
| 512 MB RAM plus 1 GB swap (storage space) | 2 GB RAM |
| 10 GB hard drive storage | 30 GB hard drive storage |
Setting up file sharing in Plesk
If you’ve installed and configured the administration software on your server, then set up file sharing as follows:
- Log in to your administrator account in the Plesk panel and open the settings menu, then select the “Tools & Settings” section. There, you’ll find the entry “File Sharing” under the list of general settings, which takes you to the configuration menu.


- First, set the root folder for file sharing under “Web Folder root URL”. All subdirectories that you create for file sharing are now placed in this folder. If you want to further protect the transmission, you can also activate the generation of secure links to files and folders via SSL/TLS.


- If Plesk users should have the opportunity to make uploaded files public, for example, so that all visitors to a website can access them, then in the next step you’ll enable the check box “Enable public files”. It’s also necessary to name two additional folders: The first is the folder in which authorised users can store and edit files (“Folder for public files storage”). The second URL is the directory for read-only website visitor access to published files.


- Finally, you can also specify a password-protected file upload folder that is only accessible to authorised users. For this, enable the option “Enable password-protection of public files” and enter the desired directory names. You can also specify user names as well as the access password.


- Click on “OK” or “Apply” to confirm and save your file access settings.


Uploading files – how it works
After you’ve created the folders for file sharing, you or all authorised users can upload files to the respective directories. To access the corresponding menu, click on either the “File Sharing” button in the navigation list (as an administrator) or open a subscription belonging to the server administrator and select the “File Sharing” tab there.


In the accessed Plesk file sharing section you can now upload one or more files simultaneously to one of the following locations:
- Personal files: All files that are uploaded as personal files are exclusively visible by the user as well as the administrators. For the later direct download link, administrator access information is required.
- Shared files: Shared files are visible by all users that have file sharing enabled with Plesk. For download via direct link – like with personal files – administrator access information is required.
- Public files: Publicly shared files are visible by all file sharing users and can also be downloaded without authentication.
- Password-protected files: Password-protected files differ from ordinary public files in that they can only be downloaded with the corresponding login data.


You have various possibilities for sharing files in different directories, though they all differ slightly from one another. The following short instructions explain in detail how to proceed.
Upload files as “Personal Files”
To upload files in your personal folder, simply click on the “Upload Files” button and select “Personal Files” in the list. You can also use “Browse” to specify where the desired upload file is located in your local system. If you want to upload multiple files simultaneously, you can use the “Add file” button. Check the box for “E-mail links to the uploaded files” if you want to send the matching links for the download of the file. Clicking on “Upload” starts the upload process.


Share files as “Shared Files”
If you want to share files with all authorised users, you have two options: For the first, you proceed as with the upload of personal files, but instead select “Shared Files” in the list. The second option is to simply move a file from your personal directory to the shared folder. To do this, select the corresponding file in the “Personal Files” folder and click on the “Share” button. Confirm the share by clicking “OK” in the dialog window that pops up.


Publish files as “Public Files”
If you want to make files available to all website visitors, you also have two options, which differ only slightly from the “Shared Files” approach: On the one hand, you can use the standard way described above via “Upload Files”, in which case you select the third button, “Public Files”. On the other hand, you have the option to publish previously saved personal and shared files by clicking the “Publish” button.


Share files with password-protection
For password-protected file sharing with Plesk, first upload files as “Shared Files” and then – like with sharing public files – use the “Publish” button. In the window that opens, check the box next to “Protect access to files with a password” and then confirm the publication with “OK”. The username and password for accessing the files correspond to the information you provided when you set up file sharing (step 4).


- Store, share and edit data easily
- ISO-certified European data centres
- Highly secure and GDPR compliant