

Kibana dashboard tutorial for beginners

The search and analytics engine Elasticsearch is one of the best open source solutions for indexing and structuring large databases. However, it’s possible to gain valuable insights in later analysis of raw data if it’s visualised in a clear and easily understandable form. The visualisation tool, Kibana, has been developed especially for presenting Elasticsearch data and will be discussed in this tutorial.
What is Kibana?
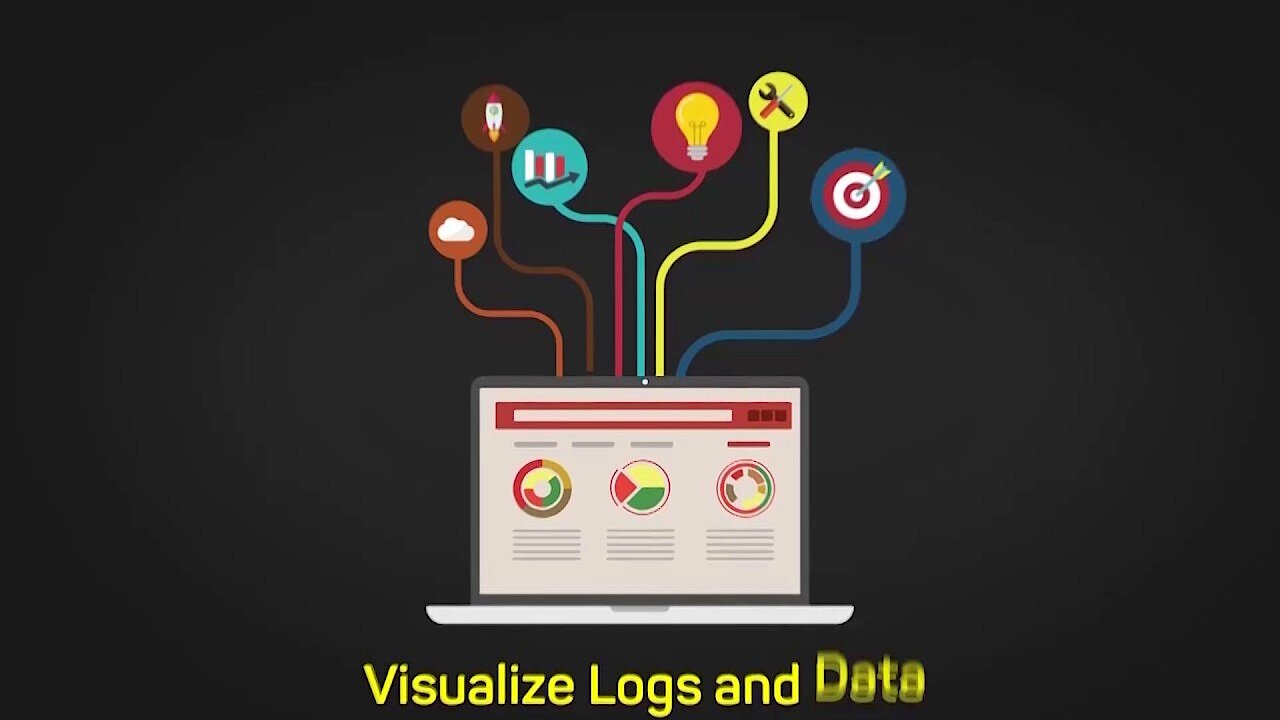
Kibana is an extensible web interface for visually representing collected data. Together with Elasticsearch and the data processing tool Logstash, it forms the so-called ELK stack (also called Elastic Stack). This open-source suite enables users to collect data from different server sources (and in any format), arrange it, and prepare it for analytical purposes. In addition to the ability to visualise the data processed by Logstash and Elasticsearch, Kibana also offers automatic real-time analysis, a very flexible search algorithm, and different data view types (histograms, graphs, pie charts, etc.). In the dashboard, the individual interactive visualisations can then be combined to form a dynamic overall picture that can be filtered and searched.
 To display this video, third-party cookies are required. You can access and change your cookie settings here.
 As a web-based application written in JavaScript, Kibana can be used across platforms. Costs only arise if you use the hosting service, Elastic Cloud, offered by the developer. This paid service allows you to implement and organise a secure Elasticsearch Kibana cluster on Amazon or Google without having to provide your own resources.
Kibana tutorial: First steps with the visualisation tool
Kibana offers a huge range of functions that can be used to display prepared database stocks. However, before you can filter and visualise the information in the dashboard so that the desired key values can easily be viewed, analysed, and evaluated in the long term, you have a good bit of work ahead of you. With this Kibana tutorial we want to make it easier for you to get started with the powerful web interface. This article explains how to install Kibana correctly, how to create your own dashboard, and how to integrate existing data into Elastic’s visualisation tool.
Step 1: How to get Kibana up and running
Since Kibana is designed to display data that has been indexed using Elasticsearch, you will first need to install the search and analytics engine. The corresponding packages for Windows, macOS, and Linux can be found in the Elasticsearch download center. The prerequisite is that you have a current Java runtime environment (64-bit) installed.
Kibana itself is also available as cross-platform software for Windows, macOS, and Linux (RPM, DEB). Since the application is based on the JavaScript runtime environment Node.js, the various installation packages also contain the necessary Node.js binaries used to run the visualisation tool – separately maintained versions are not supported. The different packages (ZIP compressed) can be found like Elasticsearch on the Elastic website.
Linux and Mac users can also install Kibana from the Elastic repository using the apt and yum package managers. Detailed instructions can be found in the online manuals.
Once you have unpacked the Kibana package, run the bin/kibana (macOS, Linux) or bin\kibana.bat (Windows) file to get the Kibana server up and running.


You then access the Kibana backend via the address "http://localhost:5601" in your browser (Elasticsearch must already be running for this to work).


Step 2: Feed Kibana with data
To be able to take a closer look at the Kibana dashboard and its functions in this tutorial, the application must first be supplied with data. On the Elastic website, there are three free downloadable database samples, which we use here for testing purposes. The three databases listed above are "shakespeare.json" (database of the complete works of William Shakespeare), "accounts.zip" (set of fictitious accounts), and "logs.jsonl.gz" (set of randomly generated log files).
Download and unzip the three files (account and log file) and save them to the location of your choice.


Before you submit the data, it is necessary to create mappings for the Shakespeare and server log database fields. These mappings divide the documents in the index into logical groups and also specify the properties of the fields, such as their searchability. The appropriate tool for configuring the mappings is the console, which can be found in the Kibana interface under the menu items "Dev Tools" à "Console."


Now insert the following mappings in sequence via PUT request:
PUT /shakespeare
{
 "mappings": {
  "doc": {
   "properties": {
    "speaker": {"type": "keyword"},
    "play_name": {"type": "keyword"},
    "line_id": {"type": "integer"},
    "speech_number": {"type": "integer"}
   }
  }
 }
}
PUT /logstash-2015.05.18
{
"mappings": {
"log": {
"properties": {
"geo": {
"properties": {
"coordinates": {
"type": "geo_point"
}
}
}
}
}
}
}PUT /logstash-2015.05.19
{
"mappings": {
"log": {
"properties": {
"geo": {
"properties": {
"coordinates": {
"type": "geo_point"
}
}
}
}
}
}
}PUT /logstash-2015.05.20
{
"mappings": {
"log": {
"properties": {
"geo": {
"properties": {
"coordinates": {
"type": "geo_point"
}
}
}
}
}
}
}

Now use the bulk API of Elasticsearch to load the data records via curl in the terminal. In Windows, use the PowerShell with Invoke-RestMethod instead (code example below):
curl -H 'Content-Type: application/x-ndjson' -XPOST 'localhost:9200/bank/account/_bulk?pretty' --data-binary @accounts.json
curl -H 'Content-Type: application/x-ndjson' -XPOST 'localhost:9200/shakespeare/doc/_bulk?pretty' --data-binary @shakespeare_6.0.json
curl -H 'Content-Type: application/x-ndjson' -XPOST 'localhost:9200/_bulk?pretty' --data-binary @logs.jsonl
Invoke-RestMethod "http://localhost:9200/bank/account/_bulk?pretty" -Method Post -ContentType 'application/x-ndjson' -InFile "accounts.json"
Invoke-RestMethod "http://localhost:9200/shakespeare/doc/_bulk?pretty" -Method Post -ContentType 'application/x-ndjson' -InFile "shakespeare_6.0.json"
Invoke-RestMethod "http://localhost:9200/_bulk?pretty" -Method Post -ContentType 'application/x-ndjson' -InFile "logs.jsonl"

Depending on the computing power, inputting the data sets can take several minutes.
Switch back to the Kibana console to verify the success of the loading process with the following GET request:
GET /_cat/indices?vIf the data is integrated as planned, the output looks like this:


Step 3: Defining a first index pattern
In order for Kibana to know which data it should process, you must create corresponding patterns for the indices "Shakespeare," "bank," and "logstash." You can define the former as follows:
- Open the menu "Management" and click on "Index Patterns." When you create the first index pattern, the "Create index pattern" page will open automatically. Alternatively, you can access it using the button with this written on it.
- Enter "shakes*" into the field "Index pattern" and click on "Next step."
- Since no special configuration is required for this pattern, skip the next setup step and complete the pattern creation directly by clicking "Create index pattern."


Repeat the steps for the pattern "ba*" which is automatically assigned to the index "bank."
Finally, define an index pattern called "logstash*" for the three server log indexes. With this pattern, however, you do not skip the configuration menu, but select the entry "@timestamp" in the dropdown menu "Time Filter field name," as these records contain time series data. Then click on "Create index pattern" as for the two previous patterns.


Step 4: Browse inserted datasets
After you feed your Kibana server with records, you can now start an Elasticsearch search query to search these records and filter the results. To do this, go to the “Discover” menu in Kibana and select the index pattern for your search using the small triangle icon in the left menu bar. As part of this Kibana dashboard tutorial, we have chosen the account record (ba*):


As a test, you can filter the bank account record to see only accounts that meet certain criteria. For example, to specifically search for accounts that have a balance of over £47,500 and belong to people over 38 years of age, type the following command in the search box:
balance:>47500 AND age:>38Discover then returns the entries for the four accounts 97, 177, 878, and 916 that correspond to the selected criteria.


With the button "Add a filter" you can easily define your own filters for the selected database.
Step 5: Visualise data
With the preparations made so far in this Kibana tutorial, you are now able to visualise the implemented data to bring your dashboard to life. Here is where an example of a pie chart for the bank account database is created. On the one hand, this diagram should show which proportion of the total of 1,000 accounts falls into certain bank account balance ranges, and on the other hand, how the age-specific distribution within these divisions turns out.
In the first step, open the "Visualize" menu and click on "Create a visualisation" to get a list of the available visualization types. Then select the "Pie" option.


At the beginning, you will only see a simple circle that summarises all entries of the database, since no categories have been defined yet. These are also called "buckets" in Kibana and can be created under the menu item of the same name.
To first define the individual account balance divisions, click on "Split Slices" and select "Range" from the "Aggregation" drop-down menu:


Under "Field" search for the entry "balance" and click on it, then click on the "Add Range" button four times to define the following six bank account balance categories:
| 0 | 999 |
| 1000 | 2999 |
| 3000 | 6999 |
| 7000 | 14999 |
| 15000 | 30999 |
| 31000 | 50000 |
Then click “Apply Changes” (triangle symbol), and the pie chart will show the distribution of accounts according to the defined account balance divisions.


In the second step, you add another ring to the diagram that visualises the distribution of age classes for the individual account balance areas. To do this, click on "Add sub-buckets," then on "Split Slices" again and select "Terms" from the drop-down menu. Search under "Field" for the entry "age" and accept the changes via "Apply changes."


You can now save the visualisation very easily using the "Save" button located in the upper menu bar.
Step 6: Organising the dashboard
The Kibana Dashboard is covered briefly in this tutorial, so you'll create your first test dashboard using the search and visualisation you saved in steps 4 and 5. To do this, select the dashboard in the page navigation and then click "Create new dashboard" and then "Add." Kibana will now automatically list all saved visualisations or Elasticsearch searches:


Left-click to add the account balance visualization and the sample search result to the dashboard, whereupon you can view both in separate panels in the dashboard:


You can now modify the panels, for example by resizing them or changing their position. It is also possible to display a visualisation or search result on the entire screen, or delete it from the dashboard. With many visualisations, you can also use “Inspect” to display additional information about the underlying data and queries.
If you remove a panel from the Kibana dashboard, the saved visualisation or search will be preserved.