

Jekyll tutorial – all you need to know

WordPress is the first choice for many people when it comes to creating a new blog or a simple company website. But there are situations where WordPress, with its large range, far exceeds a web developer’s needs. Lightweight alternatives such as Jekyll address this problem since the website generator is limited to the most necessary components and therefore makes it possible to operate websites without database access or other additional software. As part of a Jamstack, you can implement dynamic and high-performance websites using the static site generator in combination with micro services.
What is Jekyll?
In November 2008, Tom Preston-Werner, one of the four founders of the developer platform, GitHub, released the website generator, Jekyll
under the free MIT license. Written in Ruby, it accesses a template directory that contains a set of structures and static text files – markdowns – of different formats. These determine the layout on the one hand, and the content of the web project on the other hand, and can be adapted individually for this purpose. The generator does not provide a WYSIWYG editor, but requires classic code writing. Therefore, the content editor, Prose, is recommended, which simplifies markdown editing and is optimiesd for Jekyll.
Before changes to the code are incorporated into the live version of the developed web application, they can be viewed thanks to Jekyll’s own development server. The implemented rendering engine, Liquid, then converts the files into a static website that can be delivered with any standard web server. This automatically generates the HTML code in the background when changes are made to the text files.
Here’s how to quickly create a Jekyll website:


But it’s just as easy to create graphically more advanced websites:


The advantages and disadvantages of Jekyll
Using Jekyll for blogs and other static web projects is a superior alternative to content management systems, construction kits, etc. for a variety of reasons. The main advantage of this solution is the simplicity that can be seen in both the work with the website generator and the created projects. Thanks to the possibility of foregoing a database, you save time and effort on the set up and configuration. In addition, the necessary database access is no longer needed, which has a positive effect on the website’s loading time. The minimalist code, which is reduced to important functions and features, is present in all Jekyll themes, and contributes to good performance and easy project development and maintenance. Compared to classic CMS, Jekyll generates a deliverable markup after each amend and not only when a user accesses a page.
Jekyll also scores well when it comes to stability and security. Since the web server only has to deliver text files, Jekyll’s potential for error is considerably lower than for websites that have several different components interacting with each other. And because no regular updates are necessary, the stable code framework also ensures high availability of the website in the long term. The security results from the fact that it doesn’t make much sense to attack Jekyll, since it doesn’t have CMS, databases, and scripts with dynamic elements (PHP, JavaScript, etc.).
While the highly-restricted code base is no obstacle for experienced developers, newcomers will find it difficult to use the website generator. In the standard version, Jekyll does not have a graphical user interface, so installation and setup must be carried out via the command line. Jekyll is also clearly inferior to many CMS and website development tools when it comes to the theme selection, since it lacks choice; other tools have hundreds or even thousands of design and layout templates. The same is true for the support, which isn’t very developed due to its small community and low distribution.
The following table summarises Jekyll’s most important advantages and disadvantages:
| Advantage | Disadvantage |
|---|---|
| ✓ Short loading time of the developed website | ✗ No graphical user interface by default |
| ✓ No need for setting up and maintaining databases and CMS | ✗ Long compilation time |
| ✓ Has no reason to be attacked | ✗ Only a few themes and plugins available |
| ✓ No regular updates necessary | ✗ Small community |
| ✓ Great freedom for programming (optional: free choice of GUI and editor) | ✗ No image-editing program |
| ✓ Not dependent on specific formats or additional tools | ✗ Server-side scripting (e.g. for forms) is not possible |
| ✓ Self-hosting or on GitHub servers (free) is possible | |
| ✓ Own integrated development server | |
| ✓ Version control via Git is possible |
Jekyll and GitHub – the perfect relationship
GitHub is a constant component in developer circles. The online platform makes it easier to manage projects and publish program code, especially if there are several developers involved. GitHub uses the open source application to manage open source code Git on its servers. These codes are stored in separate directories.
Adjustments to a project are initially recorded as forks, where the author receives a corresponding notification and can decide whether they should be included in the original code.
 To display this video, third-party cookies are required. You can access and change your cookie settings here.
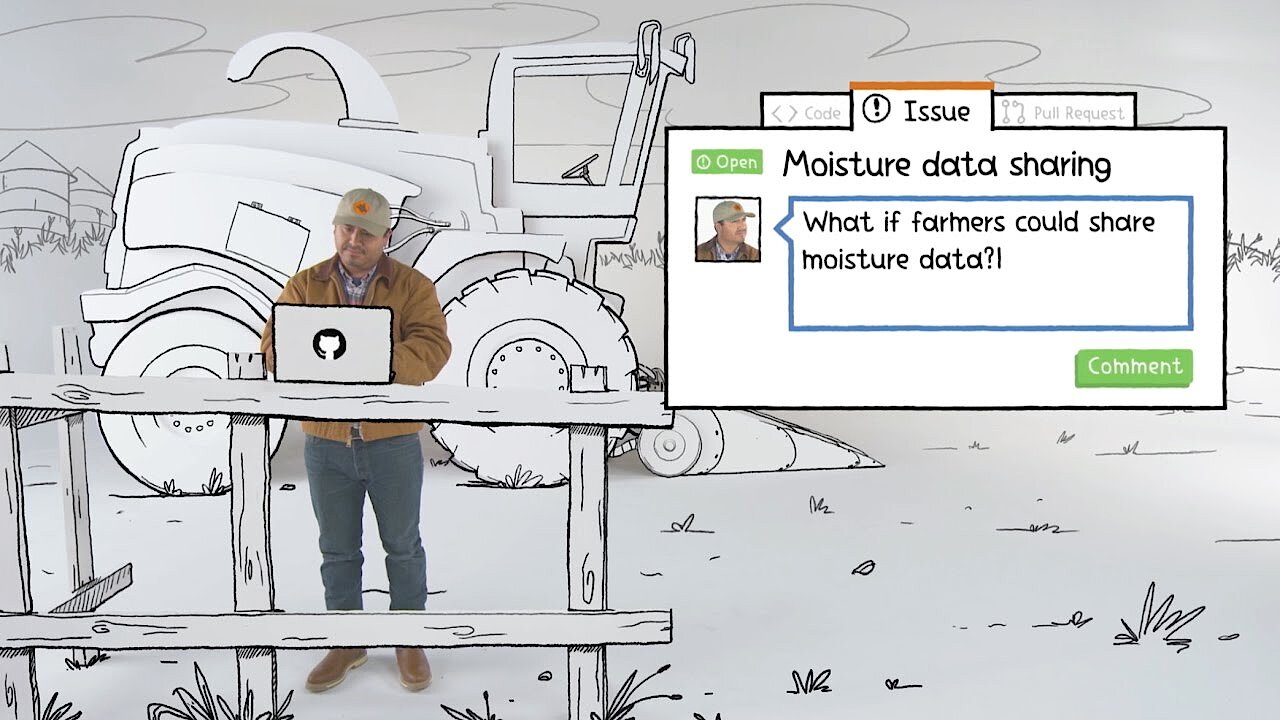
Jekyll and Github work well together. Static site generator files can be easily pushed to a repository for simplified collaboration with other developers and to take advantage of the platform’s convenient versioning. Want to deploy a Jekyll site directly from GitHub? With IONOS Deploy Now, you can host your Single Page Application or Static site generator files for free - including SSL, staging, and DDoS shield.
Read on to find out all about the issues of conventional CMS, why Jamstack makes static pages a viable alternative, and how it can help you ensure leaner workflows and better customer outcomes.
Build faster websites through prerendering and leaner hosting. Deploy them with IONOS.
Use Deploy Now to host static site generators like Gatsby, Hugo, or Jekyll from GitHub on IONOS’s geo-redundant, DDoS-protected infrastructure. Every time you make changes to your static site generator, Deploy Now automatically triggers an update of the static content on your web space in the background. Deploy Now also supports automatic SSL provisioning and the use of staging environments.
What distinguishes Jekyll from other blog generators and CMS?
With Jekyll, sites can be created that work without a database connection. However, compared to CMS, there is no option for integrating dynamic elements, so Jekyll can only be used to create static websites. However, CMS without databases are available, which are designed for client-side projects. Compared to Jekyll, however, these are more complex.
 To display this video, third-party cookies are required. You can access and change your cookie settings here.
Explore other website generators in our dedicated article on the best static website generators.
Jekyll tutorial: how to create a website with Deploy Now
With Deploy Now, Jekyll, and Github, you can easily create your own website. Github manages the files, which you can then publish directly with Deploy Now. Any change to the source code can be quickly transferred to the live version.
The following step-by-step tutorial will show you how to use the generator within the framework of the developer platform.
Step 1: Create a GitHub account
First, you need a GitHub account. To do so, go to the GitHub website and enter a valid email address, username, and password for your future account.
Then select the package you want to subscribe to – the free version for an unlimited number of public directories or the fee-based one for an unlimited number of private directories. Lastly, you can optionally provide information about your programming skills and interests. You will then receive a confirmation email from GitHub and can then activate your account by clicking on the link in it.


Step 2: Create a repository for the website or blog
Now that you’ve created an account, you can log into GitHub. The user dashboard gives you an overview of the individual directories, but doesn’t provide any information at the beginning. To change this and to lay the foundations for using GitHub Pages, you first have to create a new repository.


Until now, the directory is a common GitHub project directory. To convert it into your web repository, you’ve got several options.
- Start from scratch and build your website without a template using Jekyll. For information on how to do this, see the official documentation.
- If you use a ready-made Jekyll theme, it’ll be even easier to get started.
- The Jekyll example from Deploy Now is also a great starting place to create your website using the Static Site Generator.


Step 3: Connect Github account to Deploy Now
If you don't have an account with Deploy Now, you can create one for free. Start a new project and connect it to your GitHub repository. Select Jekyll in the configuration panel to get started adding content to your website.
 To display this video, third-party cookies are required. You can access and change your cookie settings here.
To display this video, third-party cookies are required. You can access and change your cookie settings here.
To display this video, third-party cookies are required. You can access and change your cookie settings here.
Step 4: Publish first sample page with welcome message
During the theme selection, a configuration file (config.yml) and an index page (index.md) are automatically generated. By default, the latter is the preview example for the selected Jekyll theme, which is why it is already available in markdown format. You can edit both the start page and the configuration file by selecting the corresponding file and then clicking on the pen icon on the menu bar.


Delete the code and then add a welcome headline for your website:
## Welcome to my website!If you save the welcome message via the 'Commit changes' button, you can access your first page at any time via the repository name that you chose in the second step. This is also the URL of your website.
For testing purposes, you can of course also leave the markdown code in its present form – your start page is identical to the Theme Demo Page.
Step 5: Add you own content
If the setup has worked as described in the previous steps, you can continue designing your blog or website. All the files you need for this purpose, such as CSS sheets or JavaScript codes, can be created using the 'Create new file' button. This way, you can also create additional sub-pages for your web project. Via 'Upload files', it is also possible to upload files directly. You can either specify the location or drag and drop the file you want to insert.


Since you have connected your repository to Deploy Now, any changes to the files are automatically transferred to your site.
Step 6: Download desktop client or Terminal tool
Desktop Client
It is possible to manage a Jekyll website completely via the GitHub web interface. With the desktop client, which is available for Windows and macOS as already mentioned, there is also an offline solution. If you have not yet installed it, simply click on the button “Set up in Desktop” in the created repository and you will automatically be taken to the download page.


Terminal Tool
For many developers, taking a detour via the desktop client is an unpopular option. GitHub’s own Terminal Tool, which can be used to execute GitHub commands directly in the command line, is a solution to this end. All GitHub functions can be executed directly in the terminal using the handy tool and a few simple commands.
Step 7: Clone a repository
After you have downloaded and installed the client, you can use it to make a local copy of your website. To do this, simply log in with your GitHub login and select the entry 'Clone a repository' from the start menu. You now have the option of specifying which repository you want to clone. The storage location can be specified under 'Local path'.


You can access different branches in your repository. These are individual branches in the project that allow developers to work on the code simultaneously or to focus on specific development areas separately. IONOS Deploy Now displays the individual branches of the cloned repository. As soon as you create a new branch, it is automatically displayed using Deploy Now. This way you can always keep an eye on your entire web project and the progress within the individual development branches.


Reviewer

Julia Hertler
With over 18 years of experience in content marketing, Julia Hertler has deep expertise in digital communications. For the past 10 years, she has specialised in the areas of domains and hosting at the IONOS Digital Guide, making complex technical topics easy to understand.